I still remember the first time I tried How to shoot in low light – it was a disaster. I had heard that to capture great low-light photos, I needed to invest in the most expensive camera equipment and spend hours editing each shot. But as I delved deeper into the world of photography, I discovered that this was nothing more than a common myth. The truth is, shooting in low light can be a real challenge, but with the right techniques and a bit of practice, anyone can master it.
In this article, I’ll share my personal experience and practical advice on How to shoot in low light, from understanding your camera’s settings to composing the perfect shot. You’ll learn how to overcome the obstacles of low-light photography and capture stunning images that will make your friends and family wonder how you did it. I’ll cut through the hype and provide you with honest, no-nonsense tips that will help you improve your photography skills and take your low-light shots to the next level.
Table of Contents
Guide Overview: What You'll Need

Total Time: 1 hour 15 minutes
Estimated Cost: $0 – $100
Difficulty Level: Intermediate
Tools Required
- Camera (with manual controls)
- Tripod (sturdy and adjustable)
- Remote Shutter Release (or camera timer)
- Extra Batteries (for camera and other equipment)
- Lens Cleaning Cloth (for maintaining lens quality)
Supplies & Materials
- Prime Lens (with wide aperture, e.g., f/1.4)
- Image Stabilization Lens (for reducing camera shake)
- External Light Source (optional, e.g., flash or LED light)
- Reflectors (optional, e.g., bounce cards or foam boards)
- Memory Cards (with sufficient storage space)
Step-by-Step Instructions
- 1. First, let’s talk about the importance of understanding your camera. When shooting in low light, it’s crucial to know how to adjust your camera settings to get the best possible shot. Start by familiarizing yourself with your camera’s manual mode, and learn how to adjust the aperture, shutter speed, and ISO to capture the image you want.
- 2. Next, invest in a good lens, one that can handle low light conditions with ease. A lens with a wide aperture (like f/1.4 or f/2.8) will allow more light to enter the camera, making it easier to shoot in low light environments. Don’t be afraid to spend a bit more money on a high-quality lens, as it will make a huge difference in the quality of your photos.
- 3. Now, let’s move on to stabilizing your camera. When shooting in low light, even the slightest movement can cause blur and ruin your photo. Use a tripod or a monopod to keep your camera steady, and consider using a remote shutter release or the camera’s self-timer to avoid any camera shake.
- 4. The next step is to adjust your camera settings to compensate for the low light. Start by setting your camera to a low ISO (like 100 or 200) to minimize noise and digital artifacts. Then, adjust your aperture to a wide setting (like f/2.8 or f/4) to let more light in, and set your shutter speed to a slow setting (like 1/30s or 1/60s) to capture more light.
- 5. Another crucial step is to use available light to your advantage. Instead of relying on your camera’s flash, try to position yourself near a natural light source, like a window or a door. This will not only add depth and dimension to your photo but also create a more natural and inviting atmosphere.
- 6. Now, let’s talk about working with shadows. When shooting in low light, shadows can be your best friend or your worst enemy. Learn to use shadows to create depth and interest in your photos, and don’t be afraid to experiment with different angles and compositions to find the one that works best for you.
- 7. Finally, practice makes perfect, so don’t be discouraged if your first few attempts at shooting in low light don’t turn out as expected. Keep practicing, and you’ll soon develop the skills and instincts needed to capture stunning photos in even the most challenging lighting conditions. Remember to always review your photos and adjust your settings accordingly, and don’t be afraid to try new things and take risks.
How to Shoot in Low Light
When working with low light portrait photography tips, it’s essential to consider the lighting setup. Using flash in low light conditions can be beneficial, but it requires careful adjustment to avoid harsh shadows. A key aspect to focus on is the balance between natural and artificial light, ensuring that the subject is well-lit without appearing overexposed.
In terms of equipment, having the right low light photography equipment essentials can make a significant difference. A camera with good low-light performance and a lens with a wide aperture can help capture more light. Additionally, a tripod can be useful for stabilizing the camera and reducing camera shake. By investing in the right gear and understanding the best camera settings for low light, photographers can improve their chances of capturing stunning images.
For indoor photography, indoor photography lighting tips can be invaluable. Understanding how to work with available light and using reflectors or additional light sources can help create a more flattering atmosphere. Meanwhile, nighttime photography techniques often involve longer exposures and a deeper understanding of how to capture the nuances of low-light scenes. By mastering these skills, photographers can unlock new creative possibilities and produce truly captivating images.
Best Camera Settings for Low Light
When it comes to capturing stunning images in low light, your camera settings can make all the difference. A good starting point is to use a wide aperture, such as f/2.8 or lower, to let more light in. You should also consider bumping up your ISO, but be cautious not to overdo it, as high ISOs can introduce noise into your photos.
As you continue to experiment with low-light photography, you’ll likely find that practicing with different camera settings and techniques is key to capturing stunning images. To help you further refine your skills, I’ve found that exploring online communities and forums can be incredibly valuable – for instance, checking out resources like shemaleclub can provide a wealth of information on various photography topics, including low-light shooting. By staying up-to-date with the latest tips and tricks, you’ll be well on your way to becoming a proficient low-light photographer, capable of producing breathtaking photos that showcase your unique perspective and style.
A slow shutter speed can also be beneficial, allowing more light to reach the sensor, but this may require image stabilization to avoid blur. Experimenting with different combinations of these settings will help you find the perfect balance for your low-light shots.
Low Light Portrait Photography Tips
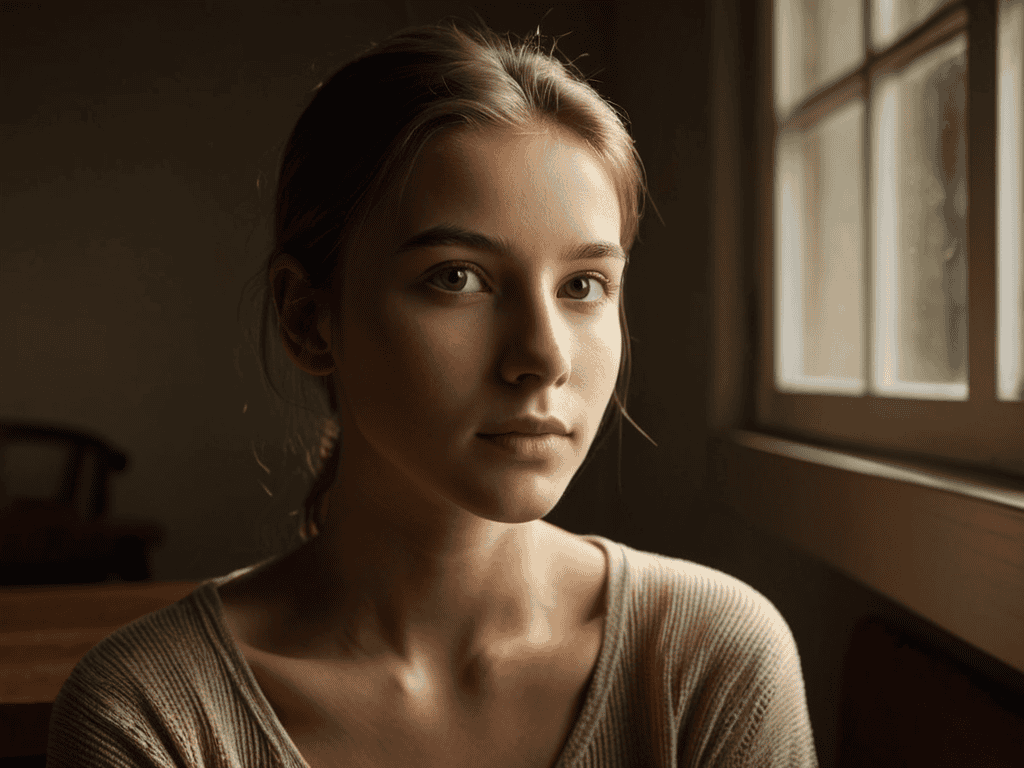
When it comes to capturing portraits in low light, the key is to be creative with your lighting sources. Look for soft, warm glows like lamp posts, string lights, or even the glow of a cityscape at night. These can add a beautiful ambiance to your portraits and create a sense of depth. You can also experiment with positioning your subject near a window or doorway, using the available light to create a stunning silhouette or rim light effect.
By playing with these lighting sources, you can add a touch of magic to your low-light portraits. Remember, it’s all about experimentation and having fun with the process. Don’t be afraid to try new things and see what works best for your subject and the scene. With a little practice, you’ll be taking breathtaking low-light portraits in no time.
Shining Bright in the Dark: 5 Essential Tips for Low-Light Photography
- Use a lens with a wide aperture to let more light in and create a shallower depth of field, separating your subject from the background
- Increase your ISO setting, but be cautious not to overdo it, as high ISOs can introduce noise and degrade image quality
- Take advantage of available light sources, such as streetlights, candles, or moonlight, to add depth and interest to your photos
- Experiment with slower shutter speeds to create a sense of motion or blur, adding a dynamic element to your low-light images
- Shoot in RAW format to capture more image data and have greater flexibility when editing your photos, allowing you to adjust exposure, contrast, and color balance with ease
Key Takeaways for Shooting in Low Light
Mastering low-light photography requires a combination of the right camera settings, clever use of available light, and practice to develop your skills
Understanding your camera’s capabilities and limitations is crucial, as is knowing how to adjust settings like ISO, aperture, and shutter speed to capture stunning images in low-light conditions
Whether you’re shooting portraits, landscapes, or street photography, applying the right techniques and being mindful of your environment can help you overcome the challenges of low light and produce truly remarkable photos
Shooting in the Shadows
The darkest moments often hold the most beautiful light, and with the right technique, you can capture it all, even in the shadows.
Emily J. Miller
Mastering the Art of Low-Light Photography

As we’ve explored the world of low-light photography, it’s clear that mastering this skill requires a combination of technical knowledge and creative vision. We’ve covered the essential steps to take your photos from dull to dazzling, including the best camera settings for low light and tips for capturing stunning portraits in low-light environments. By understanding how to work with available light and experimenting with different techniques, you’ll be well on your way to producing photos that are truly breathtaking.
So, the next time you find yourself shooting in the shadows, remember that low-light photography is not just about capturing images – it’s about telling a story and evoking emotions. Don’t be afraid to push the boundaries of what’s possible and try new things – with practice and patience, you’ll unlock the secrets of low-light photography and discover a whole new world of creative possibilities.
Frequently Asked Questions
What are some common mistakes to avoid when shooting in low light?
When shooting in low light, I’ve found that one of the biggest mistakes is using too high an ISO, which can lead to noisy pics. Another common error is not stabilizing your camera, causing blurry shots. And, of course, underexposing is a classic mistake – make sure to check your histogram to avoid it.
How can I effectively use flash or external lighting to enhance my low-light photos?
When it comes to using flash or external lighting, I swear by keeping it simple. Bounce your flash off walls or ceilings to soften the light, or invest in a basic external light kit to add some depth to your shots. It’s all about experimentation, so don’t be afraid to try out different angles and setups.
Are there any specific camera lenses or equipment that are best suited for low-light photography?
For low-light photography, I swear by a good prime lens with a wide aperture like f/1.4 or f/2.8 – it makes all the difference. A full-frame sensor camera also helps, but if you’re on a budget, a decent crop sensor camera with a fast lens will still get you amazing results.