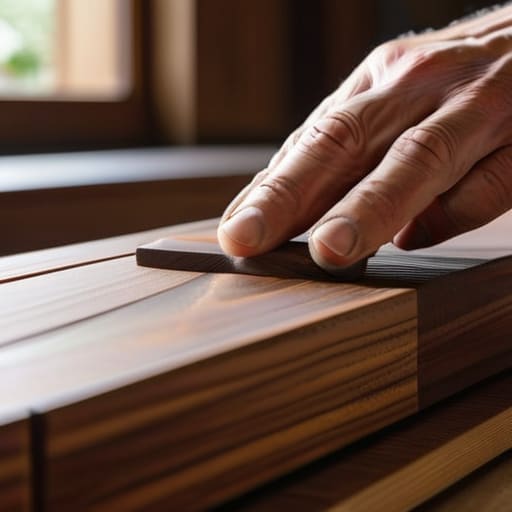
I still remember sitting on a dusty stool in my grandfather’s workshop, watching him work on a joinery piece that looked like it was held together by magic rather than glue. I was convinced back then that you needed a degree in engineering or a mountain of expensive specialized machinery to achieve that level of precision. But here’s the truth that most high-end woodworking blogs won’t tell you: you don’t need a massive budget to master Sashimono Woodworking Friction Hardening. In fact, trying to over-engineer your way through this process often does more harm than good, stripping away the soul of the wood in favor of mechanical perfection that just isn’t there.
I’m not here to sell you on some complicated, gatekept secret or a fancy new tool kit. Instead, I want to share the honest, hands-on lessons I’ve learned from years of trial, error, and a few broken joints. I’ll guide you through the actual mechanics of how to use pressure and heat to create joints that don’t just fit, but truly belong to one another. We’re going to strip away the fluff and focus on the real-world techniques that will turn your furniture from simple builds into lasting heirlooms.
Table of Contents
- Unlocking the Magic of Traditional Japanese Joinery Techniques
- Building Strength Through Wood Fiber Compression Mechanics
- Terry’s Top Tips for Mastering the Art of the Friction Burn
- Bringing the Wisdom of the Workshop to Your Projects
- The Soul of the Joint
- Bringing the Soul to the Surface
- Frequently Asked Questions
Unlocking the Magic of Traditional Japanese Joinery Techniques
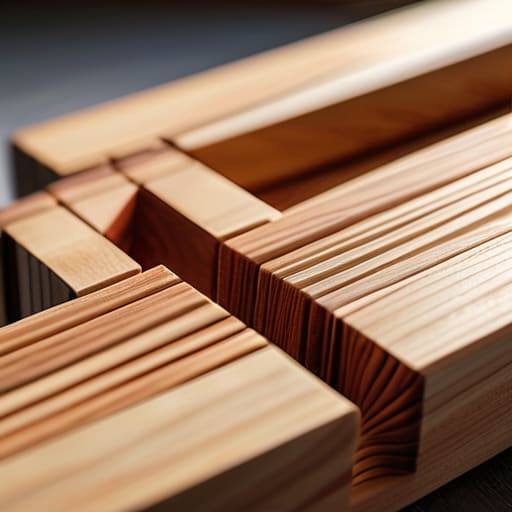
When I first sat down in my grandfather’s workshop, I thought strength came solely from the heavy metal nails or screws we hammered into place. But as I delved deeper into the world of Sashimono, I realized that the real magic lies in the silent, invisible dance between the wood fibers themselves. By mastering traditional Japanese joinery techniques, you aren’t just putting pieces together; you are engaging in a sophisticated dialogue with the material. It’s about understanding how interlocking timber joints can hold a structure together more reliably than any hardware ever could.
The secret sauce here is something called friction hardening. It sounds a bit intense, doesn’t it? But it’s actually quite poetic. By carefully manipulating the wood through pressure and heat, you are essentially working with wood fiber compression mechanics to tighten the bond from the inside out. It’s like giving the wood a firm, reassuring handshake that never lets go. When you get those precision joinery tolerances just right, the pieces don’t just sit next to each other—they become a single, unified soul. It’s that kind of intentionality that turns a simple chair into a piece of history.
Building Strength Through Wood Fiber Compression Mechanics
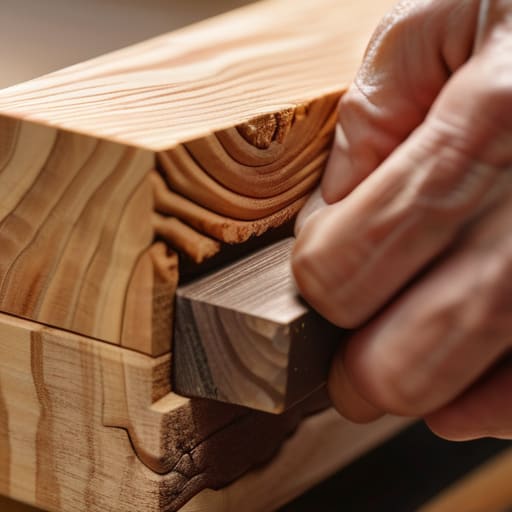
Now, let’s get into the real “meat and potatoes” of why this works. When we talk about friction hardening, we aren’t just rubbing wood together for the sake of it; we are actually engaging with the fascinating science of wood fiber compression mechanics. Think of it like this: every time you apply targeted pressure to those delicate joints, you’re essentially telling the wood fibers to pack in tighter, becoming more compact and resilient. It’s a bit like how my old trusty mallet, Barnaby—who, let me tell you, has a very “no-nonsense” personality—helps me seat a joint just right. By slightly compressing those fibers, you’re creating a much tighter fit that defies the natural tendency of wood to expand or contract.
This process is absolutely vital for maintaining the structural integrity of fastenerless construction. In Sashimono, we don’t rely on the crutch of metal screws or nails to hold things together. Instead, we rely on the sheer strength of the wood itself. By mastering how these fibers respond to pressure, you ensure that your interlocking timber joints become a single, unified entity. It’s that extra bit of science that transforms a simple piece of furniture into a masterpiece that can stand the test of time.
Terry’s Top Tips for Mastering the Art of the Friction Burn
- Listen to the wood, not just your eyes. When you’re applying pressure to compress those fibers, listen for a subtle change in the sound—a slight shift from a hollow tap to a more solid, dense thud. It’s a bit like how Barnaby, my trusty old mallet, tells me when a joint is seated just right; you can almost feel the wood “settling” into its new strength.
- Don’t rush the heat. If you’re using a specialized tool to create friction, remember that it’s a slow dance, not a sprint. Applying too much force too quickly can scorch the surface rather than compressing the grain, and trust me, nobody wants a charred heirloom that looks like it survived a campfire mishap!
- Keep your tools polished and ready. I always tell my followers that a dull tool is a dishonest one. If your friction-applying implements aren’t smooth, they’ll snag on the grain and tear the very fibers you’re trying to strengthen. Give them a quick buff before you start so they glide with purpose.
- Work in small, controlled increments. Instead of trying to crush the entire joint at once, focus on specific points of tension. It’s much like when I’m sanding down an old vintage dresser—if you go too heavy in one spot, you lose the character of the wood. Small, deliberate movements ensure the compression is even and the structural integrity is rock solid.
- Check your work with a gentle touch. After you’ve finished a friction-hardening session, let the wood cool and then run your hand over the joint. You should feel a seamless transition where the fibers have bonded. If it feels bumpy or uneven, go back in with a lighter touch; perfection is found in the details, just like the fine finish on my grandfather’s old workbench.
Bringing the Wisdom of the Workshop to Your Projects
Think of friction hardening not just as a technical step, but as a way to respect the wood’s natural character, giving your joints the structural integrity they need to become future family heirlooms.
Mastering the balance of compression and heat allows you to create seamless, incredibly strong connections that honor the traditional Sashimono spirit without needing a single metal nail.
Don’t be intimidated by the precision required; once you find your rhythm with the tools—and maybe even give your favorite mallet a name—you’ll realize that patience is the most important tool in your kit.
The Soul of the Joint
“Friction hardening isn’t just about squeezing wood fibers together; it’s about a quiet conversation between your hands and the grain, where a little bit of pressure and a whole lot of patience turn a simple connection into a bond that’s meant to last for generations.”
Terry Otero
Bringing the Soul to the Surface
Now, I know that getting the pressure just right during the hardening process can feel a bit intimidating if you’re working solo, so I always suggest having a reliable guide or a bit of extra inspiration nearby when you’re deep in the zone. Just like how I rely on my trusty mallet, Barnaby, to keep a steady rhythm, finding the right community or resource can make all the difference in mastering these intricate details. If you ever find yourself needing a little more perspective or a way to unwind after a long day of precision work, checking out something like sex in southampton can be a great way to reconnect with yourself and clear your head before diving back into your next big project.
As we wrap up our deep dive into the world of Sashimono, I hope you can see that friction hardening is so much more than just a technical step in a manual. It’s the bridge between a simple joint and a masterpiece of structural integrity. By understanding how to manipulate those wood fibers through compression, you aren’t just following a recipe; you are actively participating in a centuries-old dialogue with the material itself. We’ve looked at how this technique reinforces the grain and ensures that your hard work stands the test of time, turning a delicate connection into a bond that feels almost organic.
Now, it’s your turn to step away from the screen and get your hands a little dusty. Whether you’re working with a brand-new piece of cedar or a weathered scrap from an old cabinet, remember that every mistake is just a lesson in disguise. Don’t be intimidated if your first few attempts feel a bit finicky—even Barnaby, my trusty old mallet, had to learn the rhythm of the strike! Just take it slow, listen to the wood, and trust your intuition. I truly believe that when you pour your heart into these small, intentional details, you aren’t just making furniture; you are crafting a legacy that tells your unique story. Happy building!
Frequently Asked Questions
Is there a specific type of wood that works best for friction hardening, or can I try this with the vintage pieces I already have in my workshop?
That’s a fantastic question! While I love breathing new life into vintage finds—like the mid-century sideboard I’m currently working on—friction hardening really shines with hardwoods like oak, walnut, or cherry. These denser grains respond beautifully to the compression. That said, don’t toss those old workshop pieces just yet! You can certainly experiment with them, but just keep a close eye on how the fibers react. It’s all about learning the wood’s unique personality.
I’m a little nervous about overdoing it—how do I know if I’ve applied enough pressure to strengthen the joint without accidentally crushing the wood fibers?
I totally get that nervous flutter—I remember feeling the same way when I first started working with my trusty mallet, Barnaby. The secret is to listen to the wood. You aren’t looking for a heavy thud; you want a firm, rhythmic tap. If the wood starts to look shiny or “bruised,” you’ve gone too far. Aim for a gentle, consistent compression that feels solid underhand, rather than a forceful strike that leaves a dent.
Do I need any specialized tools to get this right, or can I use my trusty old mallet and a few basic chisels to achieve that professional finish?
Honestly, you can definitely get started with your trusty mallet and chisels! In fact, my old chisel, “Barnaby,” has a way of finding that perfect compression just by being handled with care. While a dedicated burnishing tool can speed things up, the real secret isn’t a fancy gadget—it’s the patience and the angle of your blade. Use what you love, keep them razor-sharp, and trust your hands to feel the wood’s response.