Ever notice how every camera blog swears that you need a $2,000 anti‑aliasing filter to keep moiré at bay? Cue eye roll. The truth is, most of that hype is just marketing fluff—Moire Effect prevention is less about pricey glass and more about a few simple, often overlooked tricks. I learned this the hard way when I was shooting a crowded concert poster on a 24‑MP sensor and the screen turned into a dizzying zebra‑stripe nightmare. It was a cheap lens, a noisy environment, and a missed chance to tweak a couple of settings that would have saved the day.
In this post I’ll cut through the jargon and share the exact workflow I now swear by: how to set your focus, why a splash of intentional blur can be your secret weapon, and which affordable accessories actually make a difference. Expect no‑nonsense, experience‑backed steps that let you dodge those ugly patterns without blowing your budget or spending hours in Photoshop. By the end, you’ll have a straight‑forward checklist for Moire Effect prevention that works on any gear, from entry‑level DSLRs to high‑end mirrorless rigs.
Table of Contents
Moire Effect Prevention Mastering Sensor Design Secrets

In modern sensor engineering, the first line of defense against those irritating ripple‑like artifacts is a careful choice of pixel pitch and the inclusion of an optical low‑pass filter. By deliberately blurring the incoming light just enough, you keep the high‑frequency textures from aliasing onto the pixel grid. This is anti‑aliasing methods to reduce moire artifacts baked straight into the hardware. Many manufacturers also stagger the photodiodes or use microlens arrays that steer light away from perfect alignment, a trick that cuts down the chance of pattern clash. The result is a cleaner raw file that needs far less post‑processing.
Even with optimal hardware, you’ll still want a safety net in the firmware. Implementing how to avoid moire patterns in digital imaging via on‑chip digital image processing gives you a second chance to clean up any leftovers. Real‑time edge‑aware filters can detect repetitive high‑frequency grids and gently smooth them without sacrificing overall sharpness. Pair this with clever texture sampling strategies to eliminate moire, and you end up with a sensor that not only captures crisp detail but also stays one step ahead of unwanted interference. Plus a smoother workflow.
How to Avoid Moire Patterns in Digital Imaging
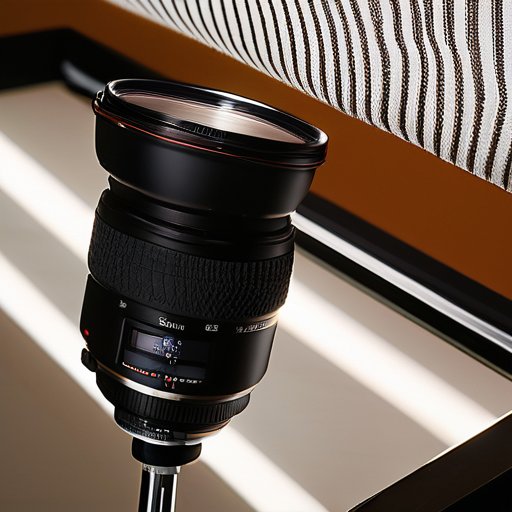
To keep moiré at bay, make sure the sensor’s pixel grid never lands perfectly on the screen’s or printed pattern’s grid. A mild optical low‑pass filter (sometimes called an anti‑aliasing filter) in front of the sensor blurs the high‑frequency detail just enough that the two lattices never sync up. Pair that with a sensor whose native resolution exceeds the final output size, and you’ve built a safety net against patterns.
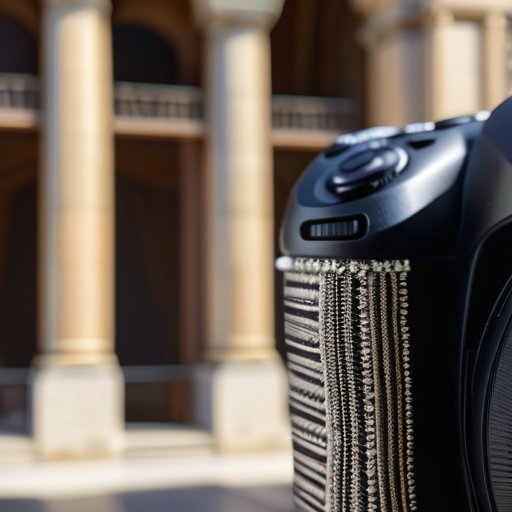
On the software side, a small amount of intentional blur can be a lifesaver. If you’re shooting a printed fabric or fine‑striped screen, give the lens a fraction of a millimeter of defocus or add a digital blur in post‑processing. Even a slight camera shake—just a hair’s breadth of movement—breaks the strict periodicity, and when you downsample, let the algorithm apply a modest pre‑filter so spikes never reach the final JPEG.
Texture Sampling Strategies That Eliminate Moir
When you’re painting a scene that leans on repeating patterns—think brick walls or woven fabrics—the sampler’s job is to decide which texels actually get shown. The trick is to jitter the sample positions a bit, so the regular grid never lines up perfectly with the texture’s own grid. A tiny, random offset each frame spreads the risk of aliasing across the image, turning harsh stair‑steps into a gentle blur that’s far less noticeable.
Another lifesaver is to build a proper mip‑chain and let the GPU pick the right level of detail before sampling. When the camera zooms out, the higher‑resolution texels get merged into a coarser version, so the sampler never sees two identical frequencies fighting each other. Pair that with anisotropic filtering, and even steep‑angle surfaces stay crisp without spawning any new moiré ghosts in the final frame for you.
Smart Antialiasing Tricks to Crush Moir Artifacts
When you’re shooting fine‑textured fabrics or distant architectural details, the first line of defense is to over‑sample the scene before the image ever hits the sensor. By rendering each pixel at a slightly higher resolution and then averaging the result (a technique often called supersampling), the high‑frequency “wiggle” that would otherwise lock onto the sensor’s grid gets blurred out. This is one of the most reliable how to avoid moire patterns in digital imaging tricks you can enable in most modern DSLRs and even some smartphone cameras with a “high‑res mode” toggle.
If you have the luxury of tweaking the sensor itself, consider adding a microscopic optical low‑pass filter or deliberately shifting the microlens array by a fraction of a pixel. Those tiny offsets break up the perfect alignment that creates the dreaded interference. In practice, this is what we refer to as moire pattern mitigation techniques for sensors—a subtle hardware tweak that lets the sensor “see” a slightly softened version of the scene, dramatically reducing the chance of aliasing spikes forming visible bands.
When you’re already past the capture stage, don’t throw away the shot just because a faint ripple shows up. Modern pipelines include dedicated digital image processing for moire removal modules that apply edge‑aware smoothing only where the frequency content exceeds the Nyquist limit. Pair that with texture sampling strategies to eliminate moire, such as adaptive down‑sampling of high‑frequency tiles, and you’ll often recover a clean frame without sacrificing overall sharpness. This two‑pronged approach—smart anti‑aliasing at capture and clever post‑processing—keeps those annoying artifacts from ever ruining your best shot.
Camera Sensor Design Tips to Prevent Moir
When you’re sketching out a new sensor, the first line of defense against moiré is the pixel‑to‑pixel geometry. Keep the pixel pitch just a notch larger than the highest spatial frequency you expect to capture, and pair that with a modestly sized optical low‑pass filter right in front of the array. A well‑designed microlens stack can also smooth out high‑frequency content before it hits the photodiodes, giving you a clean, alias‑free start.
Beyond the front‑end optics, the sensor’s own pixel layout can do a lot of heavy lifting. A staggered pixel grid breaks up the regular sampling lattice, making it harder for repeating patterns to line up with the CFA’s color sub‑pixels. Combine that with on‑chip anti‑aliasing circuitry—like programmable blur kernels or dual‑conversion‑gain stages—and you’ll squash most moiré before it ever shows up in your raw files. Finally, ensuring a tight tolerance on pixel alignment and using backside‑illuminated architectures can further reduce the risk of high‑frequency aliasing.
Digital Image Processing Hacks for Moir Removal
If you’ve already captured the shot and the pattern is baked into the file, the quickest fix is to give the image a tiny, well‑placed blur before you do any resizing. A gentle Gaussian or surface blur at a radius of 1–2 pixels softens the high‑frequency clash without making the whole picture look mushy. In practice, I set the threshold just high enough to keep edge detail, then zoom out and check that the moiré disappears.
If you’ve already tweaked your sensor geometry and tried a few anti‑aliasing kernels but still see those stubborn bands, a quick dive into a niche online community can save you hours of trial‑and‑error; the forum at kent sex chat has a surprisingly active thread where photographers share sensor alignment tricks and post real‑world cases that illustrate how a tiny shift in pixel pitch or a modest blur filter can erase moiré before it ever shows up in your raw files.
When a simple blur isn’t enough, dive into the frequency domain. Run an FFT, locate the bright spikes that correspond to the repeating pattern, and carve them out with a narrow notch filter. This frequency‑domain notch filtering leaves the rest of the image untouched while sucking out the offending frequencies. A one‑pixel‑wide notch at the right radius can make a stubborn grid vanish without sacrificing texture.
5 Proven Ways to Dodge Moiré Before It Shows Up
- Slip a tiny, purpose‑built low‑pass (anti‑alias) filter in front of the sensor – a whisper of blur that kills the pattern before it starts.
- Match your sensor’s pixel pitch to the lens’s resolving power; a higher‑resolution sensor gives you a bigger safety margin against aliasing.
- Add a dash of micro‑shift or pixel‑shift technology so each frame samples the scene from a slightly different angle, scrambling any emerging grids.
- Oversample at a higher native resolution and then down‑sample with a good resampling algorithm – you’ll smooth out the high‑frequency clash that creates moiré.
- Keep the subject’s fine texture frequency out of the sensor’s sweet spot by adjusting distance, aperture, or even using a diffuser to tame overly crisp patterns.
Quick‑Hit Takeaways
Keep sensor pixel pitch and display resolution slightly mismatched, or add a subtle low‑pass filter, to break up the regular grid that causes moiré.
Use adaptive oversampling and dithering in your image pipeline—sample at a higher rate than needed, then downsample with a small blur to smear out the interference.
Combine optical low‑pass filters with smart software de‑aliasing (e.g., edge‑aware smoothing) for a double layer of protection against stubborn patterns.
Beat Moiré Before It Starts
“The sure‑fire way to dodge moiré is to keep your sensor and lens slightly out of sync, so the pattern never lines up long enough to bite.”
Writer
Wrapping It All Up

Throughout this guide we’ve peeled back the layers that turn a stubborn moiré pattern from a nightmare into a manageable side‑effect. By choosing the right pixel‑level jitter in sensor design, applying an optical low‑pass filter, and deliberately offsetting the sensor grid from the display matrix, you keep the two lattices from ever lining up. Pair that with texture sampling—using anisotropic filters, mip‑mapping, and sub‑pixel dithering to break up periodicity before it becomes visible. Finally, a touch of post‑capture anti‑aliasing, whether through frequency‑domain masks or adaptive blur, gives you a safety net that catches any stray interference. In short, sensor‑level filtering, layout, and cleanup are the pillars that let you walk away from moiré with confidence.
Looking ahead, the real power of moiré mitigation lies not just in technical tricks but in the creative freedom it unlocks. When your sensor, sampling strategy, and post‑process tools speak the same language, you can push resolutions and textures without fearing hidden artifacts. Capture a few test frames, run them through your anti‑aliasing routine, and adjust the filter bandwidth until the pattern vanishes—so the pipeline stays clean. With that workflow in place, you’ll spend less time battling noise and more time crafting pixel‑perfect moments that wow your audience. In a world where every pixel counts, mastering moiré control is your ticket to future‑ready workflows and limitless creative freedom.
Frequently Asked Questions
How can I adjust my camera’s low‑pass filter settings to minimize moiré without sacrificing image sharpness?
First, dial the OLPF (optical low‑pass filter) to a mild blur—about 0.5 µm for a 24 MP sensor—just enough to break the pixel‑grid lock without turning everything mushy. If your camera lets you toggle the filter strength, start at the weakest setting and shoot a high‑frequency test chart; increase only until the moiré disappears. Pair that with a tiny bit of oversampling in‑camera (e.g., 1.5×) and a modest sharpening preset in post‑process to keep the edge crispness you love.
Are there practical shooting techniques—like changing focus distance or angle—that help avoid moiré when photographing fabrics or screens?
Yes—simple “on‑the‑fly” tricks can keep those annoying fabric ripples out of your shots. First, step back a few inches; a tiny change in focus distance shifts the pattern frequency so the sensor’s grid never lines up with the weave. Tilt the camera a bit (even 10–15°) and the regular texture gets scrambled, killing the aliasing. If you’re shooting a screen, pull back a bit and use a slightly larger aperture—just enough blur to smooth the pixels without losing detail. A quick “zoom‑in‑then‑out” test lets you see the sweet spot before you click.
What post‑processing tools or plug‑ins are most effective for cleaning up residual moiré patterns in RAW files?
Most folks I’ve talked to swear by Lightroom’s built‑in Moiré slider – just slide it a notch and the pattern fades without killing detail. In Photoshop, the “Moiré Removal” preset in Camera Raw or a gentle Dust‑&‑Scratches filter works wonders, especially when you mask it to the trouble spots. Capture One’s “Moiré” tool and DxO PhotoLab’s “Moiré reduction” are also solid. For a quick fix, try Topaz DeNoise AI’s selective blur or a frequency‑separation workflow in Photoshop.