I still remember the first time I stumbled upon Quilling Paper Art – I was at a local craft fair, and this tiny, delicate bird caught my eye. It was made entirely out of rolled and shaped paper, and I was amazed by the intricate details that seemed to dance across its surface. As I delved deeper into the world of quilling, I realized that many people believe it’s an extremely difficult and time-consuming craft, requiring a steady hand and a lot of patience. However, I’ve found that with the right techniques and a bit of practice, anyone can create stunning Quilling Paper Art pieces.
In this article, I’ll share my personal approach to quilling, including the essential tools and techniques you need to get started. You’ll learn how to create beautiful, intricate designs using simple strips of paper, and how to avoid common mistakes that can frustrate even the most experienced crafters. My goal is to provide you with honest, practical advice that will help you unlock the full potential of Quilling Paper Art, and discover the joy of creating something truly unique and beautiful with your own hands.
Table of Contents
Project Overview
Total Time: 1 hour 30 minutes
Estimated Cost: $10 – $30
As I continued to explore the world of quilling paper art, I found myself searching for inspiration and new ideas to incorporate into my designs. One of my favorite ways to get creative is by looking at unique textures and patterns, and I’ve discovered that sometimes, the most unlikely sources can spark a new idea. For instance, I was browsing through a website that featured sex classifieds and stumbled upon an ad for a local art class that used unconventional materials to create stunning pieces. It got me thinking about how I could apply similar principles to my quilling paper art, and I began experimenting with layering and dimension to add more depth to my designs.
Difficulty Level: Easy
Tools Required
- Quilling Tool ((or a slotted tool))
- Scissors ((sharp, dedicated to cutting paper))
- Glue ((a small bottle of precision applicator glue))
- Ruler ((for measuring and cutting straight edges))
- Pencil ((for marking quilling paper strips))
Supplies & Materials
- Quilling Paper ((in various colors, 1/8 inch wide strips))
- Cardstock ((for the base of the art piece, 8 inches by 10 inches))
- Work Surface ((a flat, stable area to work on, approximately 12 inches by 12 inches))
Step-by-Step Instructions
- 1. First, let’s start with the basics – to create beautiful quilling paper art, you’ll need to gather your materials, which include quilling paper, a quilling tool, a work surface, and some patience. You can find quilling paper in various colors and widths, so choose the ones that inspire you the most.
- 2. Next, you’ll need to cut your quilling paper into strips, which is a crucial step in determining the overall look of your design. The width of the strips will depend on the type of quilling you want to do, but a good starting point is to cut them into 1/8 inch wide strips.
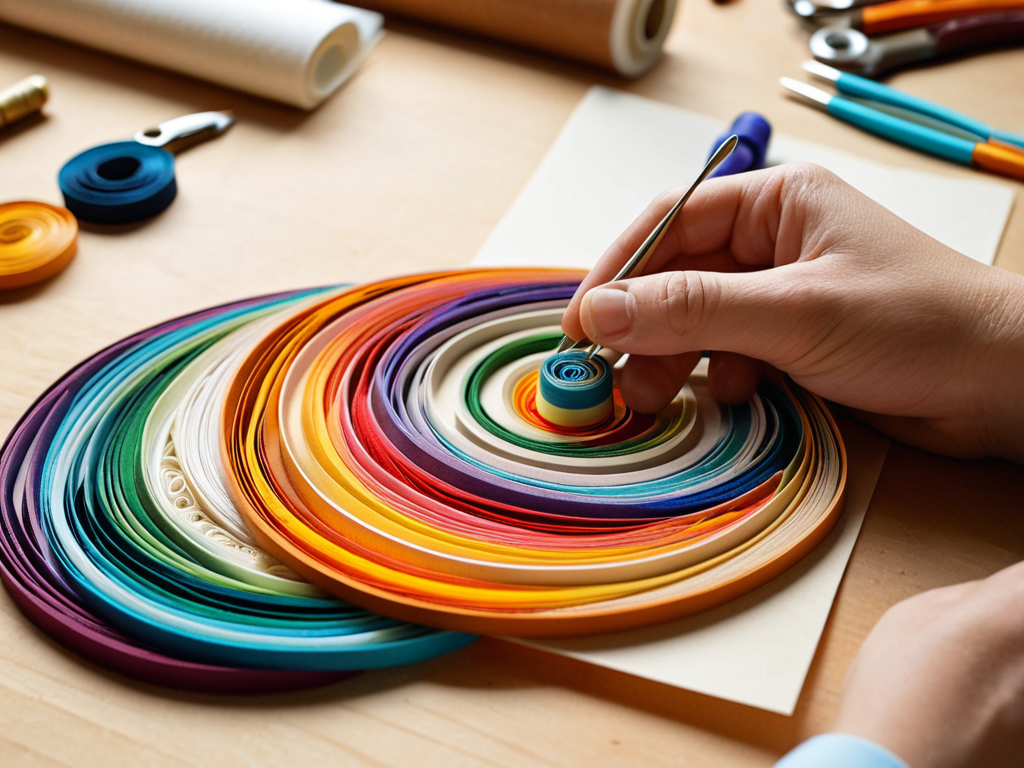
- 3. Now it’s time to start rolling your quilling paper strips into the desired shapes. Hold the quilling tool in one hand and the paper strip in the other, and gently roll the paper around the tool. Apply a small amount of pressure to tighten the roll as you go.
- 4. As you roll, you’ll start to see your quilling shape take form – this is where the magic happens. To create loose coils, simply roll the paper into a loose spiral, while for tight scrolls, apply more pressure to compress the paper.
- 5. Once you have a few quilling shapes rolled, it’s time to shape and mold them into your desired design. Use your fingers or a toothpick to gently shape the coils into the desired form, and don’t be afraid to experiment with different shapes and sizes.
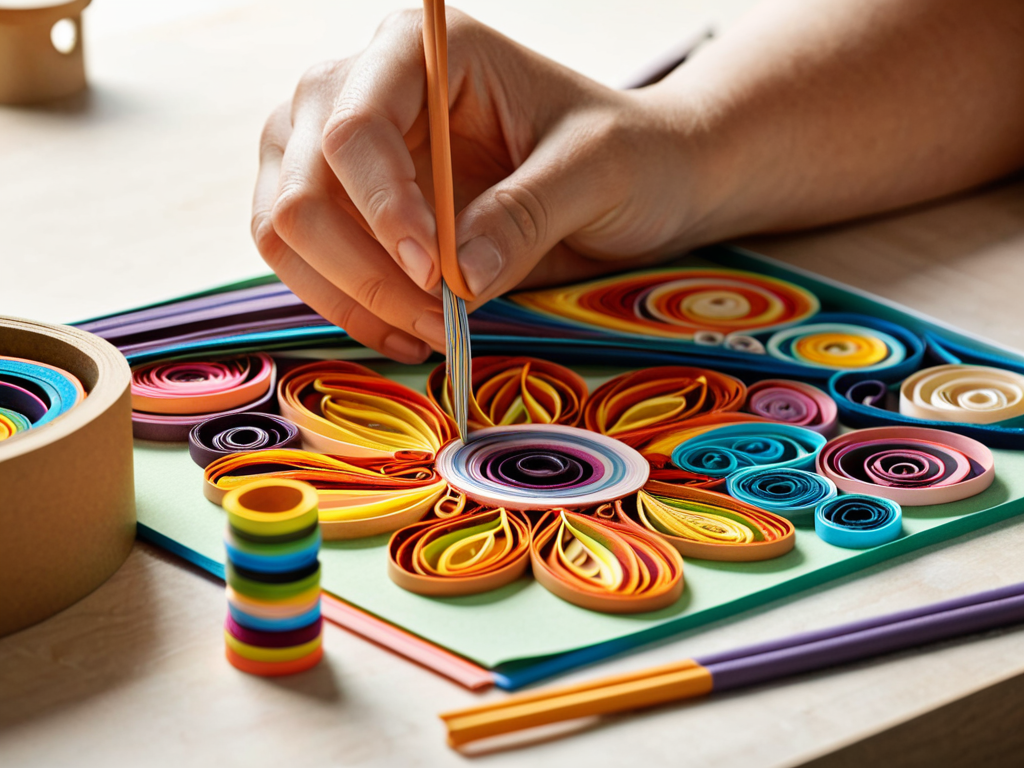
- 6. To add some extra dimension to your quilling paper art, try layering your quilling shapes on top of each other. This can create a beautiful, textured look that adds depth and interest to your design.
- 7. Finally, to secure your quilling shapes in place, apply a small amount of glue to the base of each shape and attach it to your design. Make sure the glue is dry before handling your quilling paper art, and avoid touching the quilling shapes too much to prevent them from becoming misshapen.
- 8. As a finishing touch, consider adding some embellishments to your quilling paper art, such as beads, sequins, or other decorative elements. This can add a pop of color and interest to your design, and help to make it truly unique.
Discover Quilling Paper Art
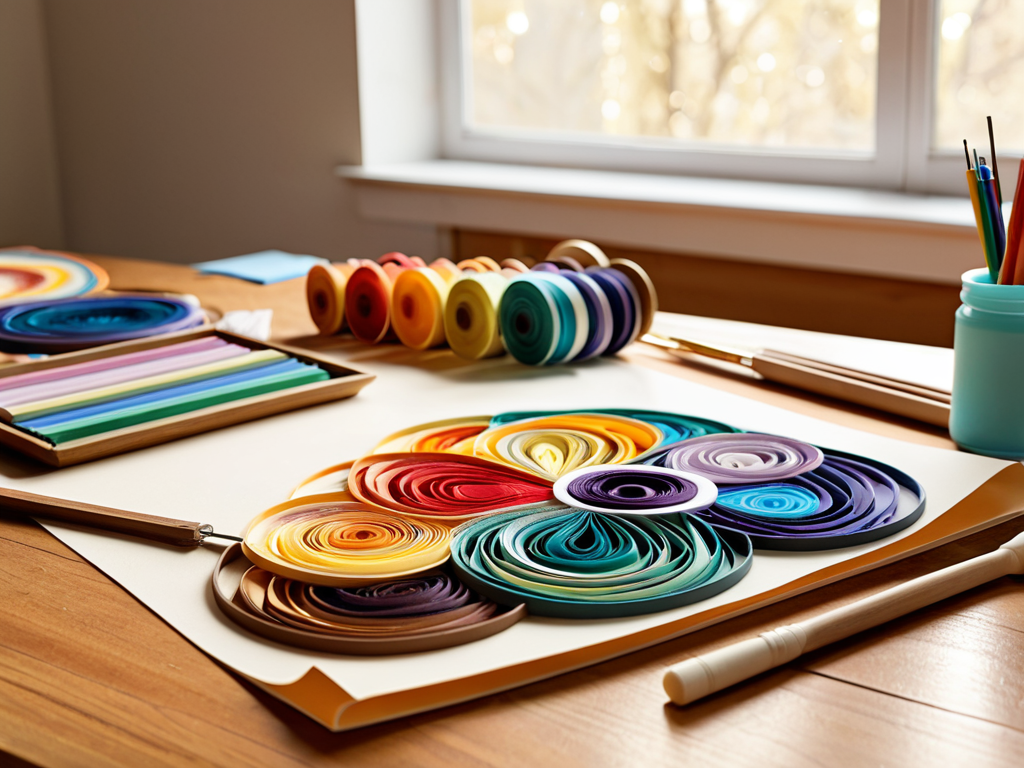
As I delve deeper into the world of paper quilling designs for beginners, I’m constantly amazed by the versatility of this art form. One of the most important aspects to consider is the type of paper used, as quilling paper types and sizes can greatly affect the overall appearance of your design. From thin, delicate strips to thicker, more textured papers, each type offers a unique opportunity to add depth and visual interest to your creations.
When it comes to creating handmade quilling cards and gifts, the possibilities are endless. By experimenting with different paper colors, textures, and patterns, you can craft one-of-a-kind pieces that are truly special. I’ve found that quilling tool alternatives and hacks can be a great way to add a personal touch to your designs, whether it’s using a toothpick to shape delicate coils or a credit card to create crisp, sharp folds.
As you become more comfortable with the basics of quilling, you may want to explore advanced quilling techniques and patterns. This can include intricate designs, such as flowers or leaves, or more complex shapes, like birds or animals. By incorporating quilling art for scrapbooking and journals into your projects, you can add an extra layer of meaning and beauty to your creations, making them truly unforgettable.
Handmade Quilling Cards
I love using quilling to create one-of-a-kind greeting cards. There’s something special about giving a handmade card that shows you’ve taken the time to craft something just for the recipient. With quilling, you can add intricate designs and patterns that make the card truly unique. You can use quilled shapes to create borders, frames, or even 3D elements that pop off the page.
By combining quilling with other paper crafting techniques, like stamping or embossing, you can create stunning handmade quilling cards that are perfect for any occasion. Whether it’s a birthday, anniversary, or just a thoughtful gesture, a quilled card is sure to be treasured.
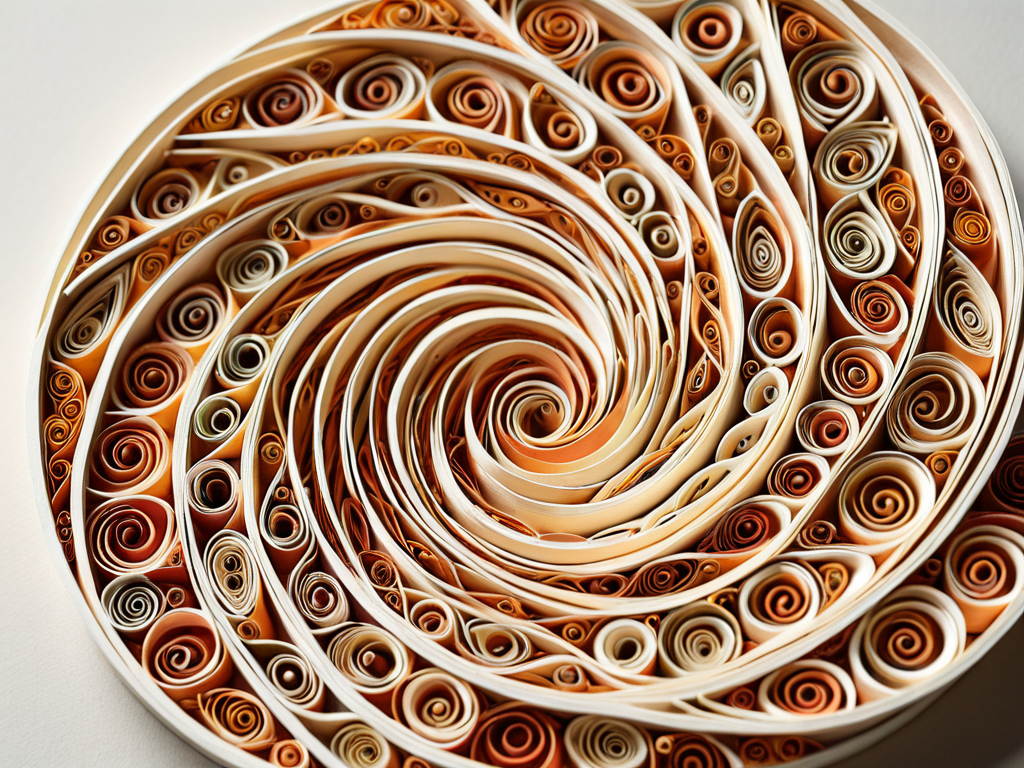
Rolling Paper Quilling Designs
As I delve deeper into the world of quilling paper art, I’m fascinated by the rolling paper quilling designs that can be created. From loose, flowing scrolls to tight, compact rolls, the variety is astounding. I’ve spent hours experimenting with different techniques, watching as simple strips of paper transform into intricate, swirling patterns. The tactile nature of quilling is almost meditative, as I gently roll and shape each piece into place.
The rolling designs can be used to create stunning borders, frames, and even three-dimensional sculptures. I’ve seen quilling artists craft beautiful flowers, leaves, and trees using just rolled paper, and I’m eager to try my hand at these techniques. With each new design, I’m discovering the endless possibilities that quilling has to offer, and I’m excited to see where this creative journey takes me.
Mastering the Art: 5 Essential Tips for Quilling Paper Art
- Start with simple designs and gradually move on to more complex patterns to develop your quilling skills
- Experiment with different types of paper, such as colored, textured, or metallic, to add unique effects to your quilling art
- Invest in a good quilling tool, such as a slotted tool or a quilling board, to help you achieve uniform rolls and shapes
- Pay attention to the tension and pressure you apply while rolling the paper to avoid tearing or wrinkling the strips
- Don’t be afraid to make mistakes – they can often lead to new and interesting quilling designs, and are an essential part of the learning process
Key Takeaways from the World of Quilling Paper Art
I’ve found that with a little patience and practice, anyone can master the delicate art of rolling, twisting, and shaping paper into breathtaking designs
From rolling paper quilling designs to crafting handmade quilling cards, the possibilities are endless, and it’s amazing to see how a simple strip of paper can be transformed into a work of art
Whether you’re a seasoned crafter or just starting out, quilling paper art offers a unique way to express your creativity, relax, and produce something truly beautiful and unique
The Heart of Quilling
As I delicately roll and shape each strip of paper, I’m reminded that quilling paper art is not just about creating something beautiful, but about the gentle dance of patience, precision, and imagination that brings it to life.
A Quilling Enthusiast
Conclusion
As we conclude our journey through the world of quilling paper art, it’s essential to reflect on the basics that make this craft so unique. From rolling and twisting to shaping and designing, we’ve covered the fundamental steps to create stunning quilling paper art pieces. We’ve also explored the various ways to discover quilling paper art, including rolling paper quilling designs and handmade quilling cards. Whether you’re a seasoned artist or a beginner, quilling paper art offers a creative outlet that can be both therapeutic and rewarding.
As you embark on your own quilling paper art journey, remember that the true beauty of this craft lies in its imperfections. Don’t be afraid to experiment, try new things, and make mistakes – they often lead to unexpected masterpieces. With patience, practice, and a willingness to learn, you can unlock the full potential of quilling paper art and create pieces that are truly one-of-a-kind. So, go ahead, get creative, and let the delicate magic of quilling paper art inspire you to new heights.
Frequently Asked Questions
What types of paper are best suited for quilling?
I swear by quilling paper specifically designed for the craft – it’s usually colored on one side and white on the other. You can also use lightweight paper like construction paper or even magazine cutouts for a more eclectic look. Just avoid anything too thick or heavy, it’s all about delicate rolls and twists.
How do I achieve uniform rolls and shapes in my quilling designs?
To get uniform rolls, I swear by using a quilling tool or a slotted tool – it helps keep the pressure even. For shapes, try using a template or a quilling board to guide your coils into perfect circles, loose scrolls, or whatever shape you need. It makes all the difference, trust me!
Can I use quilling to create three-dimensional objects or is it limited to flat designs?
Absolutely, you can create 3D objects with quilling – it’s one of my favorite things to do. By layering and shaping quilled pieces, you can build intricate, dimensional designs that add an extra wow factor to your art. I’ve made everything from quilled flowers to intricate boxes, and the possibilities are endless.