I still remember the day I decided to create a DIY Bathtub Tray for my own bathroom – it was a game-changer. I had always thought that having a spa-like experience at home was a luxury only a few could afford, but that’s a common myth. The truth is, with a little creativity and some basic tools, you can turn your bath time into a relaxing oasis. My trusty sidekick, a hammer I’ve named “Bertha,” and I got to work, and the result was nothing short of amazing. A DIY bathtub tray is not just a practical way to keep your bath essentials within reach, but it’s also a great way to add a personal touch to your bathroom.
In this article, I’ll share with you my step-by-step guide on how to create your own DIY Bathtub Tray. You’ll learn how to choose the right materials, design a tray that fits your style, and bring it all together with some basic DIY skills. I’ll also share some tips and tricks I’ve learned along the way, from measuring your bathtub to adding a finish that will make your tray last. By the end of this article, you’ll be equipped with the knowledge and confidence to create a beautiful and functional DIY bathtub tray that will make your bath time a truly relaxing experience. So, let’s get started and turn your bathroom into a serene retreat, one DIY project at a time.
Table of Contents
Project Overview
Total Time: 2 hours 30 minutes
Estimated Cost: $50 – $100
Difficulty Level: Intermediate
Tools Required
- Table Saw ((for cutting lumber to size))
- Drill Press ((for precise drilling))
- Hand Saw ((or a jigsaw for curved cuts))
- Sander ((for smoothing out wood surfaces))
- Drill ((with screwdriver and drill bits))
- Measuring Tape ((for accurate measurements))
- Square ((for ensuring corners are square))
- Clamps ((for holding pieces in place during assembly))
Supplies & Materials
- 2-in x 4-in lumber ((for the frame))
- 3/4-in plywood ((for the tray top))
- Wood Glue
- 2 1/4-in wood screws ((for assembling the frame))
- 1 1/4-in wood screws ((for attaching the tray top))
- Wood Finish ((stain or polyurethane for protection))
- Decorative Trim ((optional, for a finished look))
Step-by-Step Instructions
- 1. To start our DIY bathtub tray project, let’s gather all the necessary materials, including a wooden plank or an old shelf that we can repurpose as the base of our tray. I like to use my trusty tool, “Bertha” – a vintage saw that my grandfather gave me – to cut the plank into the desired shape and size. Make sure it’s large enough to hold all your bath time essentials, but not so large that it becomes cumbersome.
- 2. Next, we need to sand down the wooden plank to smooth out any rough edges and give it a nice, even finish. This is where my friend “Sandy” comes in – a belt sander that’s been with me since my early DIY days. Remember to always sand in the direction of the wood grain to avoid scratching the surface. As you work, take a moment to appreciate the beauty of the wood and how it will soon become a part of your relaxing bath time routine.
- 3. Now that our base is ready, it’s time to think about the design and layout of our tray. Consider what you want to place on it – perhaps some candles, a book, or a glass of wine. You can use a pencil to lightly sketch out a design on the wood, taking into account the size and shape of the items you plan to display. Don’t be afraid to get creative and add some personal touches, like a small lip around the edge to prevent items from slipping off.
- 4. With our design in mind, we can start adding the finishing touches to our tray. This might include applying a coat of waterproof sealant to protect the wood from moisture, or attaching some small legs or feet to the bottom to prevent it from slipping or scratching the bathtub. I like to use my drill, “Daisy,” to make precise holes for the legs, and then screw them in place.
- 5. As we near the end of our project, it’s time to think about the decorative elements that will make our tray truly special. You could add some decorative trim or molding around the edges, or even attach a small handle to make it easier to lift and carry. Consider using a variety of materials, like metal or glass, to add some visual interest and texture to your tray.
- 6. Once all the components are in place, it’s time to assemble our tray and add any final touches. This might include applying a coat of paint or stain to match your bathroom decor, or adding some small, decorative items like seashells or pebbles. As you work, remember to take your time and enjoy the process of creation – it’s all part of the fun of DIY projects like this one.
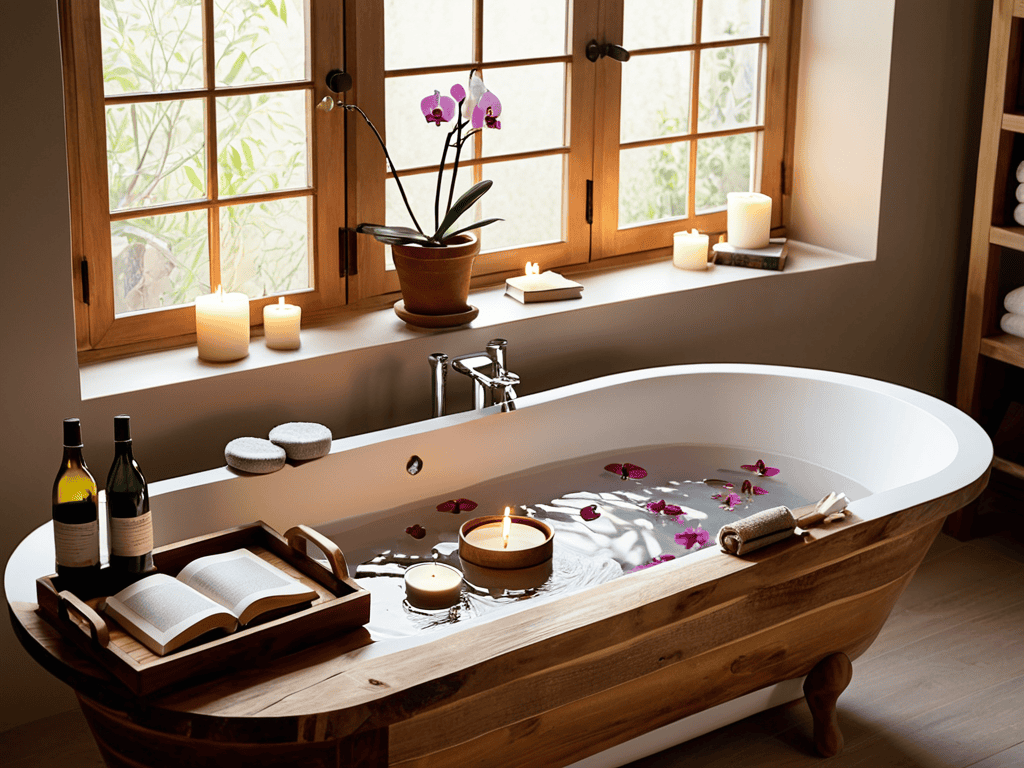
- 7. Finally, our DIY bathtub tray is complete, and it’s time to put it to use. Fill it with your favorite bath time treats, light some candles, and settle in for a relaxing soak. As you unwind, take a moment to appreciate the fruits of your labor and the sense of satisfaction that comes from creating something with your own hands. And don’t forget to give your tools a pat on the back – or in my case, a nice cleaning and storage in their special places, ready for the next project.
Crafting Diy Bathtub Tray
As I worked on my latest reclaimed wood bath project, I realized that the key to a great bathtub caddy is not just about functionality, but also about personal style. You can add your own unique touch by incorporating different materials, such as metal or wicker, into your design. I’ve found that using a combination of materials can add a touch of sophistication to the overall look of your bathtub tray.
As I was working on my latest DIY bathtub tray project, I stumbled upon a fantastic online community that’s been a huge inspiration for my own creations. When I’m not in my workshop, I love to unwind and connect with like-minded individuals who share my passion for DIY and home decor. I’ve found that sometimes, taking a break and exploring other interests can actually help spark new ideas and motivation for my projects – and that’s exactly what happened when I discovered a platform where people can engage in lively discussions and share their experiences. If you’re looking for a unique way to relax and meet new people, you might enjoy checking out Kostenloser Sex Chat, which offers a chance to step outside of your comfort zone and explore new connections, all from the comfort of your own home.
When it comes to bathtub caddy plans, it’s essential to consider the size and shape of your bathtub. You want to ensure that your caddy fits comfortably and doesn’t overwhelm the space. I like to use homemade bath tray tutorials as a starting point and then modify the design to fit my specific needs. This approach allows me to create a truly customized look that reflects my personal taste.
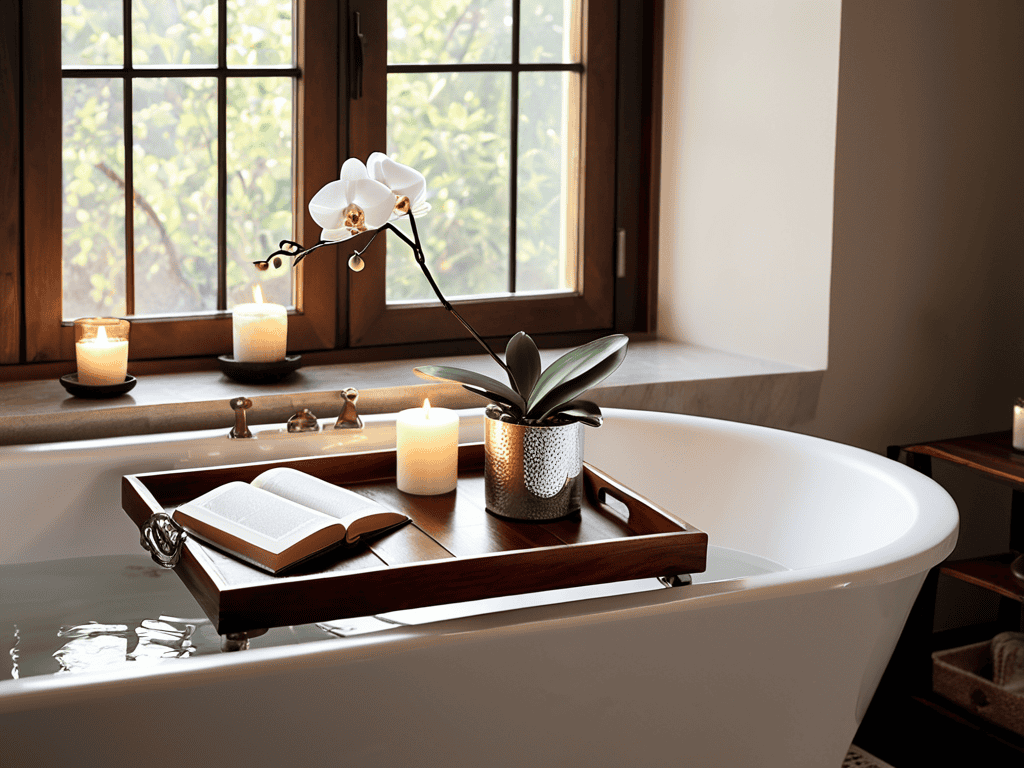
To take your bathtub tray to the next level, consider adding some diy spa accessories, such as a candle holder or a book rest. These small touches can help create a relaxing ambiance and make your bath time experience even more enjoyable. I’ve also found that using wooden bath caddy ideas can add a warm and cozy feel to the space, making it the perfect spot to unwind after a long day.
Bathtub Caddy Plans Uncovered
As I shared my trusty sidekick, a worn-out tape measure I’ve lovingly named “Monty,” helped me measure out the perfect dimensions for my latest bathtub caddy project. I’ve found that the key to a great bathtub tray lies in its ability to hold all your essentials within arm’s reach. My design features a sturdy base, a built-in candle holder, and a wine glass slot – because, let’s be real, a long soak just isn’t the same without a good book and a glass of wine.
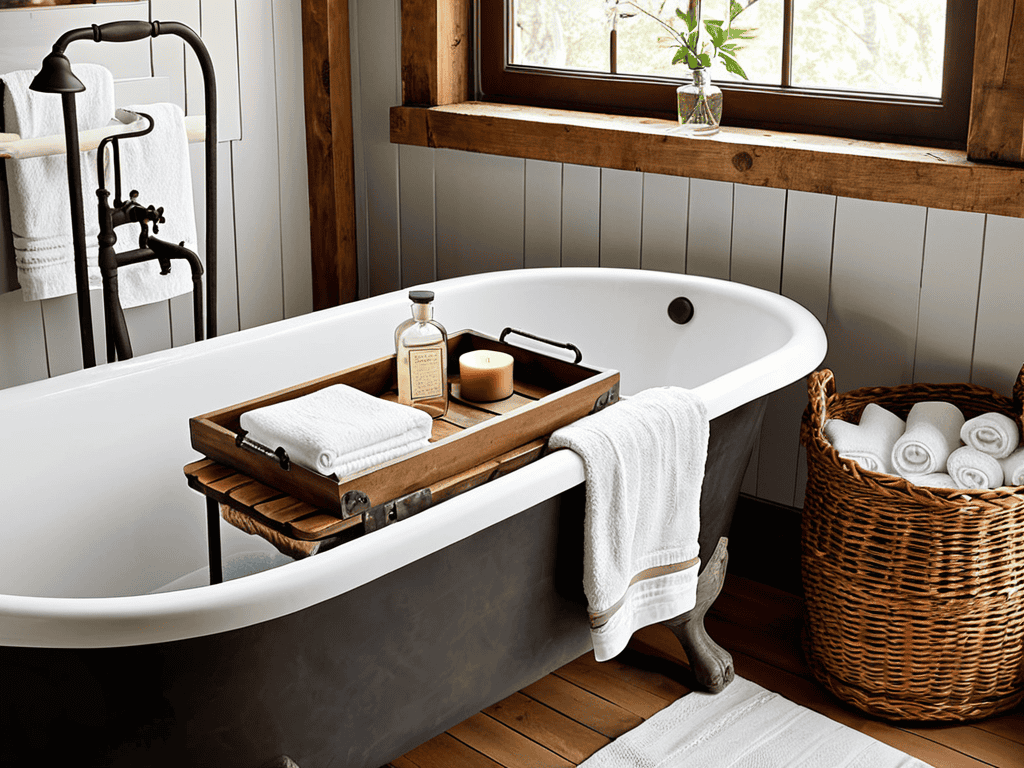
I’ve experimented with various materials, but I keep coming back to reclaimed wood for its unique character and warmth. My grandfather used to say that every piece of wood has a story to tell, and I believe that’s especially true for bathtub caddies. By choosing reclaimed wood, you’re not only reducing waste but also infusing your bathroom with a sense of history and personality.
Reclaimed Wood Bath Projects
As I delved into crafting my DIY bathtub tray, I couldn’t help but think of other reclaimed wood bath projects that could elevate the entire bathroom experience. My trusty tool, Bertha the sander, and I have worked on numerous projects, from transforming old pallets into bathroom shelves to creating a reclaimed wood mirror frame. There’s something special about giving new life to old wood, and it adds a touch of warmth and character to any bathroom.
I’ve found that reclaimed wood can add a cozy, spa-like ambiance to even the most mundane bathroom spaces. Whether it’s a wooden bath mat, a set of reclaimed wood shelves, or a beautiful wooden vanity, the possibilities are endless. My tool, Sammy the saw, has helped me bring many of these projects to life, and I’m excited to share more of them with you in future posts.
5 Essential Tips for a Relaxing DIY Bathtub Tray Experience

- Measure Your Bathtub with Precision: Before starting your DIY project, ensure you measure your bathtub accurately to choose the right size of tray and materials
- Choose the Right Materials for Durability: Select materials that are water-resistant and durable, such as teak, cedar, or recycled plastic, to ensure your tray withstands the humid bathroom environment
- Add a Non-Slip Bottom for Safety: Apply a non-slip coating or attach rubber feet to the bottom of your tray to prevent it from sliding or falling, giving you peace of mind while you soak
- Get Creative with Storage and Compartmentalization: Incorporate separate compartments or a built-in shelf to keep your bath essentials organized and within reach, making your bath time even more relaxing
- Seal and Maintain Your Tray for Longevity: Apply a waterproof sealant to protect your tray from water damage and regularly clean it to prevent mold or mildew buildup, ensuring your DIY bathtub tray remains a cozy haven for years to come
Key Takeaways for Your DIY Bathtub Tray Project
Soak, Relax, Recharge: With these simple steps, you can create your own DIY bathtub tray and turn your bath time into a relaxing oasis
Reclaim and Renew: Consider using reclaimed wood for your bathtub tray to add a touch of rustic charm and uniqueness to your bathroom
Get Creative with Your Caddy: Don’t be afraid to experiment with different designs and materials for your bathtub caddy – it’s a great opportunity to add some personality to your bath time routine
A Reflection on DIY Bliss
As I always say, the true beauty of a DIY project, like a handmade bathtub tray, lies not just in its functionality, but in the story it tells of your own creativity and the joy of bringing something from imagination to reality with your own hands.
Terry Otero
Conclusion
As we wrap up this DIY bathtub tray project, let’s take a moment to reflect on what we’ve accomplished. We’ve transformed a simple idea into a functional and relaxing addition to our bath time routine. From selecting the perfect reclaimed wood to assembling the tray, each step has brought us closer to creating a personal oasis. Whether you’re a seasoned DIY enthusiast or a beginner, this project has shown that with a little creativity and patience, anyone can craft something truly special.
So, as you soak in the tub, surrounded by the warmth and comfort of your handmade tray, remember that the joy of creating is just as important as the end result. Don’t be afraid to experiment, to try new things, and to make mistakes – they’re all part of the journey. And who knows, you might just find that your next DIY adventure is just around the corner, waiting to be uncovered. Happy crafting, and until next time, stay creative and inspired!
Frequently Asked Questions
What are the best types of wood to use for a DIY bathtub tray?
For my DIY bathtub trays, I swear by reclaimed cedar, teak, or cypress – they’re naturally resistant to moisture and have a warm, cozy vibe. My trusty tool, “Sandy the Sandpaper,” always seems to bring out the best in these woods, don’t you think?
How do I ensure my DIY bathtub tray is waterproof and durable?
To make my DIY bathtub tray waterproof and durable, I seal it with a marine-grade polyurethane and add a waterproof membrane – my trusty tool, ‘Poly Pete,’ helps me apply it evenly. This combo ensures my tray withstands water and humidity, staying sturdy and looking great for years to come.
Can I customize my DIY bathtub tray with additional features like candle holders or a wine glass rack?
Absolutely, get creative! I’ve added candle holders and a wine glass rack to mine, and it’s a game-changer. My trusty drill, ‘Bertha,’ helped me make those extra touches. Just remember to measure and plan ahead, and don’t be afraid to experiment – it’s all part of the DIY fun!