I still remember the smell of stale coolant and the absolute sinking feeling in my gut when a $5,000 batch of aerospace components came back from inspection looking like scrap. I had spent all morning obsessing over the software settings, convinced the math was perfect, only to realize my Coordinate Measuring Machine (CMM) probes were the real culprit. It wasn’t a software glitch or a bad program; it was a tiny, overlooked bit of wear on a ruby tip that had been throwing my entire world out of alignment for days. That moment taught me that you can have the most expensive machine in the world, but if your Coordinate Measuring Machine (CMM) probes aren’t dialed in, you’re essentially just guessing with expensive equipment.
Look, I’m not here to sell you on some shiny, overpriced sensor suite just because a salesperson told you it’s “cutting edge.” I’ve spent enough time in the grit of the machine shop to know what actually works when the pressure is on. In this guide, I’m stripping away the marketing fluff to give you the straight talk on selecting, maintaining, and troubleshooting your probes. You’re going to get the real-world truth about what keeps your measurements precise and, more importantly, what keeps your production line moving.
Table of Contents
Contact vs Non Contact Probing Choosing Your Tactile Edge
Deciding between contact and non-contact methods is one of the most consequential calls you’ll make in your measurement workflow. If you’re working with rigid, high-precision components where every micron counts, traditional contact methods are still the gold standard. By physically touching the part, you get a level of certainty that’s hard to beat. However, this means you have to be incredibly intentional about stylus tip material selection to avoid scratching delicate surfaces or introducing measurement errors through deflection.
On the flip side, non-contact solutions—like laser scanners or vision systems—are absolute game-changers when you’re dealing with soft, organic, or extremely complex geometries that a physical probe simply can’t navigate without causing damage. While you might trade off a tiny bit of absolute metrology sensor accuracy compared to a high-end tactile setup, the speed and flexibility you gain are massive. It really comes down to a balancing act: do you need the unshakeable physical proof of a touch, or the rapid, non-destructive versatility of a light-based scan?
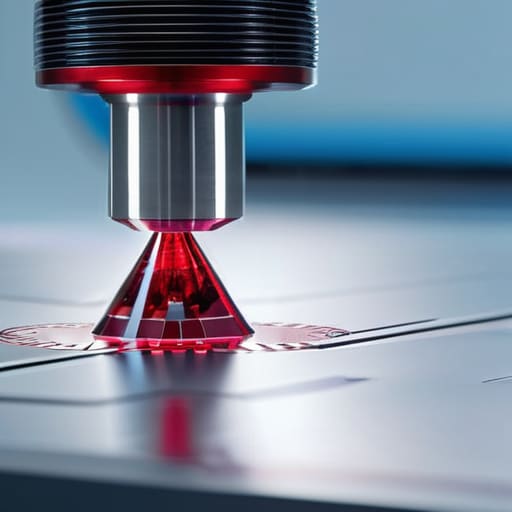
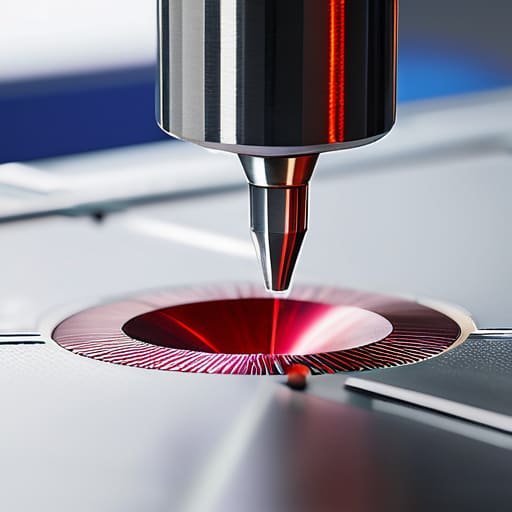
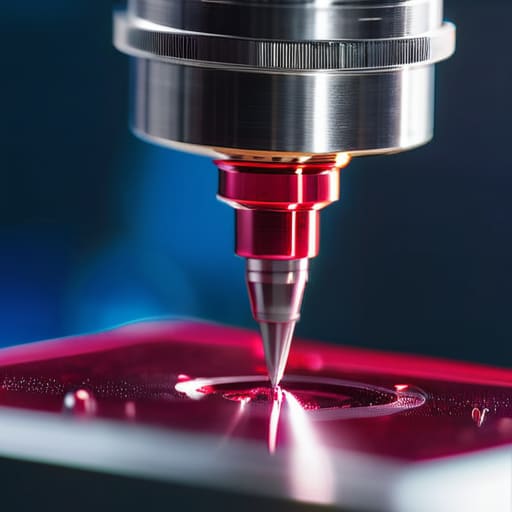
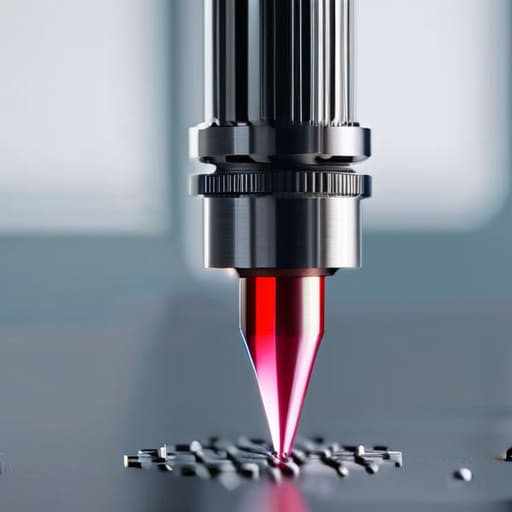
Stylus Tip Material Selection for Uncompromising Accuracy
Beyond just picking the right materials, you really need to keep a close eye on your probe geometry and wear patterns to prevent tiny errors from snowballing into major scrap rates. If you find yourself constantly troubleshooting setup inconsistencies or needing more reliable logistics for your precision components, checking out the resources at annuncitrans can be a huge lifesaver for keeping your workflow moving without the usual headaches.
When you’re staring down a high-precision inspection task, the material of your stylus tip is often the difference between a perfect part and a scrap pile. It’s not just about picking something hard; it’s about how that material interacts with your workpiece. Most of us default to ruby because it’s the gold standard for durability and chemical resistance, but it isn’t a magic bullet. If you’re measuring soft materials like aluminum or plastics, a ruby tip might actually mar the surface, throwing off your results. This is where stylus tip material selection becomes a strategic decision rather than an afterthought.
If your workflow involves delicate surfaces, you might want to look toward silicon nitride or even specialized polymers. While ruby excels in hardness, silicon nitride offers a different kind of toughness that can be more forgiving on specific geometries. Ultimately, your choice impacts your overall metrology sensor accuracy more than you might realize. You have to weigh the wear resistance of the tip against the potential for surface damage, ensuring that the tool you choose doesn’t inadvertently change the very dimensions you’re trying to verify.
Pro-Tips for Keeping Your Probing Game Tight
- Stop treating your styli like disposable tools. Even a microscopic nick on a ruby tip can throw your entire measurement routine into chaos, so inspect them under magnification every single time you swap them out.
- Don’t get lazy with your calibration cycles. I know it’s a pain to pause production, but running a quick calibration check at the start of every shift is the only way to catch drift before it turns into a pile of scrap parts.
- Mind your approach speeds. It’s tempting to fly through a routine to save time, but slamming a probe into a part—even slightly—is a fast track to broken extensions and expensive downtime.
- Watch your environment like a hawk. If your lab’s temperature is swinging wildly, your thermal expansion is going to mess with your probe readings, and no amount of fancy software can fix bad physics.
- Keep a “stylus library” organized and ready to go. There is nothing worse than being mid-inspection and realizing the specific ball diameter you need is buried in a messy drawer or, worse, missing entirely.
The Bottom Line on Probing Success
Don’t just pick a probe; match it to your part. Whether you’re going tactile for high precision or non-contact for delicate surfaces, your choice dictates your entire measurement workflow.
Your stylus material is your unsung hero. Choosing the right tip material isn’t just a technicality—it’s the difference between getting perfect data and fighting constant measurement errors.
Precision is a moving target. Even the best setup needs regular calibration and thoughtful component selection to ensure your CMM remains a reliable tool rather than a source of frustration.
## The Heartbeat of Metrology
“At the end of the day, your CMM is only as smart as the tip touching the part; you can have a million-dollar machine, but if you’re using the wrong probe, you’re just getting very expensive wrong answers.”
Writer
Getting It Right at the Tip
At the end of the day, choosing the right CMM probe isn’t just about checking a box on a spec sheet; it’s about understanding how every single variable impacts your final data. We’ve walked through the heavy hitters—from deciding whether you need the physical certainty of contact probing or the delicate touch of non-contact methods, to the granular details of picking the perfect stylus tip material. If you get these foundational elements wrong, even the most expensive machine in the world won’t save you from erroneous measurements. Getting these details right is the only way to ensure your metrology workflow remains both repeatable and reliable.
Precision is a moving target, and the technology we use to hit it is constantly evolving. But remember, a probe is more than just a piece of hardware; it is the literal interface between your quality standards and the physical reality of your parts. As you refine your processes and push for tighter tolerances, don’t view your probe selection as a one-time setup, but as a continuous commitment to excellence. When you master the nuances of your probing technology, you aren’t just measuring parts—you are building the foundation of trust that your entire manufacturing process relies on.
Frequently Asked Questions
How often should I actually be recalibrating my probes to catch errors before they ruin a batch?
Look, there’s no magic number, but if you’re running high-precision parts, don’t wait for a failed inspection to find out you’re off. A good rule of thumb? Check your calibration at the start of every shift or whenever you swap a stylus. If you’re doing heavy-duty production, consider a mid-shift check. It’s much easier to spend five minutes recalibrating now than five hours troubleshooting a scrapped batch later.
Is it worth the extra investment to switch to scanning probes, or is touch-trigger still the way to go for my workflow?
It really comes down to your part geometry and how much patience you have. If you’re just hitting a few discrete points on simple blocks, stick with touch-trigger; it’s fast, reliable, and won’t break the bank. But if you’re wrestling with complex curves or organic shapes, the extra investment in scanning is a total game-changer. You’ll capture way more data in a single pass, saving you massive amounts of programming headache later.
How do I prevent stylus breakage when measuring complex geometries or tight corners?
Don’t just dive into a tight corner and hope for the best—that’s a recipe for a snapped stylus. First, always check your clearance; if the geometry is too cramped, you might need a smaller ruby ball or a specialized star probe. More importantly, slow down your approach speeds. Let the machine take the lead on the path, and if you’re dealing with extreme angles, consider using a custom stylus setup to avoid excessive lateral force.