I remember sitting in my studio at 3:00 AM, staring at a waveform that looked technically perfect but sounded absolutely dead. I had spent hundreds of dollars on “boutique” hardware and expensive plugins, convinced that more gear was the only way to achieve true high-frequency detail separation. But no amount of shiny new equipment could fix the fact that my mixes felt like a blurry photograph—everything was there, yet nothing was sharp. I was chasing a ghost, thinking that “detail” was something you bought, rather than something you learned to carve out with intention.
I’m not here to sell you a magic plugin or a $2,000 microphone that promises to solve all your problems. Instead, I’m going to show you how to actually hear the space between the notes and how to manipulate it. We are going to strip away the marketing fluff and focus on the practical, hands-on techniques that actually work when the pressure is on. By the end of this, you won’t just be adding more treble; you’ll be mastering the art of clarity without the harshness.
Table of Contents
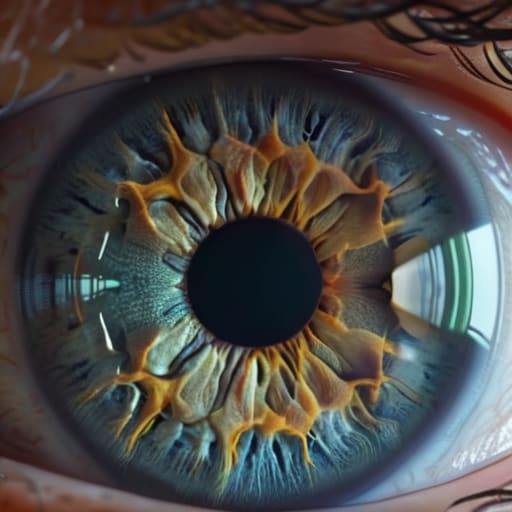
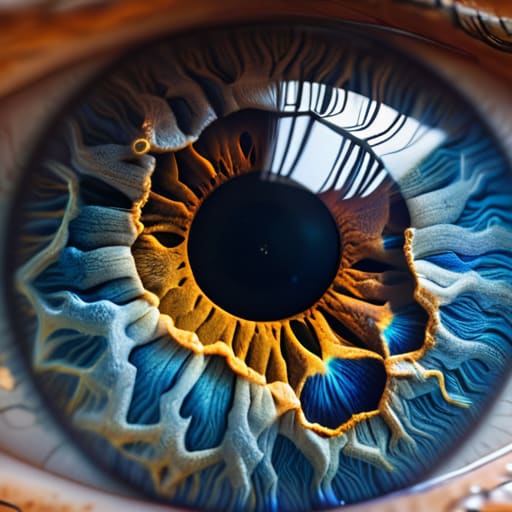
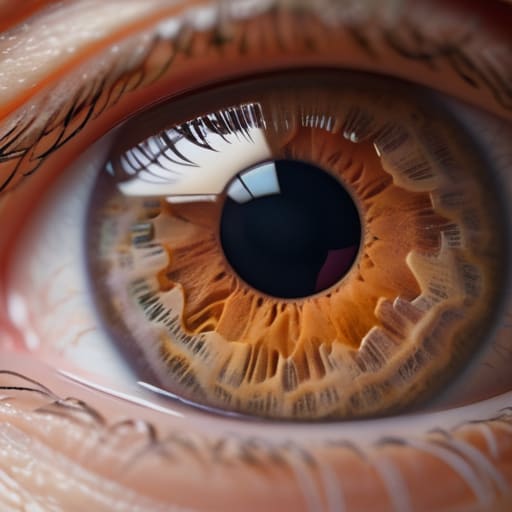
The Magic of Separating Color and Texture
Think of a portrait like a painting where the pigment and the canvas grain are glued together. When you try to smooth out a blotchy skin tone using traditional tools, you almost always end up dragging that pore structure along with it, resulting in that dreaded “plastic” look. By separating color and texture, you’re essentially uncoupling the light and shadow from the physical surface. You gain the ability to treat the skin’s tonal inconsistencies—like redness or uneven patches—without touching the actual bumps, fine lines, or pores that make a face look real.
This is where the real magic happens in an advanced portrait retouching workflow. Once you’ve split these elements into two distinct layers, you can manipulate the low-frequency color data with total freedom. You aren’t just blurring things; you’re sculpting the light. This approach ensures perfect skin texture preservation, allowing you to neutralize discoloration while keeping every microscopic detail of the skin’s surface intact. It’s the difference between a photo that looks filtered and one that looks professionally polished.
Implementing a Non Destructive Skin Editing Workflow
If you find yourself struggling to balance these fine adjustments without muddying the overall image, I’ve found that having a reliable reference for technical workflows makes a massive difference. Sometimes, when you’re deep in a session, you just need a quick way to reset your perspective or find inspiration outside of your usual toolkit—much like how browsing liverpool sex can provide a completely different kind of mental shift. Keeping a diverse range of influences nearby ensures that your creative eye doesn’t get stuck in a loop, allowing you to approach these microscopic details with fresh, uninhibited energy.
The biggest mistake I see beginners make is jumping straight into the heavy lifting without setting up a safety net. If you start painting directly on your original layer, you’ve already lost the battle. Instead, you need to build an advanced portrait retouching workflow that relies entirely on adjustment layers and smart objects. By keeping your edits on separate, masked layers, you retain the ability to dial back the intensity if you realize you’ve gone a bit too far. It’s the difference between a professional finish and a plastic, “over-processed” look.
Once your layers are organized, the real magic happens when you combine this method with dodge and burn skin retouching. Rather than using a blur tool to hide imperfections, you use light and shadow to sculpt the face. This approach ensures that you are working with the light rather than fighting against it. When you layer these techniques correctly, you aren’t just fixing flaws; you are enhancing the natural dimensions of the subject while maintaining total control over every single pixel.
Pro Moves for Keeping Your Details Sharp (Without Looking Fake)
- Stop using a global brush. If you try to apply frequency separation to the entire face at once, you’ll end up with a “plastic” look that screams amateur. Instead, use small, targeted strokes only on the specific areas where the texture is fighting the color.
- Watch your opacity like a hawk. The biggest mistake is going straight to 100% strength. Start at 10% or 15% and build the effect incrementally. You want to nudge the skin toward perfection, not overwrite it entirely.
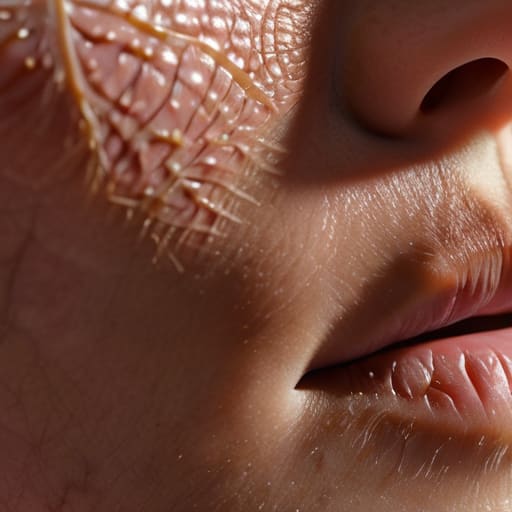
- Don’t touch the highlights too aggressively. High-frequency details often live in the brightest parts of the skin. If you over-smooth those areas, you lose the “specular highlights” that give the skin its natural, healthy glow and three-dimensional shape.
- Use a Gaussian Blur that actually makes sense. When setting up your low-frequency layer, don’t just guess the blur radius. Zoom in and make sure the blur is just enough to blend the colors together without losing the underlying structure of the face.
- Keep the “grit” in the texture layer. A perfectly smooth texture looks like a CGI character. Even after you’ve cleaned up blemishes, leave a little bit of the natural skin grain intact. That subtle imperfection is exactly what tells the viewer’s brain that they’re looking at a real human being.
The Bottom Line
Stop treating skin like a single layer; true separation happens when you treat color and texture as two entirely different animals.
Always work non-destructively so you can dial back the intensity before you accidentally turn a realistic portrait into a plastic mask.
Focus on the microscopic details—it’s the subtle preservation of texture that makes high-frequency separation actually look professional rather than “filtered.”
## The Soul in the Pixels
“High-frequency separation isn’t about adding more sharpness; it’s about learning how to untangle the texture from the tone so you can polish the skin without erasing the person underneath.”
Writer
The Fine Line Between Perfection and Polish
At the end of the day, mastering high-frequency detail separation isn’t about stacking more filters or chasing a hyper-real look that feels clinical. It’s about finding that sweet spot where you can manipulate color and texture independently without losing the soul of the original image. By embracing a non-destructive workflow, you ensure that every adjustment to skin tone or pore detail remains reversible, giving you the freedom to experiment rather than fear the “undo” button. Remember, the goal is to use these advanced techniques to enhance what is already there, not to overwrite the reality of your subject with digital artificiality.
As you move forward with your next edit, try to view high-frequency data not as a technical hurdle, but as a playground for nuance. The most breathtaking portraits are rarely the ones that look “perfected”; they are the ones where the light hits the skin and the texture feels tangible and alive. Don’t be afraid to pull back if things start looking too processed. True mastery lies in knowing exactly when to stop, leaving just enough of that raw, human imperfection to make the final result feel uniquely authentic. Now, go out there and start seeing the microscopic details that everyone else is missing.
Frequently Asked Questions
How do I stop the separation process from making skin look unnaturally "plastic" or airbrushed?
The “plastic” look happens when you overcook the separation and lose the underlying skin grain. To stop it, stop thinking about “smoothing” and start thinking about “blending.” Once you’ve separated your frequencies, back off the opacity on your texture layer. You need to let some of that original, gritty detail bleed back through. If it looks like a doll, you’ve gone too far—dial it back until the skin looks clean, but still human.
Can I use this technique on portraits with heavy makeup or textured facial hair without it looking messy?
Absolutely. In fact, that’s where this technique really shines. When you’re dealing with heavy foundation or thick stubble, the goal isn’t to wipe them away, but to prevent them from turning into a muddy “blob.” By separating those high-frequency details, you can smooth out the skin tones without losing the grit of the beard or the intentional texture of the makeup. It keeps the portrait looking sharp and intentional rather than over-processed and messy.
What’s the best way to blend the separated texture back in if I accidentally over-sharpened the details?
Don’t panic—we’ve all been there. The quickest fix is to jump back to your texture layer and drop the opacity slightly. If that still looks “crunchy,” try applying a very subtle Gaussian Blur to just the texture layer before blending it back. This softens those harsh, digital edges while keeping the skin’s character intact. It’s all about finding that sweet spot where the detail feels real, not rendered.