I remember the first time I tried laying tile. I thought, “How hard can it be?” Armed with nothing but a vague notion of what I was doing and a hammer that had seen better days, I dove right in. Spoiler alert: it was a disaster. The tiles were uneven, grout was everywhere, and my ego was bruised. I quickly learned that winging it wasn’t going to cut it. I needed the right tools, and I needed to know how to use them.
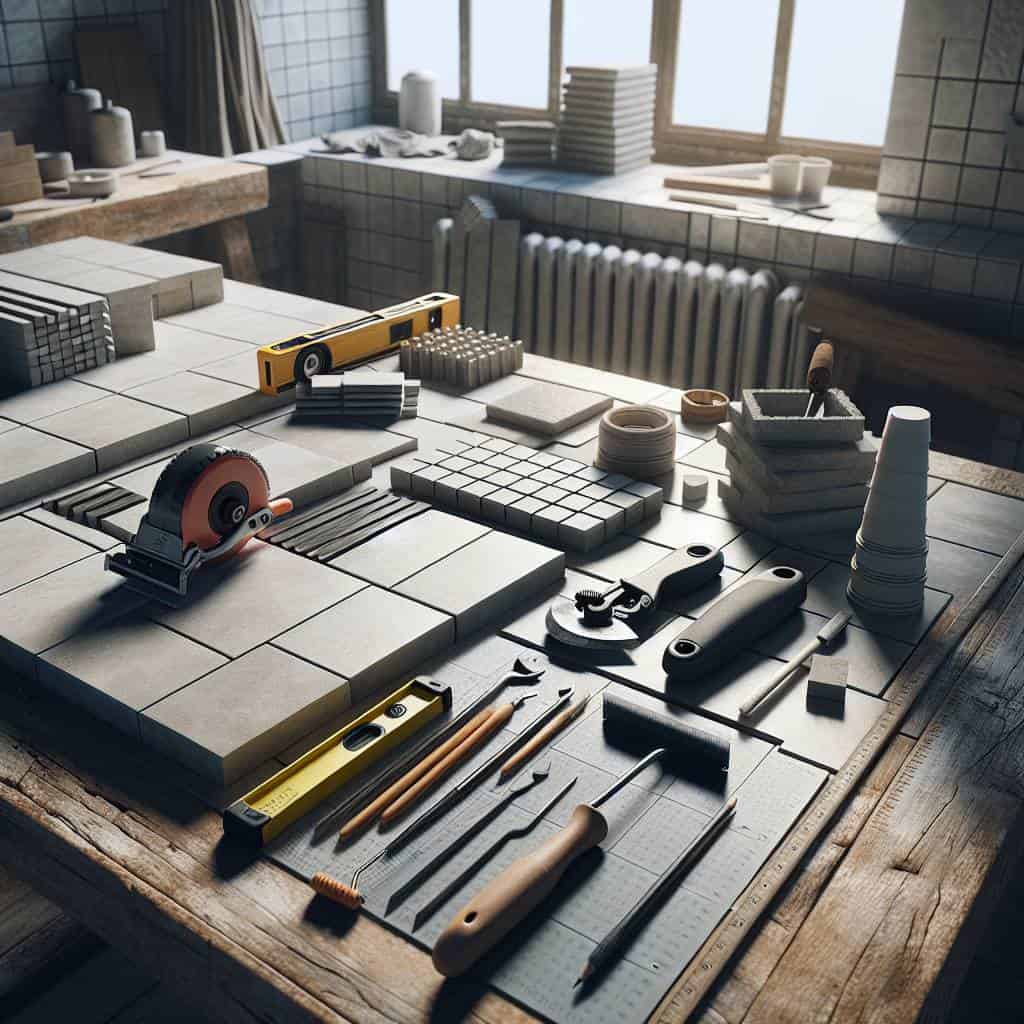
So here we are. I’m not going to sugarcoat it—tiling is a job that demands respect and the right gear. In this article, we’ll dive into the nuts and bolts of the essential tools: the wet saw for clean cuts, the notched trowel for perfect adhesive spread, the grout float for sealing the deal, and those little spacers that keep everything in line. Forget the fluff and fancy talk; we’re sticking to the raw essentials. If you’re ready to get your hands dirty and avoid the pitfalls I stumbled into, you’re in the right place.
Table of Contents
The Trowel Tango: A Dance of Notches and Grout
Alright, let’s get our hands dirty. Imagine the trowel as your dance partner in this tile-laying shindig. It’s not just a tool; it’s the lead in the intricate waltz of notches and grout. You see, a notched trowel isn’t just for slapping down some adhesive. Those notches are like the rhythm section in a band, setting the pace and ensuring each tile sticks like it’s meant to. The size of the notch? That’s the tempo—bigger tiles need a deeper groove, while smaller ones dance to a finer tune. If you’re thinking you can just eyeball it, think again. This is precision work, my curious friend, where every notch counts.
And then comes the grout, the unsung hero holding it all together. It’s the glue in this dance, but don’t be fooled—grouting is no walk in the park. It’s more like a tango, full of push and pull. You need a float to smooth things out, but not too much pressure, or you’ll mess up the whole shebang. Spacers step in like seasoned backup dancers, keeping everything lined up just right. And when it gets wet, well, that’s when the real magic—or chaos—happens. But remember, no shortcuts here. Skipping steps or rushing through is like trying to cha-cha in hiking boots. Trust the process, keep your tools close, and you’ll end up with a floor that doesn’t just look good—it stays put through life’s little earthquakes.
Under the Hood of Tiling
In the world of tiling, a wet saw and notched trowel are your best mates, while grout, float, and spacers keep you honest. Miss one, and you’re just a dreamer laying stones.
Lessons from the Tile Trenches
Laying tile is like a rite of passage for those of us who fancy ourselves as weekend warriors. You start out, tools in hand, thinking you’re about to orchestrate a symphony of ceramic. But soon enough, you’re knee-deep in dust and doubt. The wet saw screams like a banshee, and the notched trowel has its own rhythm, one you either learn to dance to or risk tripping over. It’s not about getting it right the first time—it’s about the grit to keep going when the grout starts hardening faster than you’d planned.
What I’ve learned is that every tool tells its own story. The float smooths over your mistakes, the spacers keep you honest, and the whole process demands a respect for the craft and maybe a few choice curse words. It’s not just about the end result, but the battle scars you earn along the way. And when you finally stand back and look at that finished floor, there’s a satisfaction in knowing you didn’t just lay tile—you laid a little bit of yourself in every square.