
I still remember the day I decided to ditch my cramped, cluttered gaming setup and start Building a Gaming Desk from scratch. It was a liberating experience, not just because I ended up with a sleek, customized battle station, but also because I realized that creating something with my own hands could be incredibly therapeutic. The myth that you need to be a skilled carpenter to build a gaming desk is simply not true – with the right tools and a bit of patience, anyone can craft a gaming haven that reflects their personality.
In this article, I’ll share my honest, no-nonsense guide to Building a Gaming Desk, covering everything from choosing the perfect materials to adding those finishing touches that make your desk truly unique. I’ll walk you through the process, sharing tips and tricks I’ve learned along the way, and introduce you to some of my trusted tools, like Betsy, my faithful drill. By the end of this journey, you’ll be equipped with the confidence and knowledge to create a gaming desk that’s not just functional, but also a reflection of your style and creativity. So, let’s get started and turn your gaming space into an epic playground!
Table of Contents
Project Overview
Total Time: 4 hours 30 minutes
Estimated Cost: $150 – $300
Difficulty Level: Intermediate
Tools Required
- Circular Saw ((for cutting lumber))
- Drill Press ((for precise drilling))
- Hand Drill ((for screwing parts together))
- Sander ((for smoothing out wood surfaces))
- Tape Measure ((for accurate measurements))
- Level ((for ensuring the desk is level))
- Clamp ((for holding parts together during gluing))
- Utility Knife ((with extra blades))
Supplies & Materials
- 2-in x 4-in lumber ((for the frame))
- 3/4-in plywood ((for the desktop and shelves))
- Wood Glue
- 2 1/4-in wood screws ((for assembling the frame))
- 1 1/4-in wood screws ((for attaching the desktop and shelves))
- Wood Filler ((for filling gaps and holes))
- Sandpaper ((for smoothing out wood surfaces))
- Paint or Stain ((for finishing the desk))
- Cable Management System ((for organizing cables and wires))
Step-by-Step Instructions
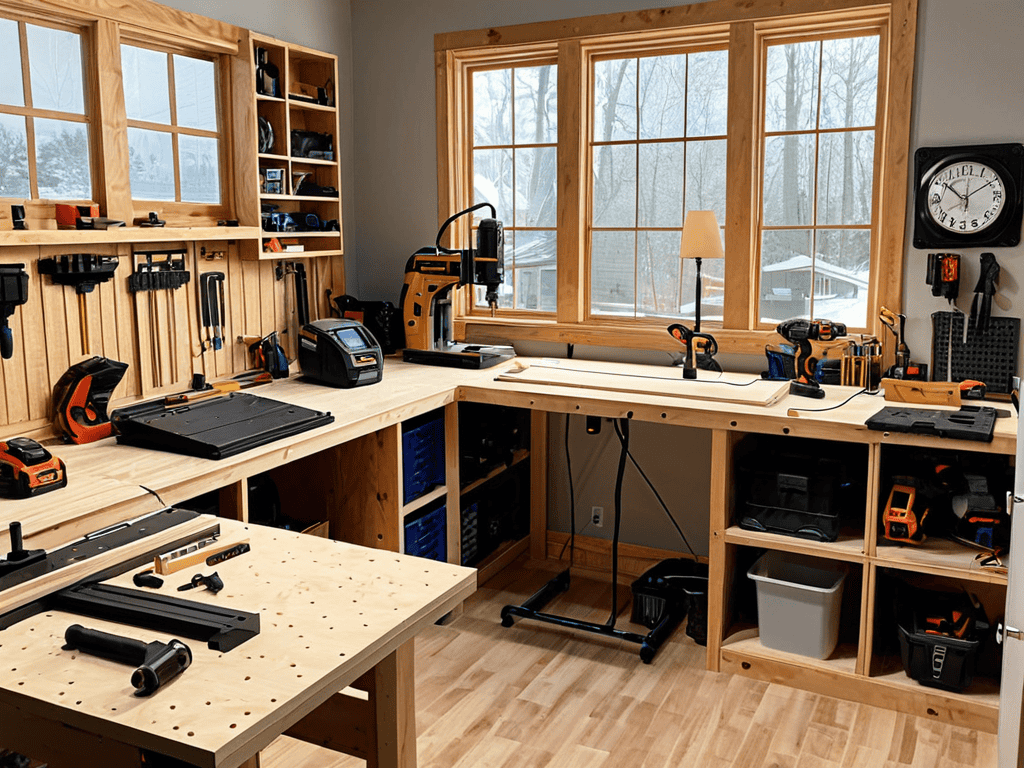
- 1. First, let’s start by gathering all the necessary materials and tools for our project. I like to think of my tools as old friends, each with its own personality. My trusty hammer, which I’ve named “Thunder,” is always by my side. Make sure you have a list of all the components you need, including the wood for the desk top and shelves, the metal frame, and any additional features like cable management systems or a keyboard tray. Measure twice, cut once is my motto, so double-check your measurements before you begin.
- 2. Next, we’ll start building the base of our gaming desk. This involves assembling the metal frame, which will provide the structural support for our entire project. I find it helpful to lay out all the pieces on the floor before starting to assemble, just to get a sense of how everything fits together. My drill, “Daisy,” is a real workhorse when it comes to driving screws and making quick work of this step. Be sure to follow the manufacturer’s instructions for assembling the frame, and don’t hesitate to reach out if you have any questions.
- 3. With the base of our desk assembled, it’s time to move on to the fun part: adding the desktop and shelves. This is where our project really starts to take shape, and you can begin to envision your new gaming haven. I like to use a combination of wood glue and screws to attach the desktop to the frame, making sure it’s secure and level. My tape measure, “Terry Jr.,” is always handy for double-checking my measurements at this stage.
- 4. Now that our desk is taking form, let’s think about the details that will make it truly special. This might include adding a keyboard tray, installing cable management systems to keep your workspace tidy, or even incorporating some decorative elements like LED lighting. My jigsaw, “Jazz,” is perfect for making curved cuts or intricate designs, if you’re feeling ambitious. The key is to think about how you’ll be using your desk and what features will make your gaming experience more enjoyable.
- 5. As we near the completion of our project, it’s time to think about the finish. This might involve sanding and staining the wood, or applying a coat of paint to match your home’s decor. I find that this step is all about attention to detail, making sure every surface is smooth and even. My sandpaper, “Sandy,” is a trusted companion at this stage, helping me to achieve a professional-looking finish.
- 6. With our desk fully assembled and finished, it’s time to add the final touches. This might include installing any hardware, such as drawer pulls or ergonomic accessories, or simply placing your gaming rig and peripherals on the desk. I like to think of this step as the moment of truth, when all your hard work comes together and you get to enjoy the fruits of your labor. My level, “Lily,” ensures that everything is perfectly aligned and ready for action.
- 7. Finally, take a step back and admire your handiwork. Building a gaming desk is a rewarding project that requires patience, creativity, and a willingness to get your hands dirty. As you sit down at your new desk, ready to embark on your next gaming adventure, remember that the joy of creating something with your own hands is just as important as the end result. My tools and I are always happy to have been a part of your DIY journey.
Building a Gaming Desk
As I was working on my latest gaming desk project, I realized the importance of having a well-organized workspace, not just for productivity but also for maintaining a healthy work-life balance. That’s why I always recommend exploring different design inspirations and planning tools, such as those found on various online platforms, to help visualize your ideal setup. For instance, if you’re looking for a unique way to meet like-minded individuals who share your passion for DIY projects and design, you might stumble upon interesting communities or forums through a simple search, perhaps even discovering a hidden gem like sex treffen hamburg, which, although unrelated to DIY, showcases how online platforms can connect people with shared interests. By dedicating some time to research and planning, you can create a space that not only reflects your personality but also enhances your overall gaming experience, making it truly immersive and enjoyable.
As I worked on my latest project, a custom gaming desk plans for a friend, I realized the importance of considering the user’s comfort and style. An ergonomic gaming desk design can make all the difference in marathon gaming sessions. My trusty tool, Bertha the bandsaw, helped me craft a unique shape that fit my friend’s needs.
When it comes to keeping your gaming station organized, gaming desk cable management ideas are essential. I like to use cable ties and zip lines to keep everything tidy. My drill, which I’ve lovingly named Daisy, made it easy to create holes for the cables. A diy gaming desk with storage can be a game-changer, providing a place for all your gaming accessories.
To take your gaming desk to the next level, consider gaming desk lighting options. I’ve used LED strips to create a sleek and modern look. When choosing materials, a gaming desk material comparison can help you decide between options like wood, metal, or glass. My sander, Sandy, helped me smooth out the wood surface for a professional finish.
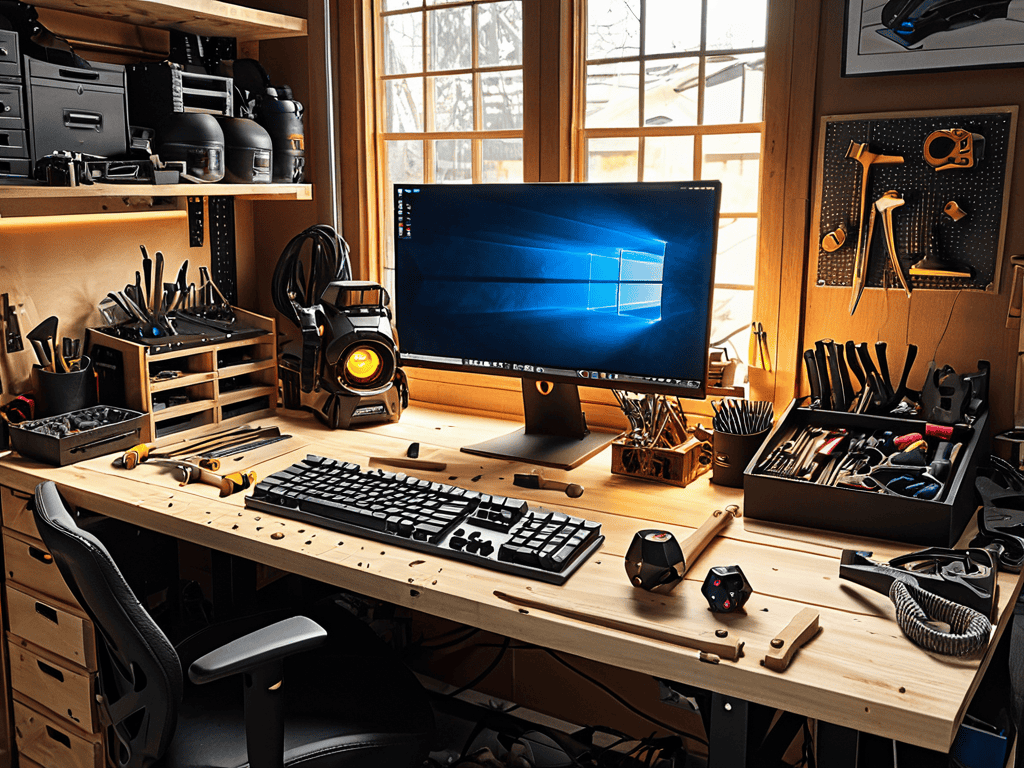
Diy Storage and Cable Management
As I always say, a clutter-free workspace is a happy workspace. That’s why I want to introduce you to my trusty sidekicks, “Sawdy” and “Drilly,” who helped me create a gaming desk with ample storage and clever cable management. To keep your gaming station organized, consider adding drawers or shelves to stow away your accessories and snacks. My grandfather used to say, “A place for everything, and everything in its place” – wise words that still guide my DIY adventures today.
I like to think of cable management as a fun puzzle to solve. With a few zip ties and some creative routing, you can keep your cords tidy and out of the way. My tool, “Tidy Tim,” a trusty cable organizer, has been instrumental in keeping my workspace spick and span. By incorporating these simple storage and cable management solutions, you’ll be able to focus on what really matters – dominating your gaming sessions in style and comfort.
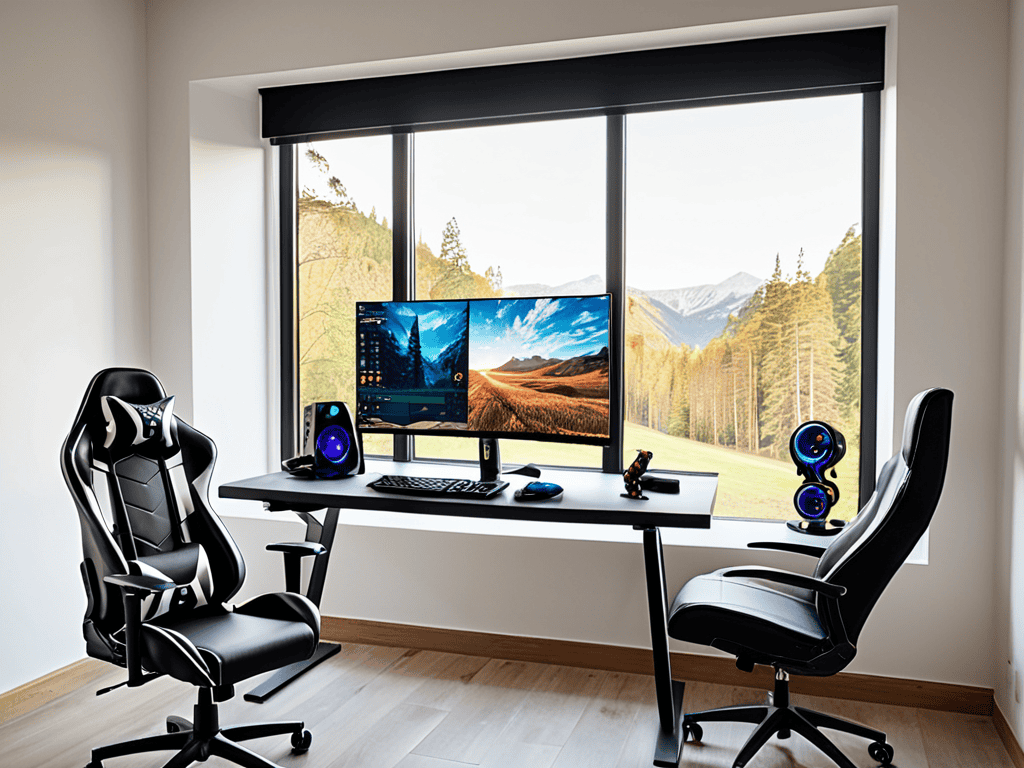
Ergonomic Design With Custom Plans
As I always say, a great gaming desk is all about finding that perfect balance between form and function. That’s where ergonomic design comes in – it’s all about creating a space that works with your body, not against it. I like to think of it as giving my trusty tools, like my drill “Daisy” and my saw “Sally”, a chance to shine in creating a comfortable haven. When designing your gaming desk, consider the height and position of your monitors, keyboard, and mouse to avoid straining your neck and wrists.
By creating custom plans, you can tailor your desk to your specific gaming style and needs. Think about the type of games you play most often and what features would enhance your experience – perhaps a built-in cable management system or a slide-out keyboard tray. With a little creativity and some careful planning, you can craft a gaming desk that’s not only functional but also a reflection of your unique personality.
Hammering Out the Details: 5 Key Tips for Your Dream Gaming Desk
- Measure Twice, Build Once: Before you start constructing, ensure you’ve got the perfect measurements for your space and gaming needs – my trusty tape measure, ‘Mae’, always keeps me in check
- Choose Your Materials Wisely: Select materials that are durable, easy to work with, and fit your aesthetic – I’ve named my circular saw ‘Bertha’ for her robust personality and precision cuts
- Lighting Makes the Experience: Consider adding custom lighting to enhance your gaming ambiance – ‘Lumi’, my LED strip cutter, helps me create the perfect glow for those late-night gaming sessions
- Cable Management is Key: Keep your gaming station organized with clever storage solutions and cable management systems – ‘Tangle’, my wire cutter, is always on hand to keep things tidy
- Make it Ergonomic: Design your gaming desk with comfort in mind, incorporating features like a built-in wrist rest or adjustable height settings – ‘Sawdy’, my jigsaw, loves helping me craft custom shapes for the ultimate gaming comfort
Key Takeaways for Your Dream Gaming Desk
By incorporating ergonomic design principles and custom plans, you can create a gaming desk that not only elevates your gaming experience but also prioritizes your comfort and well-being
Effective DIY storage and cable management solutions are crucial for maintaining a clutter-free and organized gaming station, allowing you to focus on what matters most – your games
With the right tools, a bit of creativity, and a willingness to get hands-on, you can transform any space into the ultimate gaming haven, complete with personalized touches and a character that reflects your unique gaming personality
Crafting Your Gaming Sanctuary
A gaming desk is more than just a piece of furniture – it’s a gateway to new worlds, a throne for marathon gaming sessions, and a reflection of your unique style, where every carefully crafted detail tells a story of victory, defeat, and the unbreakable bond between you and your games.
Terry Otero
Conclusion
As we wrap up our journey to building a gaming desk, let’s recap the key elements that make this project special. From ergonomic design to DIY storage and cable management, every aspect of this build is tailored to enhance your gaming experience. By following the steps outlined in this guide, you’ve not only created a functional piece of furniture but also a reflection of your personal style and gaming personality.
Now that your gaming desk is complete, it’s time to unleash your inner gamer and make this space truly yours. Remember, the joy of DIY projects lies not just in the end result, but in the creative process itself. As you sit at your new desk, surrounded by the tools and games you love, take pride in knowing that you’ve crafted something with your own hands. This sense of accomplishment is what makes DIY projects so rewarding, and I hope this guide has inspired you to continue exploring the world of DIY and making your mark on the gaming community.
Frequently Asked Questions
What type of materials are best suited for building a durable and long-lasting gaming desk?
For a durable gaming desk, I swear by solid woods like oak or maple, and sturdy steel for the frame. My trusty tool, ‘Bertha the Drill,’ can attest to the reliability of these materials. You can also consider reclaimed wood for a unique touch, just like I did with my grandfather’s old workbench.
How can I effectively incorporate cable management systems into my gaming desk design to keep it organized and clutter-free?
My trusty sidekick, a drill I’ve named Daisy, and I have tackled this issue before. For effective cable management, consider adding grommets or cable ties to your design, keeping cords organized and out of sight. You can also repurpose old furniture pieces, like a vintage drawer, to create hidden storage for your gaming gear.
What are some creative ways to add ergonomic features to a gaming desk, such as adjustable height and built-in wrist rests?
I love incorporating ergonomic features into my projects. For adjustable height, consider adding a crank or electric lift system. Built-in wrist rests can be crafted from wood or 3D printed, and I like to name mine ‘Comfort’ – my trusty sanding tool, ‘Sandy’, helped smooth out the wood for a perfect fit.