I still remember the day I decided to turn my backyard into a pet paradise with some amazing DIY pet projects. My grandfather, a skilled carpenter, used to say that with a little creativity and some trusty tools – like my favorite hammer, Bertha – anyone can create something special. As I embarked on my DIY journey, I realized that many people believe DIY pet projects are too complicated or expensive, but the truth is, they can be incredibly simple and fun. With a few basic tools and some imagination, you can create a haven for your furry friends that’s both functional and beautiful.
In this article, I’ll share my personal experience and expertise to guide you through the process of creating your own DIY pet projects. You’ll learn how to transform your home into a comfortable and enjoyable space for your pets, from building a cozy dog bed to creating a cat agility course. I’ll provide you with practical tips and step-by-step instructions to help you get started, so you can enjoy the satisfaction of creating something with your own hands. Whether you’re a seasoned DIY enthusiast or a beginner, this guide will empower you to take on exciting DIY pet projects and make your home a happier place for your pets.
Table of Contents
Guide Overview: What You'll Need
Total Time: 1 hour 45 minutes
Estimated Cost: $20 – $40
Difficulty Level: Easy
Tools Required
- Hammer
- Tape Measure
- Saw (for cutting 2-in x 4-in lumber)
- Drill (with screwdriver bits)
- Sandpaper (for smoothing out wood surfaces)
Supplies & Materials
- 2-in x 4-in lumber (for building frames)
- Plywood (for creating shelves or beds)
- Nails (for assembling wooden parts)
- Screws (for securing metal or plastic components)
- Pet Bedding (for lining pet beds or crates)
- Toys and Treats (for rewarding your pet during training)
Step-by-Step Instructions
- 1. First, let’s start with a fun project that’s easy to complete: building a cat tower. This will not only provide your feline friend with a new place to play, but it’ll also give you a sense of accomplishment. Begin by gathering your materials, including wooden planks, a hammer, and some nails. I like to use my trusty hammer, which I’ve named Hammy, to get the job done.
- 2. Next, cut the wooden planks into the required sizes for the base, shelves, and supports of the cat tower. Remember to always measure twice and cut once to avoid any mistakes. As I always say, precision is key when it comes to DIY projects. Use a saw to make clean cuts, and don’t forget to wear protective gloves to keep your hands safe.
- 3. Now it’s time to assemble the cat tower. Start by building the base, then add the shelves and supports. Use your nails and Hammy to secure everything in place. Make sure the structure is stable and can support the weight of your cat. You can also add some carpeting or sisal rope to the shelves for extra grip and comfort.
- 4. Once the cat tower is assembled, you can add some final touches, such as a cozy bed or a few toys. This is where you can get creative and make the project your own. Consider adding a hiding cave or a few scratching posts to keep your cat entertained. I like to use my drill, which I’ve named Drilly, to make precise holes for any additional features.
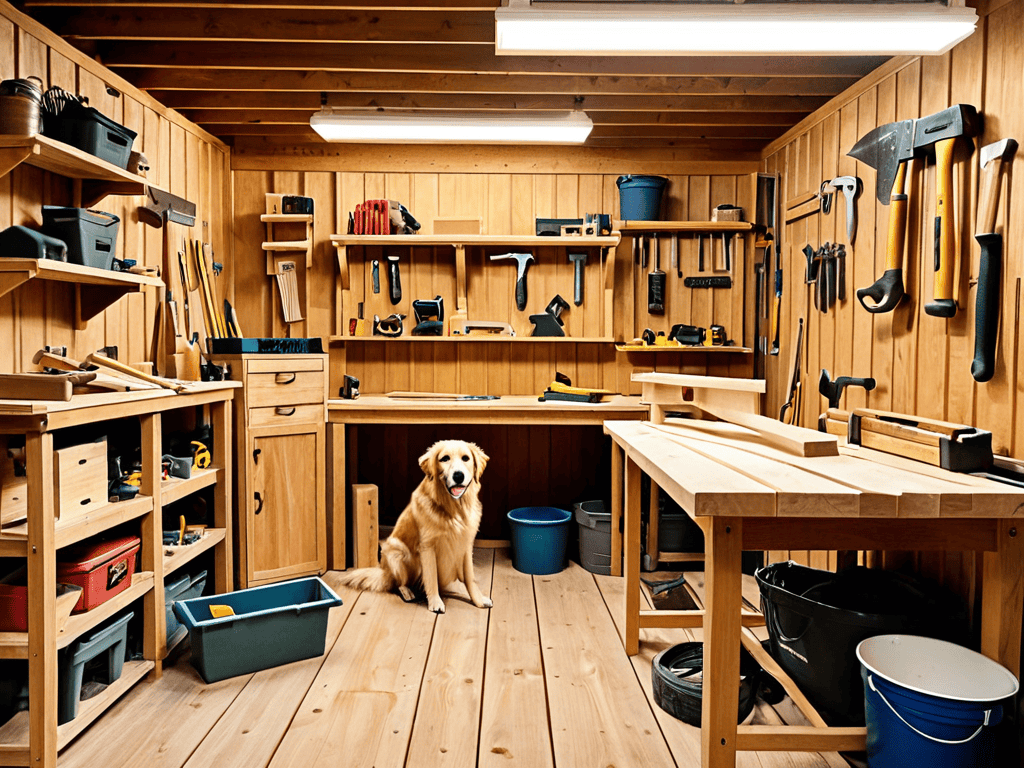
- 5. Another fun project is building a dog house. Start by choosing a design and gathering your materials, including wood, a saw, and a drill. Remember to consider the size and breed of your dog when selecting a design. You want the dog house to be cozy and comfortable for your furry friend. Use Drilly to make holes for ventilation and a door.
- 6. When building the dog house, make sure to use weather-resistant materials to protect it from the elements. You can use a waterproof sealant to keep the wood dry and add a roof to prevent rain from getting inside. I like to use my tape measure, which I’ve named Terry the Tape, to ensure accurate measurements and a snug fit.
- 7. Finally, add some finishing touches to the dog house, such as a bed or a few toys. You can also add a ramp or stairs to make it easier for your dog to get in and out. Consider adding a nameplate or a few decorations to make the dog house feel like home. With these simple steps, you can create a fun and functional space for your furry friend to enjoy.
Diy Pet Projects Delight
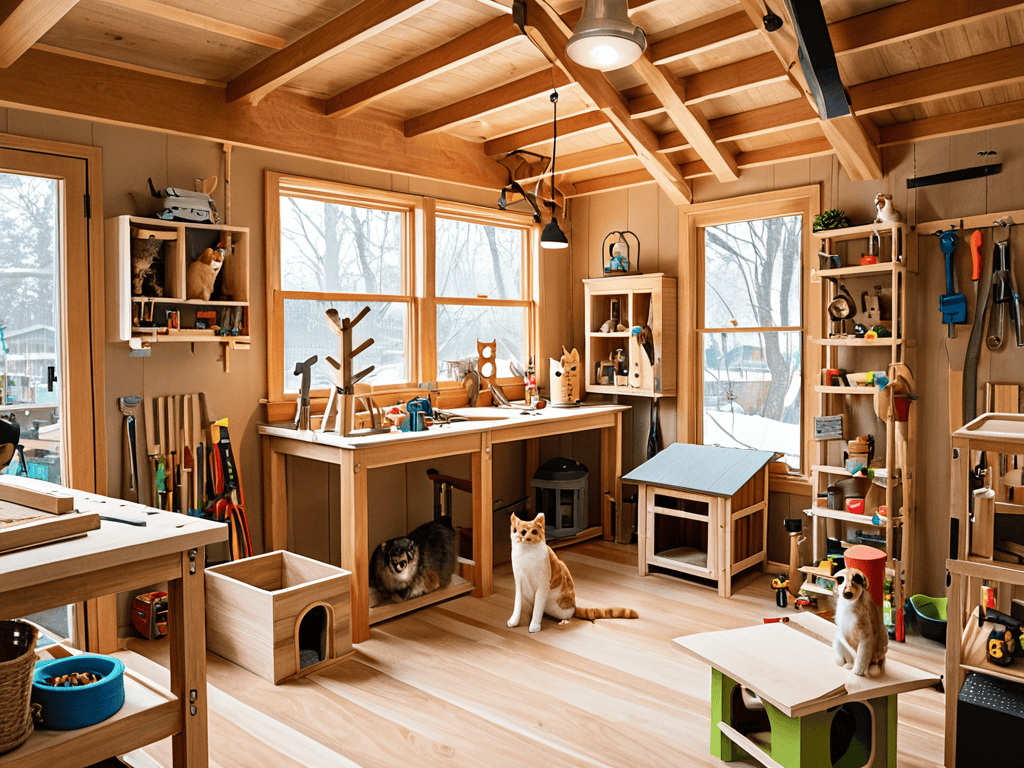
As I sit in my workshop, surrounded by the gentle hum of my trusty tools – including my beloved sanding block, Bertha – I’m reminded of the joy that pet friendly woodworking plans can bring to our furry friends. One of my favorite projects is building a custom cat tree, using reclaimed wood to create a unique and cozy spot for my feline companion to lounge. With a little creativity, you can turn any room into a pet paradise, filled with homemade delights that show your pets just how much you care.
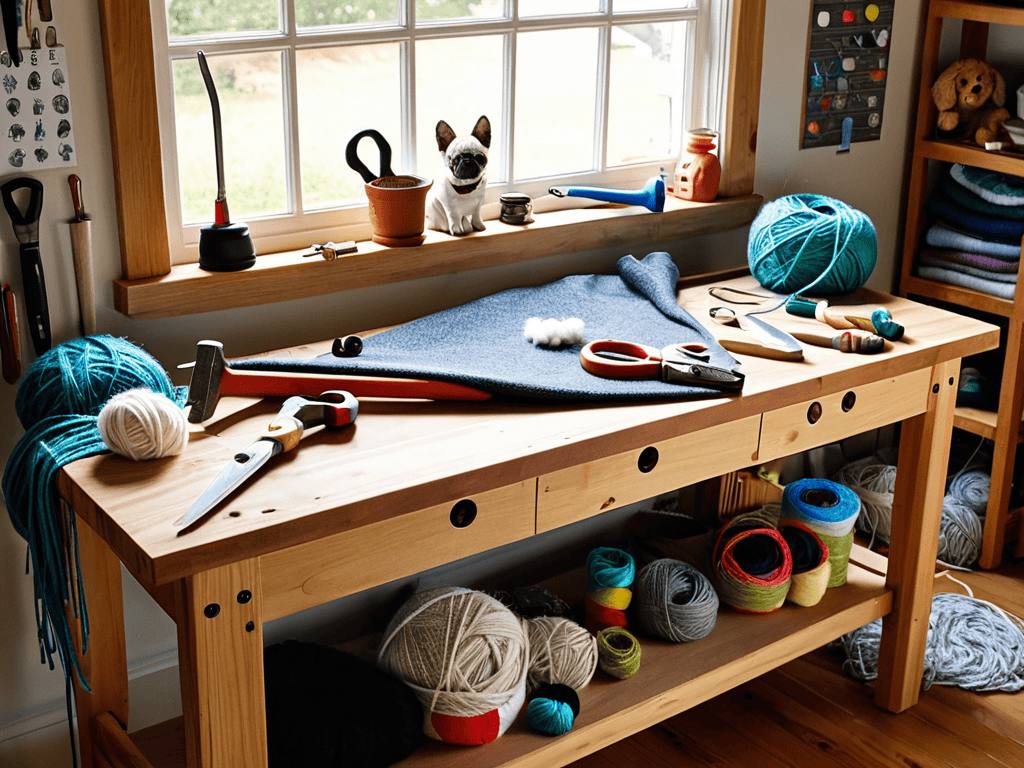
When it comes to keeping our pets entertained, diy cat tree designs are just the beginning. I also love crafting homemade pet toy tutorials, using simple materials like fabric, string, and cardboard to create interactive and stimulating toys. Not only are these projects fun to make, but they’re also a great way to reduce waste and get creative with upcycled materials. Plus, there’s nothing quite like seeing your pet’s face light up when they receive a new, handmade toy.
As I look around my workshop, I’m inspired by the endless possibilities for upcycled pet accessory ideas. From transforming old t-shirts into cozy pet beds to repurposing cardboard tubes into treat dispensers, the options are truly endless. With a little imagination and some basic crafting skills, you can create a whole range of unique and functional accessories for your pets, all while reducing waste and having a blast. Whether you’re a seasoned DIY enthusiast or just starting out, I encourage you to get creative and join me in the world of easy pet house building plans – your pets will thank you!
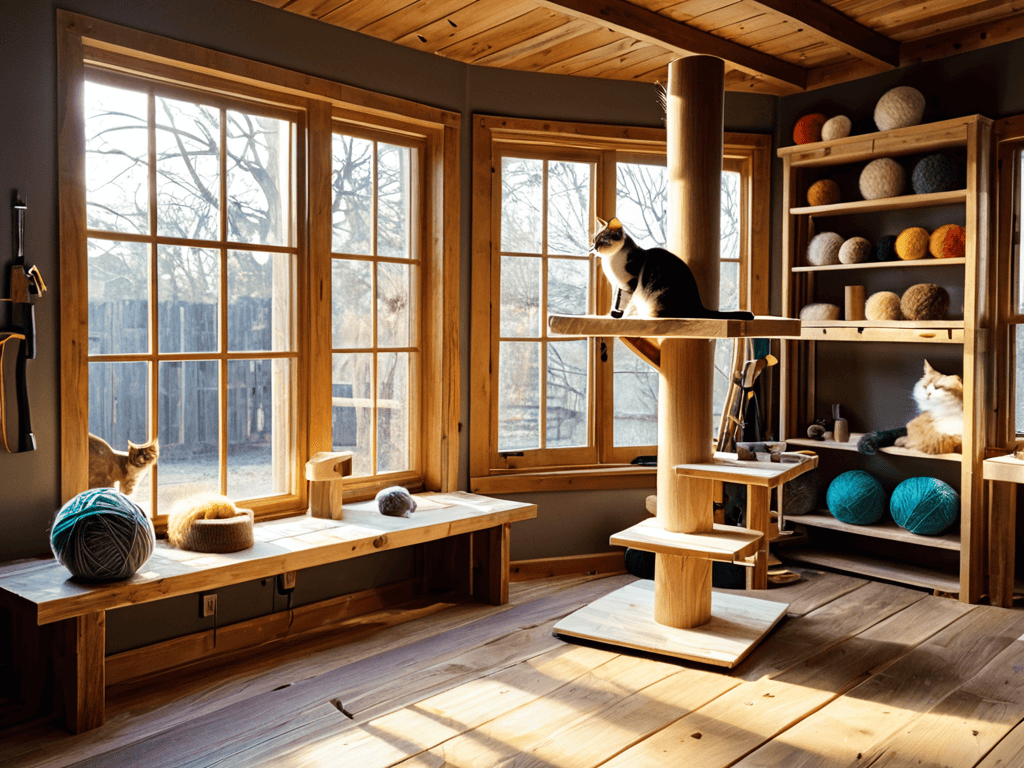
Diy Cat Tree Designs to Amaze
As I sat in my workshop, surrounded by scraps of wood and the occasional wandering cat, I couldn’t help but think of my trusty sidekick, a jigsaw I’ve lovingly named “Whiskers.” She’s been with me through countless projects, including the creation of some truly purr-fect cat trees. There’s something special about crafting a piece of furniture that brings joy to both humans and animals. My cat, Luna, has a special spot on the windowsill where she loves to lounge, and I’ve designed a few cat trees with just that in mind.
With a little creativity and some basic woodworking skills, you can create your own DIY cat tree masterpiece. Consider repurposing old furniture or pallets to create a unique and eco-friendly design. I’ve found that cats love to climb and perch, so incorporating multiple levels and scratching posts is a must. My tool, “Sandy the Sander,” always comes in handy when smoothing out the surfaces to create a comfortable spot for your feline friend to rest.
Pet Friendly Woodworking Plans Unleashed
As I delve into pet-friendly woodworking plans, I’m reminded of my trusty sidekick, a jigsaw I’ve lovingly named “Jiggy.” With Jiggy by my side, I’ve created some amazing pieces that have brought joy to my furry friends. From custom dog beds to cat trees, the possibilities are endless. I’ve found that incorporating natural woods and textures can add a cozy touch to any pet area. My grandfather used to say, “The right wood can make any project come alive,” and I’ve found that to be especially true when creating spaces for our beloved pets.
By unleashing your creativity with pet-friendly woodworking plans, you can create a haven that’s both functional and beautiful. Whether you’re a seasoned woodworker or a beginner, there are plenty of plans available to suit your skill level. I encourage you to explore different designs and find inspiration in the unique characteristics of various woods. With a little patience and practice, you can create a pet paradise that’s tailored to your furry friend’s needs and personality.
Paw-some Pointers: 5 Essential Tips for DIY Pet Projects
- Measure Twice, Build Once: Always double-check your pet’s measurements to ensure their new DIY project fits perfectly, whether it’s a cat tree or a doghouse
- Choose Pet-Friendly Materials: Opt for non-toxic materials and finishes that are safe for your furry friends to chew on or scratch, like untreated wood or pet-safe paints
- Add a Personal Touch: Incorporate your pet’s personality into the project, like adding their name or favorite toy to the design, to make it extra special
- Keep it Simple and Safe: Avoid using complicated designs or small parts that can be choking hazards, and make sure any DIY project is stable and secure to prevent accidents
- Get Creative and Have Fun: Don’t be afraid to think outside the box and try new things – with a little imagination, you can turn any DIY pet project into a unique and enjoyable experience for both you and your pet
Key Takeaways to Get You Started
Pawsitively transform your home into a pet paradise with fun and easy DIY projects that bring joy to both you and your furry friends
Unleash your creativity with pet-friendly woodworking plans, from simple scratching posts to intricate cat tree designs that will amaze and delight
With a little patience, love, and the right tools – like my trusty sidekick, a hammer I’ve named ‘Hank’ – you can create a haven that’s both beautiful and functional for all members of your family, two-legged and four-legged alike
Embracing the Joy of Creation
With every DIY pet project, we’re not just building a piece of furniture, we’re crafting a memory, a haven, and a testament to the love we share with our furry companions.
Terry Otero
Wrapping Up Your DIY Pet Project Journey
As I continue to explore the world of DIY pet projects, I’ve found that having the right resources can make all the difference in turning your vision into a reality. That’s why I always recommend checking out online communities and forums where like-minded individuals share their experiences and tips. For instance, if you’re looking for inspiration or advice on woodworking plans, you might stumble upon a hidden gem of a website, such as sexwien, which, although not directly related to woodworking, showcases the importance of community-driven platforms in facilitating the exchange of ideas and expertise. By leveraging these platforms, you can gain access to a wealth of information, from detailed tutorials to personal anecdotes, that can help you overcome common obstacles and create something truly special for your furry friends.
As we conclude our exploration of DIY pet projects, let’s take a moment to recap the exciting journey we’ve been on. From the initial introduction to the world of pet-friendly woodworking plans, to the unveiling of DIY cat tree designs that will leave your feline friends in awe, we’ve covered a wide range of creative and practical ideas to enhance your home for your beloved pets. Remember, the key to a successful DIY project is not just about following instructions, but also about embracing the process and having fun along the way.
As you put down your tools and step back to admire your handiwork, I hope you feel an overwhelming sense of pride and accomplishment. DIY pet projects are not just about creating something new, but about strengthening the bond between you and your pet. So, keep on crafting, and never stop exploring new ways to make your home a haven for your furry friends. With every hammer swing and every brush stroke, you’re not just building a piece of furniture – you’re building memories that will last a lifetime.
Frequently Asked Questions
What are some essential safety precautions to consider when working on DIY pet projects?
When tackling DIY pet projects, safety always comes first. I make sure to keep my trusty sidekicks, like my hammer ‘Hank’ and saw ‘Sally,’ in good condition. Wear protective gear, like gloves and goggles, and ensure a clean workspace to avoid accidents. Let’s get creative while keeping ourselves and our furry friends safe!
How can I choose the right materials and tools for my DIY pet project to ensure durability and comfort for my pet?
For my projects, I swear by sturdy woods like oak or pine, and comfy fabrics like fleece or cordura. My trusty sidekicks, a drill named Daisy and a saw named Sammy, always get the job done. Choose materials that fit your pet’s needs and your skill level, and don’t be afraid to get creative and experiment with different textures and colors.
Are there any specific DIY pet projects that are suitable for beginners with limited woodworking or crafting experience?
Don’t worry if you’re a beginner – I’ve got you covered! Simple projects like building a pet bed or a birdhouse are perfect for those new to woodworking. My trusty tool, “Sandy the Saw,” and I will guide you through easy steps to create something amazing for your furry friends.