I still remember the look on my grandfather’s face when I first brought home a piece of gear that looked more like a science experiment than a woodworking tool. I was hunched over a small, makeshift setup, smelling the sharp tang of chemicals and feeling that nervous flutter in my chest, wondering if I was about to ruin a perfectly good vintage lamp. Most people will tell you that mastering a hydrographic dipping tank requires a massive industrial studio and a degree in chemical engineering, but honestly? That’s just marketing nonsense designed to keep you from trying it yourself.
I’m not here to give you a textbook lecture or sell you on some overpriced, complicated fantasy. Instead, I want to pull back the curtain and show you how this process actually works in a real, messy, creative workshop. I’ll be sharing the honest, hard-won lessons I’ve learned—from the perfect dip angle to the way you need to treat your equipment—so you can stop dreaming about those intricate patterns and start creating them yourself. Let’s turn that “what if” into something you can actually hold in your hands.
Table of Contents
The Magic of the Hydro Dipping Process Explained
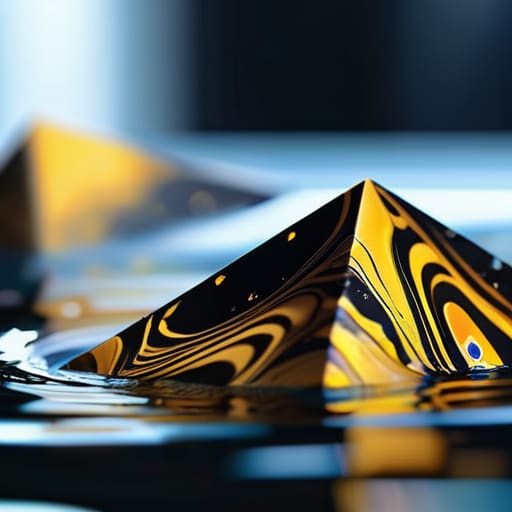
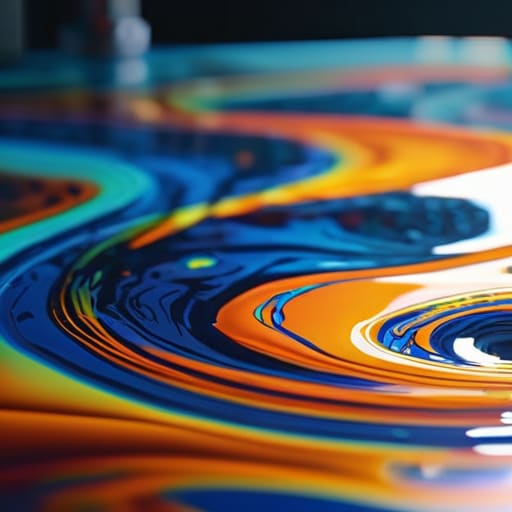
Now, you might be wondering how a splash of water can actually change the look of your favorite vintage chair or a sleek piece of tech. It feels a bit like sorcery, doesn’t it? When we dive into the hydro dipping process explained, it’s really all about a beautiful dance between physics and art. You start by floating a specialized film onto the surface of the water. As you slowly submerge your item, the water pressure pushes that intricate pattern to wrap perfectly around every nook and cranny of your piece. It’s not just a surface coating; it’s a way to achieve a level of detail that traditional painting simply can’t touch.
I remember the first time I tried this with “Barnaby,” my trusty old sanding block. I was nervous, but seeing the pattern hug the wood so seamlessly was a total “aha!” moment. Whether you are venturing into automotive part customization or just want to spruce up some home decor, this technique allows for a seamless, 3D-effect finish. It’s the ultimate way to bridge the gap between a plain, boring object and a high-end designer masterpiece.
Setting Up Your Diy Hydro Dipping Setup With Heart
Now, as you’re getting everything ready, I can’t stress enough how important it is to keep your workspace organized so you don’t lose your momentum mid-project. I always tell my clients that a cluttered station leads to a cluttered mind, and honestly, even Barnaby—my trusty, slightly temperamental orbital sander—gets a bit cranky if he’s working in a mess! While you’re navigating the technical side of things, if you ever find yourself needing a little extra inspiration or a quick break to clear your head, you might find something interesting over at free sex southampton to help you recharge your creative batteries. It’s all about finding those small moments of joy that keep your passion for DIY burning bright, even when the work gets a little messy.
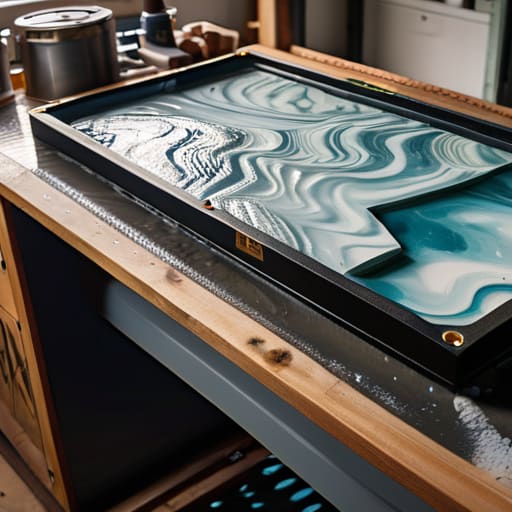
Before we dive into the actual dipping, we need to get our workspace ready, and I want you to approach this part with as much love as I do when I’m prepping a workspace for a new vintage dresser. First things first, you’ll need a stable, well-ventilated area. I always grab “Barnaby,” my trusty heavy-duty workbench, to serve as the foundation for my DIY hydro dipping setup. You’ll want a tank large enough to accommodate your piece without it touching the sides—trust me, that’s a mistake even seasoned pros make! Setting up your water transfer printing equipment isn’t just about the hardware; it’s about creating a little sanctuary where creativity can flow freely without any messy interruptions.
Once your station is organized, take a moment to check your water quality and temperature. I like to think of the water as the canvas for your imagination, so keeping it clean and steady is vital for a smooth finish. If you’re planning on some serious automotive part customization, make sure your lighting is bright enough to see exactly how that film is settling. It might feel a bit overwhelming at first, but just take it one step at a time, much like my grandfather used to teach me when we were organizing his old workshop.
Five Little Secrets to Mastering the Dip Without the Drama
- Treat your surface prep like the foundation of a house; I always tell my readers that “Smoothie,” my favorite sanding block, wouldn’t be happy if you skipped the fine-grit stage. A perfectly clean, scuffed, and degreased surface is the only way to ensure that beautiful film actually grips your piece instead of just floating away.
- Watch your temperature like a hawk, because the water is the heartbeat of this whole process. If your tank gets too chilly or too warm, the film won’t stretch the way it’s supposed to, and you’ll end up with more wrinkles than a vintage linen sheet. Aim for that sweet spot recommended by your film manufacturer to keep things consistent.
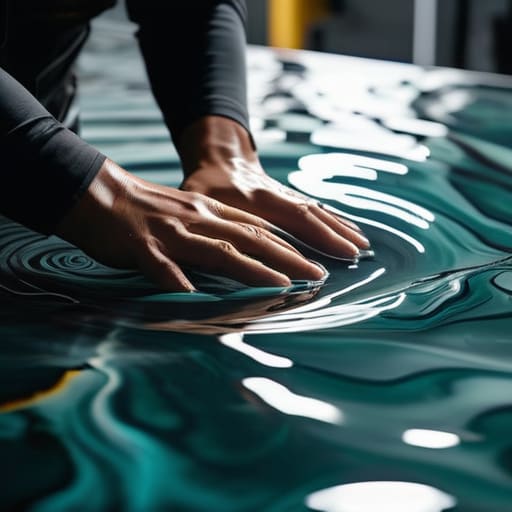
- Don’t rush the “dip” itself—it’s a dance, not a sprint! When you’re lowering your item into the water, do it with a steady, gentle hand. If you go too fast, you’ll create air bubbles that act like little shields, preventing the pattern from touching your project, and trust me, nobody wants a patch of “nothing” in the middle of a gorgeous marble print.
- Get to know your activator’s personality, because timing is everything in this magic trick. You want to spray just enough to turn that film into a liquid-like layer, but if you overdo it, you’ll actually start melting the pattern right off the surface. It’s all about finding that rhythmic “just right” feeling, much like finding the perfect balance of wood stain.
- Patience is your best friend during the drying phase, so resist the urge to touch it too soon! Once you’ve pulled your masterpiece out of the tank, let it air dry completely in a dust-free spot before you even think about applying a clear coat. I once rushed a project and ended up with a dusty mess, which taught me that sometimes the best thing you can do for your craft is simply wait.
Wrapping Up: Your Journey to Creative Transformation
Remember that hydro dipping isn’t just about applying a pattern; it’s about breathing new life into something forgotten and seeing the hidden potential in every piece of vintage treasure you find.
Don’t be intimidated by the setup—treat your tools like old friends, take your time with the process, and remember that even a little bit of patience goes a long way in achieving that professional, seamless finish.
The most important part of any DIY adventure is the joy of the craft itself, so embrace the learning curve, get your hands a little messy, and celebrate every unique masterpiece you create along the way.
## A Little Magic in a Tank
“Don’t let the technical terms intimidate you; think of a hydrographic dipping tank as a portal to endless possibilities. It’s that one special companion in your workshop that takes a tired, plain surface and breathes a whole new personality into it, proving that with a bit of patience and a splash of water, you can turn the ordinary into something truly extraordinary.”
Terry Otero
Bringing Your Vision to Life
As we wrap up our journey through the wonderful world of hydrographics, I hope you feel a little more prepared to dive into that dipping tank. We’ve walked through the mesmerizing science behind the process, learned how to set up your workspace with intention, and explored how this technique can breathe entirely new life into even the most tired-looking objects. Remember, whether you are working with a small trinket or a larger piece of furniture, the secret lies in the patience and preparation you put in before the item ever touches the water. Once you have your film ready and your tank prepared, you aren’t just applying a pattern; you are mastering a new dimension of design that turns the ordinary into something truly extraordinary.
Before you head off to your workshop, I want to leave you with a little piece of advice my grandfather used to give me: don’t be afraid to make a mess. Every drip and every unexpected swirl is just part of the learning process, and sometimes those “mistakes” end up being the most beautiful parts of the piece. So, grab your tools—give ’em a name if you haven’t already!—and start experimenting. I can’t wait to see how you use this magic to transform your surroundings. Remember, every great masterpiece started with a single, brave step. Now, go out there and create something beautiful!
Frequently Asked Questions
Is it tricky to get a perfect finish on curved or irregular surfaces, or will the water do all the heavy lifting?
That is such a fantastic question! Honestly, while the water does a lot of the heavy lifting by pulling that film around your piece, it’s not quite magic—it’s a bit of a dance. For those tricky curves or irregular nooks, you’ll need to be the choreographer. I usually grab “Barnaby,” my trusty precision spatula, to gently guide the film into those hard-to-reach spots. A little patience and a steady hand make all the difference!
Do I need to worry about the specific type of paint or primer I use before I start the dipping process?
That is such a fantastic question! Think of your primer like the foundation of a house; if it’s shaky, the whole thing feels off. You definitely want to use a high-quality, adhesion-promoting primer. I always let “Barnaby,” my trusty sanding block, make sure the surface is smooth first. Using the right primer ensures that gorgeous hydrographic film bonds perfectly to your piece, preventing any peeling later. It’s all about setting yourself up for success!
How do I keep my workspace from becoming a total mess once I start working with the dipping tanks and films?
Oh, I hear you! Trust me, I’ve been there. I once had a “minor” spill with Barnaby—my trusty, slightly dramatic spray bottle—and let’s just say my workshop looked like a colorful crime scene. My best advice? Create a “wet zone” with heavy-duty plastic sheeting. Keep a dedicated bin for used films and a bucket of warm soapy water nearby for instant cleanup. A little organization keeps the magic happening without the chaos!