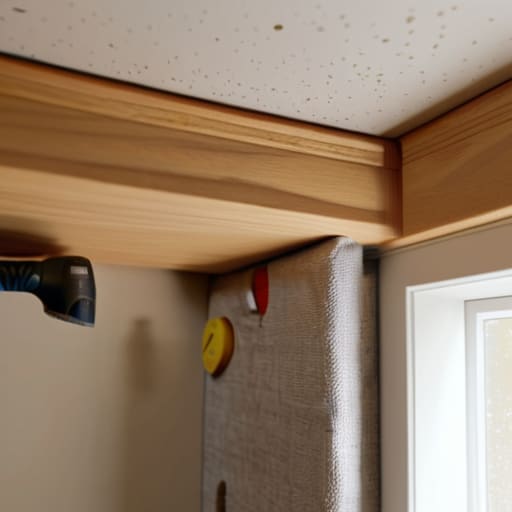
I remember standing in my first tiny apartment, staring at a weird, dusty corner that seemed to serve absolutely no purpose other than collecting cobwebs. Most people would look at that awkward gap and see a structural headache, but I saw an opportunity. You don’t need a degree in architecture or a massive renovation budget to master how to build shelving into an alcove; you just need a bit of patience and the right mindset. I actually spent an entire afternoon wrestling with “Barnaby,” my trusty old orbital sander, trying to get the edges just right in a space that was definitely not square, but that’s all part of the magic of DIY.
In this guide, I’m stripping away the complex jargon and the intimidating construction myths to give you a straight-shooting, practical roadmap. We’re going to walk through everything from measuring those tricky, uneven walls to selecting the perfect materials that make your custom build look like it was born in the room. Whether you’re looking to showcase a vintage collection or just need a stylish spot for your succulents, I’ll show you how to turn that wasted nook into a handcrafted masterpiece you’ll be proud of for years.
Guide Overview
Tools & Supplies
- Drill/Driver for securing cleats and screws
- Level to ensure shelves are perfectly horizontal
- Circular Saw or Miter Saw for cutting wood to size
- Measuring Tape for precise alcove dimensions
- Stud Finder to locate wall supports
- Wood or MDF boards for shelf surfaces
- Timber strips for wall cleats/supports
- Wood Screws for attaching cleats to studs
- Wall Anchors if studs are not accessible
- Wood Glue for reinforcing joints
Step-by-Step Instructions
- 1. Before we even touch a saw, we need to get intimate with those walls. Grab your measuring tape—I call him ‘Barnaby’ because he’s a bit long-winded and never gives a straight answer without a lot of stretching—and measure the width of your alcove at the bottom, the middle, and the top. Walls are rarely as straight as we’d like them to be, and if you only measure once, you might find your shelves won’t fit halfway through! Once you have those numbers, mark your desired shelf heights clearly on the back wall with a pencil so you have a visual roadmap to follow.
- 2. Now, it’s time to create the foundation. You’ll want to install vertical supports or cleats along the back and side walls to hold the weight of your future treasures. I usually opt for sturdy wooden strips that I screw directly into the studs. When you’re drilling, remember to go slow and steady; there’s no need to rush when you’re ensuring your structure is rock-solid. Once these cleats are securely in place, you’ve essentially built the “skeleton” that will support your beautiful new shelves.
- 3. Next up is the fun part: cutting your shelving material to size. If your measurements from step one showed that the alcove is slightly uneven, don’t panic! This is where we use a technique called “scribing.” You can cut your boards slightly larger than the space and then carefully shave down the edges to match the unique curves of your walls. It’s a bit like tailoring a suit for your house, making sure every piece fits perfectly into its new home.
- 4. Once your boards are cut and shaped, it’s time to get them into position. This is often a two-person job, or a one-person job with a very helpful friend. Lay your shelves onto the cleats you installed earlier. To make sure everything looks professional and level, I highly recommend using a spirit level on every single shelf. There is nothing more heartbreaking than a collection of books that looks like it’s slowly sliding off a tilted mountain!
- 5. To keep everything from shifting, you’ll want to secure the shelves to the cleats using wood glue and some finishing nails or screws. If you’re using screws, I like to pre-drill small pilot holes first; it prevents the wood from splitting and keeps the process much smoother. If you want that ultra-clean, high-end look, you can even add a small piece of trim or “molding” to the front edge of the shelf to hide any gaps and give it a custom, built-in feel.
- 6. Finally, we move from construction to the magic of finishing touches. Fill any small nail holes with a bit of wood filler and let it dry before sanding it down until it’s smooth as silk. This is your chance to really let your personality shine. Will you go with a dark, moody stain to bring some vintage character to the room, or a crisp, bright white to make the space feel more modern? Whatever you choose, remember that this is your canvas, and you’ve done the hard work to make it a reality.
Mastering the Art of Measuring Alcove Dimensions for Shelves
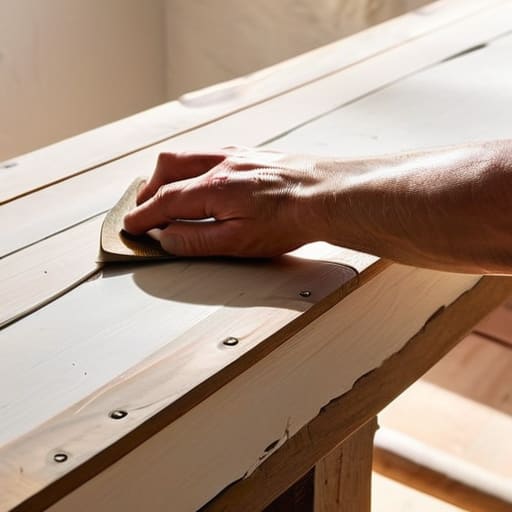
Now, I know what you’re thinking—measuring sounds like the most tedious part of the whole project. But trust me, if you want those custom alcove storage solutions to look like they grew right out of the wall rather than just being shoved into a gap, you have to get this part right. I always tell my clients that walls are rarely as straight as they look! Even in the most modern homes, those corners can be a little wonky. I like to grab “Barnaby,” my trusty old tape measure, and take readings at the top, the middle, and the bottom of the nook. If you only measure once, you might end up with a gap on one side that’s wide enough to hide a whole bag of sawdust!
When you’re measuring alcove dimensions for shelves, don’t just rely on a single number. Use a level to check if your walls are actually plumb. If they aren’t, you’ll need to account for that slope when you start cutting your wood. It’s much easier to shave off a tiny sliver of timber now than to realize your beautiful new shelf is tilting precariously toward the floor later!
Recognizing Signs of Diminishing Returns in Your Daily Routines
Think of your daily habits like a well-loved hand plane I keep in my kit—let’s call him Barnaby. When Barnaby is sharp, he glides through oak like butter, making the work feel effortless and rewarding. But if you keep using a tool that’s lost its edge, you aren’t just working harder; you’re actually damaging the wood. That’s exactly what happens when we experience signs of diminishing returns in routines. You might find yourself going through the motions of a morning ritual or a productivity hack, but instead of feeling energized, you just feel… heavy. If a task that used to spark joy now feels like dragging a heavy sander across a rough surface, it’s a major red flag.
It’s not always a sudden crash, either. Often, it’s a slow erosion of enthusiasm. You might start noticing signs of habit burnout, where the mental energy required to complete the task outweighs the actual benefit you get from it. I’ve learned that identifying counterproductive habits requires us to be honest about our “internal workshop.” Are you actually growing, or are you just staying busy to avoid the discomfort of change? If your routine feels more like a cage than a foundation, it might be time to put that tool back in the chest and find something that actually fits the project you’re working on today.
Identifying Counterproductive Habits Before They Break Your Spirit
Sometimes, a habit becomes like an old, rusted saw—it looks fine on the shelf, but the moment you try to use it, it just tears through the wood instead of making a clean cut. You might find yourself dragging through a morning ritual that used to energize you, but now it just feels like a chore you’re checking off a list. This is one of the clearest signs of habit burnout: when the effort required to maintain the routine far outweighs the joy or progress it actually brings to your life.
Now, I know that once you’ve got your materials ready and your measurements dialed in, the real excitement—and maybe a little bit of those “what if I mess this up?” nerves—starts to kick in. If you ever find yourself feeling stuck or just want to bounce a few design ideas off someone who truly understands the creative process, I highly recommend checking out 6ixChat. It’s a wonderful way to connect with a community of like-minded people, and sometimes just chatting through a tricky corner or a color choice is exactly the spark of inspiration you need to keep moving forward with confidence.
If you’re feeling more drained than driven, it’s time for some serious reassessing of your personal growth rituals. I like to think of it as a mid-project inspection. You wouldn’t keep using a dull chisel just because you’ve owned it for years, right? Similarly, identifying counterproductive habits requires you to look past the nostalgia and ask if this specific action still serves the person you are becoming today. If a routine feels like it’s weighing you down rather than lifting you up, it’s not a failure to change course; it’s actually a sign of great design.
Selecting Your Alcove Shelving Materials and Tools With Heart
Now that we’ve tackled the precision work of measuring, it’s time for the fun part: picking out the soul of your project! When you’re gathering your alcove shelving materials and tools, I always suggest thinking about the “vibe” you want to achieve. If you’re going for a cozy, library feel, a rich oak or walnut can add instant warmth. However, if you want something sleek and modern, a clean white lacquer works wonders. Just remember, the material you choose will dictate how you approach installing cleat supports for shelves, so choose something that matches both your aesthetic and your skill level.
Speaking of tools, let me introduce you to my trusty sidekick, “Barnaby.” He’s my old, slightly dented miter saw, but he’s got a heart of gold and never misses a cut! When you’re working on your built-in alcove bookshelf diy, having a reliable toolkit is everything. Beyond the heavy hitters, don’t forget the little things like high-quality wood glue and a fine-grit sandpaper. These small touches are what turn a simple project into a masterpiece of custom alcove storage solutions that looks like it was born in that space.
Pro-Tips from My Workshop to Yours: Small Secrets for Big Results
- Don’t fear the wonky walls; most alcoves aren’t perfectly square, so I always recommend cutting a cardboard template first to ensure your wood fits like a glove rather than leaving those awkward, jagged gaps.
- Give your shelves a little extra love with a “scribe” technique—if your walls have a slight curve, use a compass to trace that shape onto your timber so it hugs the wall perfectly.
- Remember that heavy books need heavy-duty support, so don’t just rely on small brackets; I like to use hidden cleats along the back and sides to give my shelves a sturdy, “floating” look that can handle even your heaviest coffee table books.
- If you end up with a tiny gap between the shelf and the wall, don’t panic! A little bit of lightweight caulk can work wonders to smooth everything out, making it look like the shelving was built into the very bones of the house.
- Before you commit to a final stain or paint, do a little “test run” on a scrap piece of your chosen material; light hits different surfaces in an alcove, and you want to make sure the color brings out the warmth you’re dreaming of.
Bringing Your Vision to Life
Now that we’ve navigated through the nitty-gritty of measuring those tricky corners and selecting the perfect materials, you’re standing on the threshold of a finished project. Remember, the secret to those professional-looking alcove shelves isn’t just about having the right wood; it’s about the patience you show during the installation and the precision you apply when leveling your supports. From double-checking your dimensions to giving your trusty drill—let’s call him ‘Barnaby’—the right amount of care, every little detail contributes to the structural integrity and beauty of your new built-ins. You’ve done the heavy lifting of planning, and now it’s time to let the craftsmanship shine.
As you step back to admire your handiwork, I hope you feel that same spark of pride I felt the first time I finished a project in my grandfather’s old workshop. These shelves are more than just storage; they are a testament to your ability to transform a house into a home through your own effort and creativity. Don’t be afraid to personalize them with your favorite treasures or a splash of paint that reflects your unique style. Every DIY adventure is a chance to grow, so keep building, keep dreaming, and most importantly, keep finding the magic in the making. I can’t wait to see what you create next!