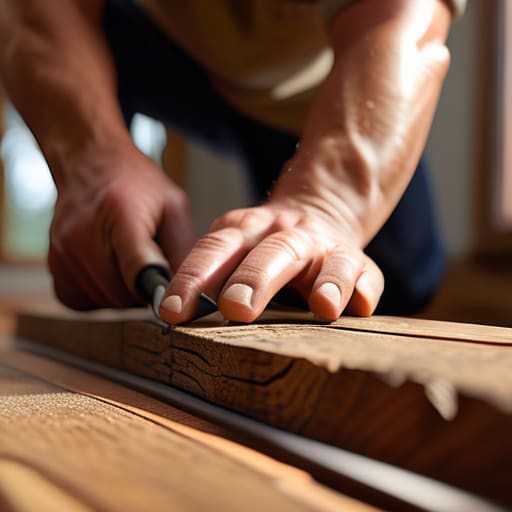
I was creeping through my hallway at midnight, trying to sneak toward the kitchen for a glass of water, when creeeaaaak—the floorboards announced my presence to the entire house like a loud, uninvited guest. It’s that sudden, jarring sound that makes you feel like your home is actually working against you, isn’t it? Most people think that once those boards start complaining, you’re looking at a massive, expensive demolition project involving tearing up the entire subfloor, but I’m here to tell you that’s a total myth. Learning how to fix a squeaky floorboard doesn’t require a sledgehammer or a massive bank loan; often, it just takes a little patience and the right touch from a few trusty companions like Barnaby, my reliable cordless drill.
In this guide, I’m going to walk you through the honest, no-nonsense ways to reclaim the quiet rhythm of your home. We’ll skip the overly complicated construction jargon and focus on practical, hands-on solutions that actually work, whether you’re dealing with a loose nail or a shifting joist. I promise to share the exact steps I use to silence those pesky noises for good, so you can stop tiptoeing around and start feeling truly comfortable in your space again.
Guide Overview
Tools & Supplies
- Screwdriver or Drill to drive fasteners
- Hammer to tap in nails or shims
- Wood filler to conceal holes
- Wood screws or finish nails (small pack)
- Wood glue (small bottle)
- Wood filler (small container)
Step-by-Step Instructions
- 1. Before we dive into the heavy lifting, let’s grab my trusty little screwdriver, Barnaby. He’s a bit old-school and has a bit of a temper if you force him, but he’s incredibly precise when it comes to finding exactly where the wood is rubbing against the joist. Walk slowly across the room to pinpoint the exact spot where the noise is loudest; you’ll want to mark this spot with a pencil so you aren’t chasing ghosts later on.
- 2. Once you’ve found the culprit, it’s time to check if a simple tightening will do the trick. Sometimes, a floorboard squeaks simply because a nail has loosened slightly over the years, creating a tiny gap for movement. Grab your hammer and gently tap the existing nails to see if they’ve shifted, or better yet, try to drive a new, slim finish nail into the board near the original one to secure the connection to the joist below.
- 3. If the nails are holding firm but the squeak persists, we might be dealing with a friction issue between the boards themselves. This is where a little bit of “magic dust” comes in handy. I like to use a specialized wood lubricant or even a bit of finely ground graphite powder. Carefully sprinkle it into the narrow gaps between the boards where you hear the noise, and then walk over the area a few times to help the powder settle deep into the crevices.
- 4. Now, if the gap is a bit wider and the movement feels more significant, we’re going to need to get a bit more intentional with some wood glue. This is a bit of a delicate dance, but I promise it’s worth it. Use a thin spatula or even a syringe to inject some high-quality wood glue into the seam of the squeaky board. Once it’s in there, place a few heavy books or weights on top of the board for a few hours to ensure it stays pressed firmly against the subfloor while the glue sets.
- 5. For those stubborn, deep-seated squeaks that just won’t quit, we might need to go the route of installing some specialized floor repair screws. These are different from regular screws because they have a special head designed to sink below the surface of the wood without splitting it. Take your drill—I call her ‘Dotty’ because she’s small but incredibly hardworking—and carefully drive the screw through the floorboard and directly into the joist.
- 6. Finally, once you’ve tightened everything up and the floor feels solid under your feet, it’s time for the finishing touch. If you used screws or nails that left small visible holes, grab a tiny bit of wood filler that matches your floor’s color perfectly. Dab it into the holes, wipe away the excess with a damp cloth, and let it dry. Once it’s set, you can lightly sand it, and just like that, you’ve restored the peace and quiet to your beautiful home.
Finding Peace Through Subfloor Squeak Solutions
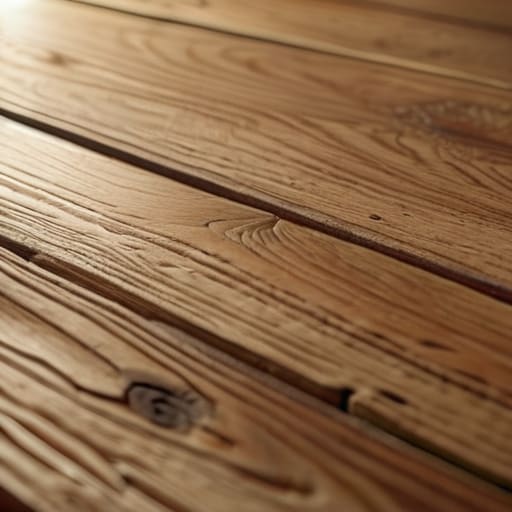
Sometimes, the real culprit isn’t the surface you walk on, but the hidden layers beneath. I remember my grandfather once telling me that a house is like a living thing; it breathes and settles. When you’re looking for long-term subfloor squeak solutions, you often have to look deeper than just the top layer of timber. If the boards are rubbing against each other due to seasonal changes, you might find that preventing floorboard friction is more about addressing the movement of the wood itself. It’s about finding that sweet spot where the structure feels solid and grounded again.
If you’re feeling a bit overwhelmed by the scale of the job, don’t worry! I always tell my clients that you don’t have to tackle everything at once. For those smaller, more stubborn spots, a specialized wood floor squeak repair kit can be an absolute lifesaver—it’s like having a little bit of magic in a box. Just remember to take your time and listen to what the wood is telling you. Once you find that rhythm, you’ll realize that reclaiming your quiet space is well worth the effort.
Mastering the Art of Tightening Floorboard Screws
Now, if you’ve already checked the subfloor and the noise persists, it’s time to get a little more surgical with your approach. Sometimes, the culprit isn’t a loose joist, but simply a board that has lost its grip on the structure beneath it. This is where tightening floorboard screws becomes your best friend. I remember my grandfather always saying that a loose connection is just a conversation waiting to be settled. When you’re working on this, I highly recommend using a specialized wood floor squeak repair kit. These kits often come with tiny, countersunk screws that allow you to secure the board without leaving an eyesore behind.
Before you start driving those screws home, take a moment to feel the movement of the wood with your foot. You want to target the exact spot where the friction is happening. If you find that the screw head is sitting a bit too high, don’t panic! Just a gentle tap with a hammer can help it settle flush. By focusing on preventing floorboard friction at the source, you aren’t just silencing a noise; you’re actually restoring the structural harmony of your room. It’s a small step, but it makes a world of difference in how your home feels underfoot.
Terry’s Pro-Tips for a Smooth, Silent Walk
- Listen closely before you leap! Before grabbing a screwdriver, spend a few minutes walking slowly across the room to pinpoint the exact “trouble spots.” Sometimes a squeak is just one rogue board, and knowing exactly where the friction is happening will save you from unnecessary work.
- Get to know your tools, especially ‘Barnaby’ the drill. When you’re driving screws into old wood, don’t just go in full blast; use a steady, gentle pressure. If you’re too aggressive, you might split the wood, and that’s a headache we definitely want to avoid!
- Don’t be afraid of a little bit of lubricant. If you have a squeak that’s coming from where two boards rub against each other, a tiny sprinkle of talcum powder or graphite in the cracks can act like a magic wand, smoothing out that friction without you having to pull up a single nail.
- Mind the gap between the old and the new. If you’re working on vintage floors, remember that the wood has “personality” and has moved over the years. When you’re adding new screws or fasteners, try to work with the natural grain of the wood rather than fighting against it.
- Patience is your best companion. It’s tempting to want to fix the whole floor in one afternoon, but I always tell my clients to take it one section at a time. Fixing a few boards perfectly is much more rewarding than rushing through the whole room and leaving a mess behind.
Stepping Into a Quieter Home
We’ve covered a lot of ground today, from identifying the root cause of that pesky noise to mastering the precision needed to tighten those loose screws. Whether you decided to dive deep into the subfloor or opted for a more surgical approach with specialized lubricants, you’ve successfully tackled one of the most common—and most frustrating—home maintenance hurdles. Remember, the key to a lasting fix is often found in the details of the connection between the wood and the joist. By taking the time to address these small gaps now, you aren’t just stopping a noise; you are actively preserving the integrity of your beautiful living space for years to come.
As you put your tools away—give Barnaby, my trusty screwdriver, a little pat for me—I hope you feel that wonderful sense of accomplishment that only comes from fixing something yourself. There is a special kind of magic in turning a house that feels “broken” back into a sanctuary that feels whole and harmonious. Don’t let a little squeak make you feel like your home is working against you; instead, see it as an invitation to connect even more deeply with your environment. You have the skills, you have the heart, and now, you have the quiet confidence to keep creating. Happy crafting!
Sometimes, when I’m elbow-deep in a project and a particular problem feels just a little too complex to tackle alone, I find that a quick bit of outside perspective can be a total game-changer. It’s a lot like when my grandfather would pause his sawing just to listen to a seasoned neighbor’s advice; sometimes you just need to bounce ideas around to find the right path forward. If you ever find yourself hitting a mental wall or just need to chat through your design dilemmas, I’ve found that checking out this chat site can be a wonderful way to find some extra clarity and inspiration. It really helps to remember that you don’t have to navigate every DIY hiccup in isolation—we’re all just learners in this beautiful, messy process of making a house a home.