I still remember the day I decided to give my kitchen a makeover with a stunning peel and stick tile backsplash. It was a moment of pure excitement, mixed with a dash of skepticism – after all, I’d heard rumors that installing such a backsplash was a daunting task, best left to the professionals. But, as someone who’s passionate about DIY projects and has a knack for repurposing vintage furniture, I was determined to tackle this project head-on. And, as it turns out, it’s easier than you think – which is why I’m excited to share with you a guide to installing a peel and stick tile backsplash that will transform your kitchen into a haven of style and functionality.
As you read through this article, you’ll get honest, no-hype advice on how to choose the perfect tiles, prepare your walls, and install your backsplash with ease. I’ll walk you through the process, sharing practical tips and tricks that I’ve learned along the way, and before you know it, you’ll be enjoying the fruits of your labor – a beautiful, functional space that reflects your personal style. So, let’s get started on this DIY adventure together, and turn your kitchen into a stunning space that you’ll love spending time in!
Table of Contents
- Guide Overview: What You'll Need
- Step-by-Step Instructions
- A Guide to Installing Backsplash
- 5 Essential Tips for a Flawless Peel and Stick Tile Backsplash
- Key Takeaways for a Stunning Peel and Stick Tile Backsplash
- Transforming Your Kitchen with Ease
- Bringing Your Vision to Life
- Frequently Asked Questions
Guide Overview: What You'll Need
Total Time: 2 hours 30 minutes
Estimated Cost: $50 – $100
Difficulty Level: Intermediate
Tools Required
- Utility Knife (with extra blades)
- Measuring Tape
- Pencil
- Level
- Clean Cloth
Supplies & Materials
- Peel and Stick Tiles
- Wall Cleaner
- Lumber (for extra support, if needed) 2-in x 4-in lumber
- Grout (optional)
- Sealant (optional)
Step-by-Step Instructions
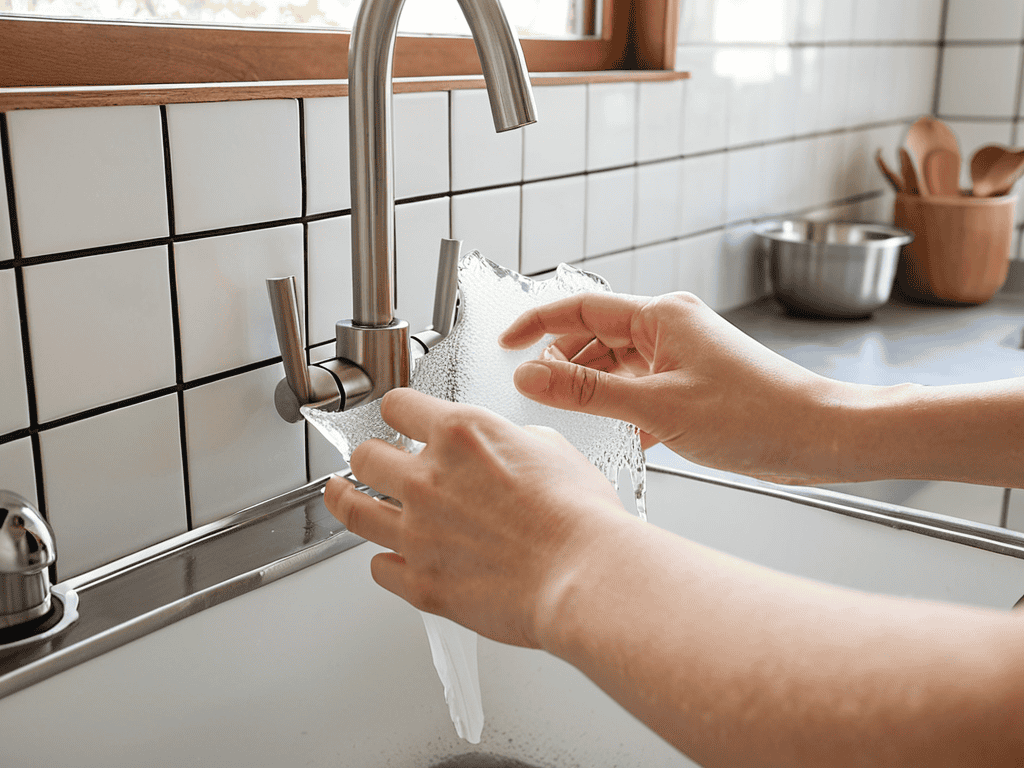
- 1. First, let’s prepare the area by clearing off the countertops and removing any outlet covers to ensure a smooth installation process. I remember my trusty sidekick, a hammer I’ve named “Hammy,” always seems to get a bit anxious when I’m about to start a new project, but a quick pat and a reassuring word always calms him down. Make sure the wall is clean, dry, and free of any dust or debris that might interfere with the adhesive on the tiles.
- 2. Next, we need to measure the space where the backsplash will go, taking into account any obstructions like windows or electrical outlets. My tape measure, “Trixie,” is always up for the task, and I’ve found that double-checking measurements with her ensures accuracy. Calculate the number of tiles you’ll need, leaving a little extra for cuts and potential mistakes – it’s always better to have a bit of spare material, just in case.
- 3. Now, it’s time to apply the tiles, starting from the center and working our way outwards. This is where my favorite tool, “Stan the Utility Knife,” comes into play. Stan is a bit of a perfectionist, but he always gets the job done. Peel the backing off the first tile, and press it firmly onto the wall, making sure it’s level and plumb. Use a credit card or similar tool to smooth out any air bubbles that might form.
- 4. As we continue applying the tiles, we’ll need to make cuts for outlets and switches. This is where “Sawdy,” my trusty saw, earns her keep. She’s a bit of a diva, but she makes precise cuts every time. Use a pencil to mark the location of the outlet or switch on the tile, and then use Sawdy to make the cut. Sand the edges to smooth them out and remove any excess material.
- 5. With all the tiles applied, it’s time to seal the edges and make sure everything is secure. I use a caulk gun, which I’ve named “Caulky,” to apply a bead of caulk around the edges of the tiles. Caulky can be a bit finicky, but she always gets the job done. Make sure to wipe away any excess caulk before it dries.
- 6. Next up, we need to grout the tiles, which can be a bit of a messy process, but trust me, it’s worth it. My grout float, “Grouty,” is a bit of a veteran, having seen many a renovation project. She knows just the right amount of pressure to apply to get the grout evenly spread between the tiles. Use a damp cloth to wipe away any excess grout from the surface of the tiles.
- 7. Finally, after the grout has had time to set, we can seal the grout to protect it from stains and make cleaning easier. I use a grout sealer, which I apply with a foam brush – my “Foamy” friend is always up for the task. Make sure to follow the manufacturer’s instructions for application and drying times, and you’ll be enjoying your new backsplash in no time.
A Guide to Installing Backsplash

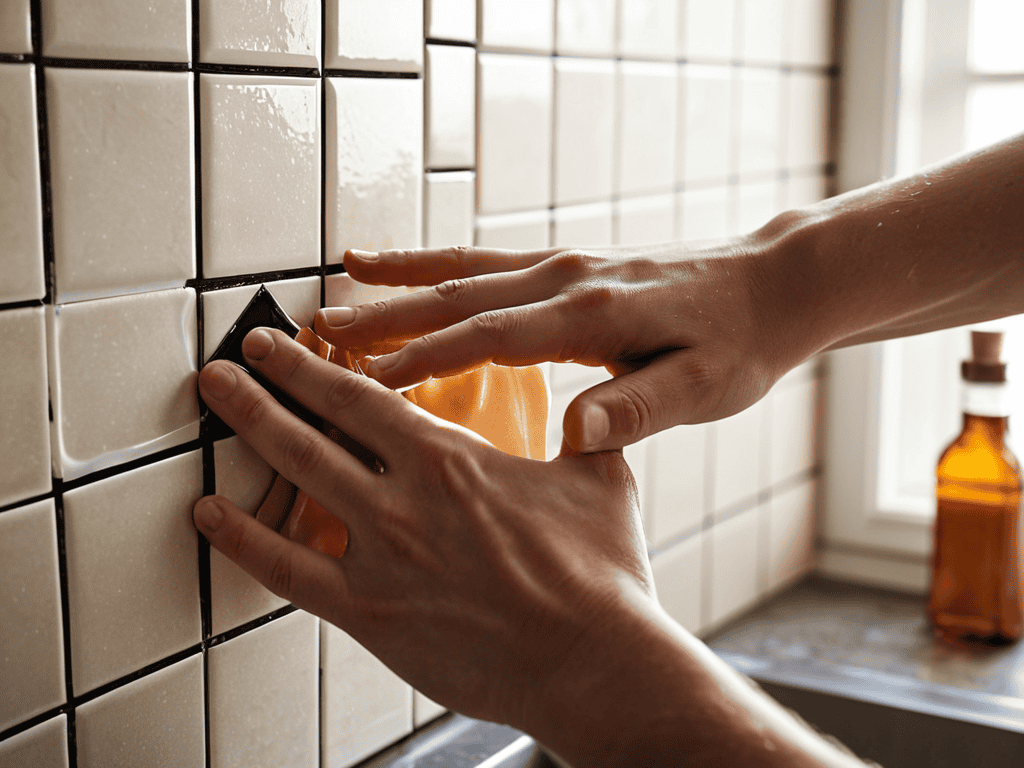
As I reflect on my own experience with peel and stick tile pros and cons, I’ve found that one of the most crucial aspects of a successful installation is preparing the surface. This means ensuring the wall is clean, dry, and free of any debris or old adhesive. I remember my trusty tool, “Sandy the Scraper,” helping me smooth out the wall before applying the tiles. It’s also essential to consider the backsplash tile design ideas that will work best for your kitchen, taking into account the style, material, and color of your cabinets and countertops.
When it comes to the actual installation, I always recommend using easy tile installation methods to minimize stress and mess. This might involve using a laser level to ensure straight lines or a notched trowel to apply the adhesive. Speaking of adhesive, it’s worth noting that there are different types of peel and stick tile adhesive, each with its own strengths and weaknesses. My tool, ” Sticky Samantha,” has helped me navigate these differences and find the best fit for each project.
In the context of a broader kitchen backsplash renovation, it’s essential to think about the overall aesthetic you want to achieve. This might involve considering the tile measurement and cutting techniques that will help you achieve a seamless look. By taking the time to plan and prepare, you can create a beautiful and functional backsplash that enhances the entire room. With the right tools and a bit of patience, you can transform your kitchen into a stunning space that reflects your personal style.
Easy Tile Installation Methods
As I was working on my latest kitchen renovation project, I found myself needing some extra inspiration to bring the space together. I stumbled upon a fantastic resource that I just can’t keep to myself – a website that offers a wealth of information on home decor and design. While browsing through it, I came across a fascinating article about the importance of balance and harmony in interior design, which really helped me to tie together the look of my peel and stick tile backsplash with the rest of the kitchen. If you’re looking for some additional design tips or just want to explore different styles, I recommend checking out sextreffen stuttgart for some unique and creative ideas that might just spark your next DIY project, and who knows, you might discover a new favorite design element to elevate your space.
When it comes to installing a backsplash, one of the easiest methods I’ve found is using peel and stick tiles. I recall a project where I used my trusty tool, “Stan the Scraper,” to prepare the wall for tile installation. It’s amazing how a simple tool can make all the difference. With peel and stick tiles, you can achieve a professional-looking result without the hassle of traditional tile installation. The adhesive backing makes it easy to apply the tiles directly to the wall, eliminating the need for messy adhesives or specialized equipment.
I’ve named my level “Lily” – she’s a faithful companion in ensuring my tiles are perfectly aligned. By following a few simple steps and using the right tools, you can create a beautiful and durable backsplash that will elevate the entire look of your kitchen. Whether you’re a seasoned DIY enthusiast or a beginner, peel and stick tiles are an excellent choice for a hassle-free and rewarding installation experience.
Peel and Stick Tile Pros and Cons
As I reflect on my own experience with peel and stick tile backsplashes, I’ve come to appreciate the pros and cons of this versatile material. On the plus side, peel and stick tiles are incredibly easy to install – I recall my trusty sidekick, a utility knife I’ve named “Stan,” helping me cut through the tiles with ease. They’re also relatively inexpensive and offer a wide range of design options. However, one of the downsides is that they might not be as durable as traditional tiles, and can be prone to peeling off over time if not installed correctly.
Despite these limitations, I believe the benefits of peel and stick tiles far outweigh the drawbacks. With proper installation and care, they can add a beautiful, modern touch to any kitchen. My grandfather, a seasoned carpenter, would often say that the key to a successful DIY project lies in understanding the strengths and weaknesses of your materials – and I think that’s especially true when it comes to peel and stick tiles.
5 Essential Tips for a Flawless Peel and Stick Tile Backsplash
- Prepare Your Wall: Before you start, ensure your wall is clean, dry, and free of any old adhesive or debris to guarantee a strong bond between the wall and the tile
- Measure Twice, Cut Once: Accurately measure your space to avoid wasting tiles or having to make unnecessary cuts, which can be tricky with peel and stick tiles
- Start in the Center: Beginning your installation from the center of the wall helps you achieve a symmetrical look and avoids cutting tiles to fit the edges
- Apply Even Pressure: Use a credit card, scraper, or similar tool to apply even pressure across each tile, ensuring they adhere smoothly and evenly to the wall
- Work from the Center Outwards in Sections: Divide your wall into manageable sections and complete each one at a time to maintain pattern alignment and make the process less overwhelming
Key Takeaways for a Stunning Peel and Stick Tile Backsplash
By choosing the right peel and stick tile for your kitchen, considering factors like durability, ease of installation, and aesthetic appeal, you can transform your space into a modern and inviting area.
Understanding the pros and cons of peel and stick tiles, such as their ease of use, affordability, and potential limitations in high-traffic or high-moisture areas, will help you make an informed decision for your home renovation project.
Embracing the DIY spirit and having fun with the process, like naming your trusty tools – I personally adore my trusty scraper, ‘Scratchy’ – can make the experience of installing a peel and stick tile backsplash not only rewarding but also enjoyable, allowing you to appreciate the fruits of your labor in your newly renovated kitchen.
Transforming Your Kitchen with Ease
The beauty of a peel and stick tile backsplash lies not just in its aesthetic appeal, but in the empowerment it brings – to take a space that’s merely functional and turn it into a masterpiece that reflects your personality, one tile at a time.
Terry Otero
Bringing Your Vision to Life
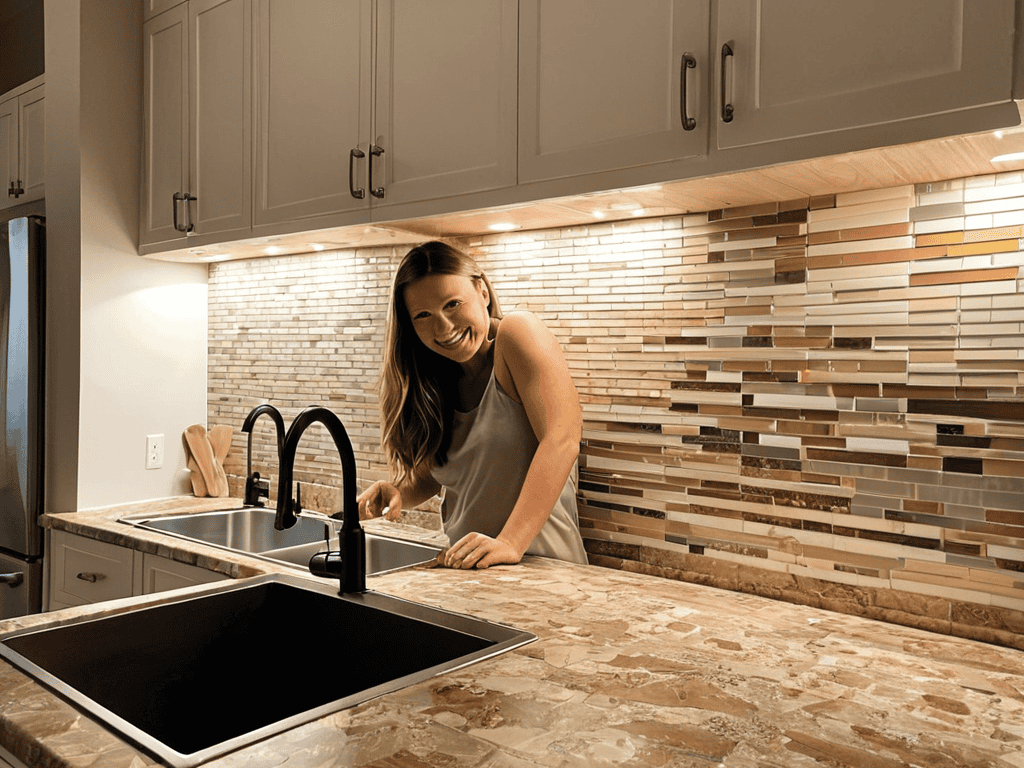
As we wrap up this guide to installing a peel and stick tile backsplash, let’s take a moment to reflect on the journey. We’ve covered the essential steps, from preparation to the final touches, and even explored the pros and cons of using peel and stick tiles. By now, you’re well-equipped with the knowledge to transform your kitchen into a stunning space that reflects your personal style. Remember, the key to a successful DIY project is not just about following instructions, but also about having fun and being creative with the process.
As you stand back to admire your handiwork, I hope you feel an overwhelming sense of pride and accomplishment. Installing a peel and stick tile backsplash is more than just a home improvement project – it’s a chance to unleash your inner designer and bring your unique vision to life. So, don’t be afraid to experiment, try new things, and make mistakes. With every DIY project, you’re not only transforming your space, but also cultivating a sense of self-expression that will stay with you long after the tiles are in place.
Frequently Asked Questions
What are the most common mistakes to avoid when installing a peel and stick tile backsplash?
When installing a peel and stick tile backsplash, I’ve found that common mistakes to avoid include not cleaning the wall surface properly, applying tiles with air bubbles, and not aligning them correctly. My trusty level, Bertha, always helps me get it just right!
How do I prepare my kitchen walls for a peel and stick tile backsplash installation?
Before we dive into the fun part, let’s prep those walls! I like to think of my trusty scraper, ‘Scratchy,’ as the ultimate sidekick for this job. Simply clean the area, fix any holes or cracks, and make sure the surface is dry and dust-free. My level, ‘Levy,’ ensures everything is perfectly even. Now, we’re ready to roll!
Can I use peel and stick tile backsplash in areas with high moisture, such as behind a stove or sink?
While peel and stick tile backsplash is a great option for many areas, I’d advise caution in high-moisture zones like behind a stove or sink. The adhesive might not hold up as well, and water can seep behind the tiles. My trusty tool, ‘Stan the Scraper,’ has seen its fair share of failed adhesive attempts! Consider traditional tile or a waterproofing membrane for these areas instead.