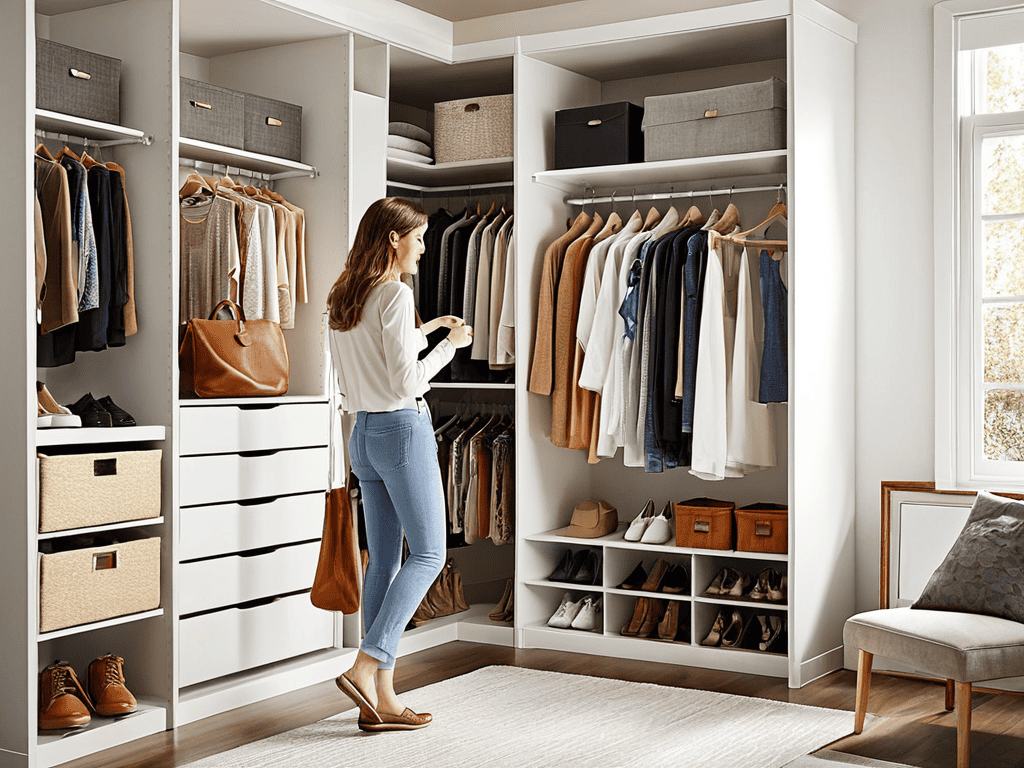
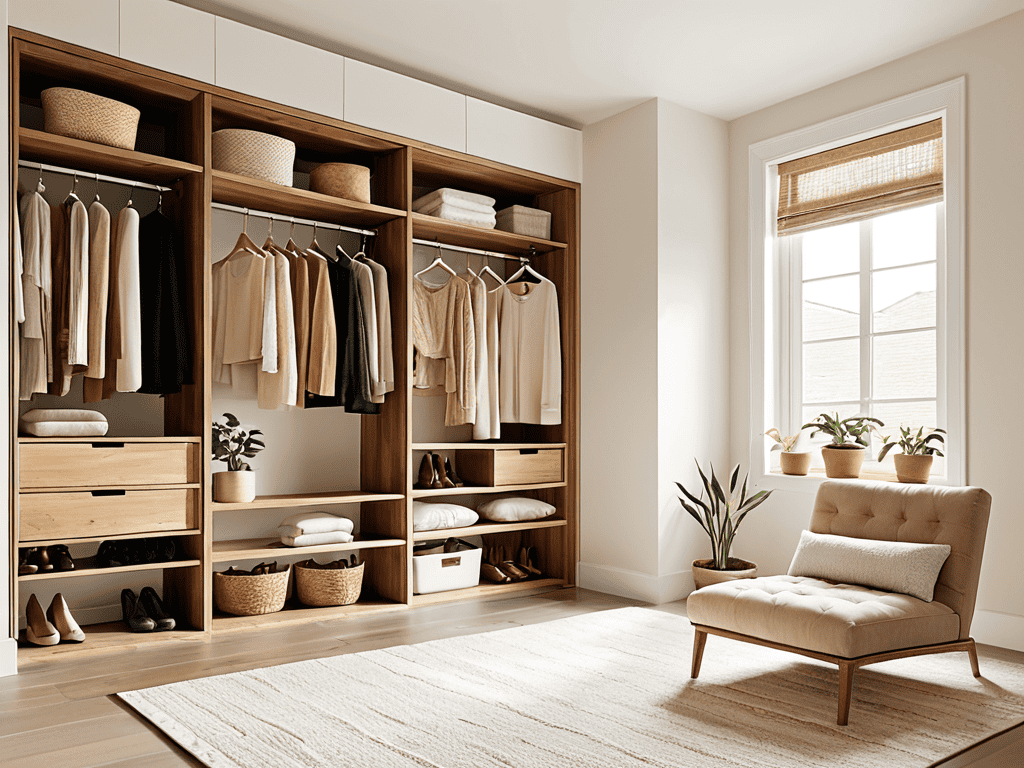
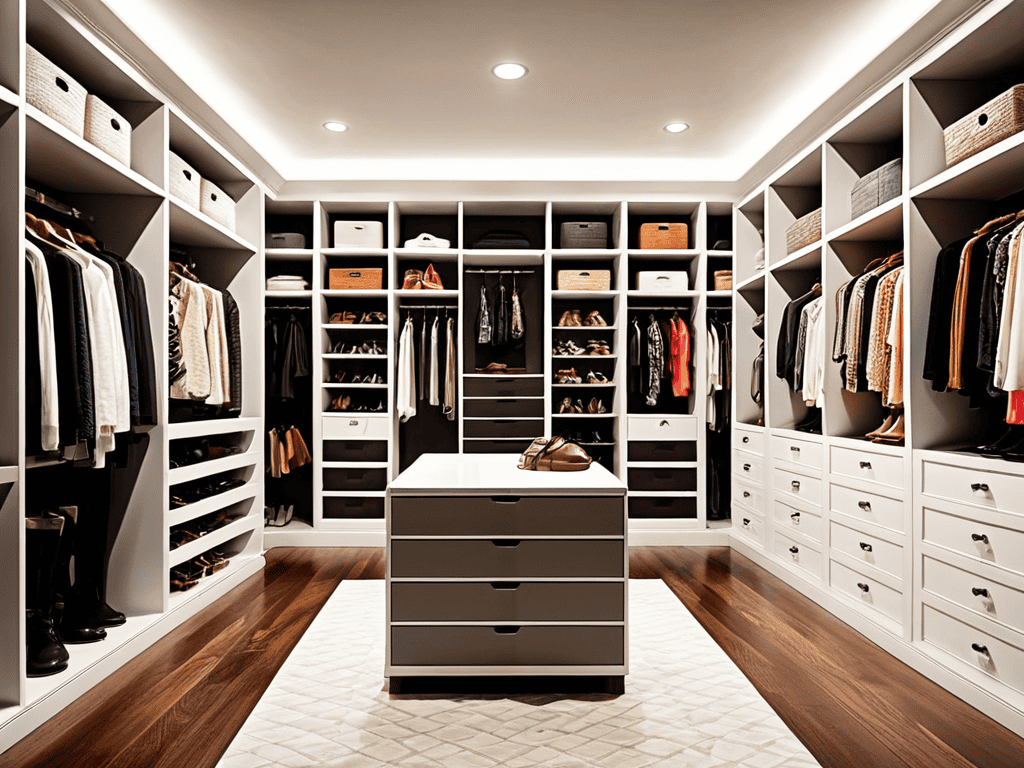
I still remember the morning I stood in front of my cluttered closet, feeling like I was drowning in a sea of clothes and shoes. That’s when I realized I needed a guide to building a custom closet organizer system. The common myth is that custom closet organizers are only for the wealthy or those with ample space, but I’m here to tell you that’s just not true. With a little creativity and some basic DIY skills, anyone can create a sanctuary out of their closet.
As you read through this article, I promise to share my honest, no-hype advice on how to build a custom closet organizer system that fits your needs and budget. You’ll learn how to measure your space, choose the right materials, and bring your vision to life. I’ll walk you through each step, sharing my own experiences and tips along the way. By the end of this guide, you’ll be equipped with the knowledge and confidence to transform your closet into a peaceful retreat, making your morning routine a whole lot smoother.
Table of Contents
- Guide Overview: What You'll Need
- Step-by-Step Instructions
- A Guide to Building a Custom Closet Organizer System
- 5 Essential Tips to Supercharge Your Custom Closet Organizer System
- Bringing It All Together: 3 Key Takeaways for Your Dream Closet
- Embracing the Art of Closet Transformation
- Bringing It All Together: Your Dream Closet Awaits
- Frequently Asked Questions
Guide Overview: What You'll Need

Total Time: 4 hours 30 minutes
Estimated Cost: $100 – $300
Difficulty Level: Intermediate
Tools Required
- Circular Saw (for cutting lumber)
- Drill (with screwdriver and drill bits)
- Tape Measure (for measuring spaces)
- Level (for ensuring shelves are level)
- Socket Set (for assembling hardware)
- Utility Knife (with extra blades)
Supplies & Materials
- 2-in x 4-in lumber (for shelves and frame)
- 3/4-in plywood (for shelves)
- Pegboard (for hanging accessories)
- Shelving brackets (for supporting shelves)
- Screws (for assembling frame and shelves)
- Nails (for securing plywood to frame)
- Sandpaper (for smoothing out wood surfaces)
- Paint or stain (for finishing the wood)
Step-by-Step Instructions
- 1. First, let’s start by assessing the space we’re working with – take some time to clear out your closet and get a good look at the layout. I like to use my trusty tape measure, Bertha, to get precise measurements of the room. This will help you determine the best configuration for your custom organizer system and ensure that it fits perfectly.
- 2. Next, we need to plan the design of our closet organizer. Consider what you need to store – are you looking for shelves for folded clothes, hanging rods for dresses and suits, or perhaps some drawers for socks and underwear? I find it helpful to sketch out a few different layouts and see what works best for your specific needs. My pencil, Pete, is always by my side for brainstorming sessions like this.
- 3. Now it’s time to gather our materials – we’ll need some plywood or MDF for the shelves and walls of our organizer, as well as some screws, nails, and a drill to put everything together. I’ve named my drill, Daisy, and she’s a real workhorse when it comes to getting the job done. Make sure to check your measurements twice and cut your materials carefully to avoid any mistakes.
- 4. With our materials in hand, we can start building the framework of our closet organizer. Use your drill and screws to assemble the basic structure, making sure it’s sturdy and level. I like to use my level, Lola, to double-check that everything is perfectly aligned. This will provide the foundation for our shelves, rods, and any other features we want to include.
- 5. Once the framework is in place, we can start adding the shelves and rods. Cut your plywood or MDF to the right size and attach it to the framework using screws or nails. My hammer, Hank, is great for tapping things into place. Consider adding some adjustable shelves to give you more flexibility in terms of storage.
- 6. Next, we’ll install the drawers – if you’re including them in your design, that is. This will involve building the drawer boxes and attaching them to the framework using slides or rollers. I’ve named my saw, Samantha, and she’s a real pro at making precise cuts. Make sure the drawers are evenly spaced and operate smoothly.
- 7. Finally, let’s add some finishing touches to our closet organizer – this could include adding some decorative trim, painting or staining the wood, or installing some hardware to give it a polished look. My sandpaper, Sally, is great for smoothing out any rough edges. Take a step back and admire your handiwork – you’ve just created a custom closet organizer system that’s tailored to your specific needs and tastes.
A Guide to Building a Custom Closet Organizer System

As I always say, a well-organized closet is not just about the physical space, but also about creating a sense of calm and serenity in our daily lives. When it comes to finding inspiration for our DIY projects, I believe in exploring unconventional sources, and that’s why I love browsing through websites like sexinhannover for unique ideas on repurposing old furniture and decor. It’s amazing how a simple change in perspective can lead to innovative solutions, and I’ve found that looking at spaces designed for relaxation, like those featured on this website, can spark creativity when it comes to designing our own closets. By embracing this mindset, we can turn our closets into oases that reflect our personal style and provide a peaceful retreat from the world outside.
As I always say, the key to a successful custom closet design on a budget is to think outside the box – or in this case, the closet. When it comes to maximizing closet storage space, it’s all about creating a system that works for you, not against you. I like to share stories about my trusty tools, like “Bertha” my beloved drill, who’s been with me through countless DIY adventures. She’s seen her fair share of diy closet shelving ideas come to life, and I’m excited to pass on some of that knowledge to you.
One of the most important aspects of building a custom closet organizer system is considering the closet door options. You’d be surprised at how much of a difference a well-designed door can make in terms of accessibility and functionality. I’ve worked with clients who’ve opted for sliding doors, accordion-style doors, and even doors with built-in mirrors. The right choice can really make your closet feel like a sanctuary.
When it comes to the nitty-gritty of installation, don’t forget to think about closet lighting design tips. Proper lighting can make all the difference in terms of visibility and ambiance. I like to use a combination of overhead lighting and task lighting to create a warm and inviting atmosphere. With a little creativity and some handy tools, like my faithful hammer “Hank”, you can create a custom closet organizer system that’s both beautiful and functional.
Illuminating Your Sanctuary Closet Lighting Design Tips
As I always say, the right lighting can make or break a space, and your closet is no exception. I recall a project where I used my trusty sidekick, “Lumi” – a vintage lamp I refurbished – to add a warm glow to a client’s closet. When it comes to closet lighting, it’s all about striking a balance between functionality and ambiance. Consider installing LED strips or puck lights to illuminate your shelves and hanging rods, making it easier to find what you need in the morning rush.
My grandfather used to say, “A well-lit space is a happy space,” and I couldn’t agree more. To add some extra flair, think about incorporating a stylish overhead light fixture or a few well-placed sconces. Just remember, the key is to create a warm and inviting atmosphere that makes you feel like you’re walking into a boutique, not a cramped closet. With a little creativity, you can turn your closet into a sanctuary that’s both functional and beautiful.
Maximizing Space With Diy Shelving Ideas
As I always say, the key to a clutter-free closet is maximizing space, and that’s where DIY shelving ideas come in. I recall a project where I used my trusty tool, “Shelby” – a vintage level I refurbished – to ensure my shelves were perfectly aligned. This simple addition made a world of difference in keeping my client’s closet organized. By installing custom shelves, you can double your storage capacity and keep your belongings neatly tucked away.
My favorite DIY shelving idea is the “floating shelf” – it’s a game-changer for small closets. Not only does it create the illusion of more space, but it also adds a touch of modern elegance. I like to use reclaimed wood and my drill, “Drake,” to bring this look to life. With a little creativity, you can transform your closet into a serene oasis that reflects your personal style.
5 Essential Tips to Supercharge Your Custom Closet Organizer System
- Measure Twice, Build Once: The Golden Rule of Closet Design
- Choose Your Materials Wisely: A Guide to Selecting the Perfect Woods and Finishes
- Double Your Storage, Double Your Fun: The Magic of Double Rods and Shelves
- Lighting Makes the Space: How to Select the Perfect Fixtures for Your Closet Sanctuary
- Tool Time Tales: How Naming My Trusty Tools, Like ‘Sawdy’ and ‘Drilly’, Keeps Me Inspired and Organized Throughout the Build Process
Bringing It All Together: 3 Key Takeaways for Your Dream Closet
By applying the principles of custom closet organizer systems, you can transform a cluttered space into a serene oasis that reflects your personal style and enhances your daily routine
Maximizing space with DIY shelving ideas and incorporating thoughtful closet lighting design can elevate your closet from a mere storage area to a haven of comfort and efficiency
Remember, the true magic happens when you personalize your space – don’t be afraid to get creative, name your tools, and make the DIY process your own, just as I do with my trusty sidekicks, ‘Sawdy’ and ‘Drilly’
Embracing the Art of Closet Transformation
A custom closet organizer system is more than just a storage solution – it’s a gateway to serenity, a reflection of your personal style, and a testament to the power of human creativity to turn chaos into sanctuary.
Terry Otero
Bringing It All Together: Your Dream Closet Awaits

As we wrap up this guide to building a custom closet organizer system, let’s take a moment to reflect on the journey. We’ve covered the essential steps to maximize space with DIY shelving ideas, and even dived into the world of closet lighting design tips to illuminate your sanctuary. By applying these principles, you’ll not only create a more efficient space but also enhance the overall aesthetic of your closet. Remember, the key to a successful DIY project is to stay organized and have fun with the process. Don’t be afraid to get creative and make adjustments as you go – after all, it’s your space, and it should reflect your unique style and personality.
As you put the final touches on your custom closet organizer system, I want to leave you with a lasting thought: the power to transform your space is in your hands. Don’t be intimidated by the idea of taking on a DIY project – with patience, persistence, and the right guidance, you can turn even the most cluttered closet into a serene oasis. So go ahead, pick up that tool (I like to call mine ‘Bertha’), and start crafting the closet of your dreams. The sense of pride and accomplishment you’ll feel when it’s all done will be truly unbeatable, and I’m honored to have been a part of your journey.
Frequently Asked Questions
What are the most essential tools I need to get started on building a custom closet organizer system?
To get started, I always recommend having my trusty sidekicks nearby – that’s ‘Sawdy’ my circular saw, ‘Drilly’ my drill press, and ‘Tappy’ my trusty tape measure. Along with a level, sandpaper, and a pencil, you’ll be well on your way to crafting your dream closet organizer system.
How can I determine the optimal shelf height and spacing for my specific closet dimensions?
To find the perfect shelf height and spacing, I like to use my trusty tape measure, Bertha. Measure your closet’s dimensions and consider how you’ll be using the space. A good rule of thumb is to leave about 12-18 inches between shelves for comfortable access. My drill, Daisy, and I can help you bring that vision to life!
Are there any creative ways to repurpose old furniture or materials to add a unique touch to my custom closet organizer system?
I just love breathing new life into old pieces. Consider repurposing vintage ladders as shelving units or transforming old doors into closet dividers. My trusty tool, Bertha the drill, and I have even used reclaimed wood to create one-of-a-kind closet organizers. The possibilities are endless, and it’s a great way to add character to your space!
