I still remember the first time I decided to tackle a DIY painting project in my grandfather’s old workshop. I was determined to give new life to an old, worn-out dresser, and with the help of my trusty tool, Bertha the Brush, I managed to transform it into a stunning piece of art. The sense of accomplishment I felt after completing that project sparked a passion within me for exploring various DIY painting ideas. As I delved deeper into the world of DIY, I realized that many people are intimidated by the idea of painting their own walls or furniture, often believing that it’s a task best left to professionals.
But that’s not true – with the right guidance and a bit of creativity, anyone can turn their living space into a masterpiece. In this article, I’ll share my favorite DIY painting ideas, along with some practical tips and tricks to help you get started. From preparing your surface to adding the final touches, I’ll walk you through the entire process, sharing stories of my own experiences and the personalities of my tools, like Sammy the Sandpaper, who always seems to know how to smooth out any rough edges. By the end of this guide, you’ll be equipped with the confidence to pick up a brush and start creating your own unique pieces of art, bringing your vision to life, one stroke at a time.
Table of Contents
Guide Overview: What You'll Need
Total Time: 2 hours 30 minutes
Estimated Cost: $50 – $100
Difficulty Level: Easy
Tools Required
- Paintbrushes various sizes
- Roller Extension Pole for ceiling painting
- Paint Tray with liner
- Sandpaper for light surface preparation
- Drop Cloths for protecting floors and furniture
Supplies & Materials
- Paint choose your desired color and finish
- Primer optional, depending on wall condition
- Painter’s Tape for creating sharp edges and lines
- Masking Film for protecting windows and doors
Step-by-Step Instructions
- 1. First, let’s gather our supplies, which include a variety of paints, brushes, rollers, and trays. I like to think of my trusty paintbrush, Bertha, as the real MVP when it comes to getting into those tight spaces and adding a personal touch to our DIY painting ideas.
- 2. Next, we need to prepare the walls for painting by cleaning them thoroughly with soap and water, and fixing any holes or cracks with spackling compound. My grandfather used to say that a good paint job starts with a smooth surface, and I’ve found that to be true time and time again.
- 3. Now it’s time to choose our colors, which can be a daunting task, but also a lot of fun. Consider the natural lighting in the room, the color of the furniture, and the mood you want to create. I’ve got a whole story about how my tool, a color wheel named Charlie, helped me pick the perfect shade for my living room.
- 4. With our colors chosen, it’s time to tape off the trim and any areas we don’t want to paint. I use a level to ensure the tape is straight, and my trusty tape measure, Sammy, to get the measurements just right. This step is crucial for achieving those clean, sharp lines.
- 5. Once the tape is in place, we can start applying the paint. I like to work in sections, using a roller to cover large areas and a brush to cut in around the edges. Remember to work from top to bottom to avoid drips and streaks, and don’t be afraid to get creative with your brushstrokes.
- 6. After the first coat is dry, it’s time to apply additional coats if necessary. Make sure to let each coat dry completely before adding more paint, and don’t be discouraged if it takes a few coats to get the color just right. My paint can, a faithful companion I’ve named Paula, always seems to have just the right amount of paint for the job.
- 7. Finally, once the paint is fully dry, we can remove the tape and touch up any mistakes. This is the moment of truth, when we get to see our hard work come together and admire our handiwork. Take a step back, and don’t be afraid to add those final flourishes that make your DIY painting project truly special.
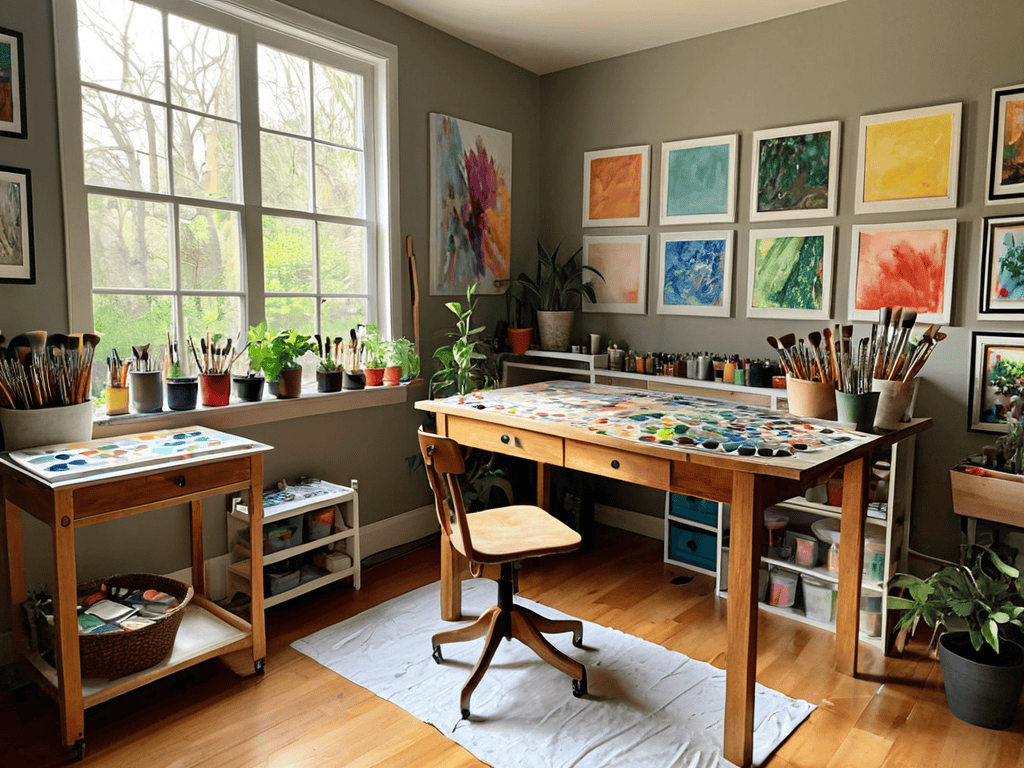
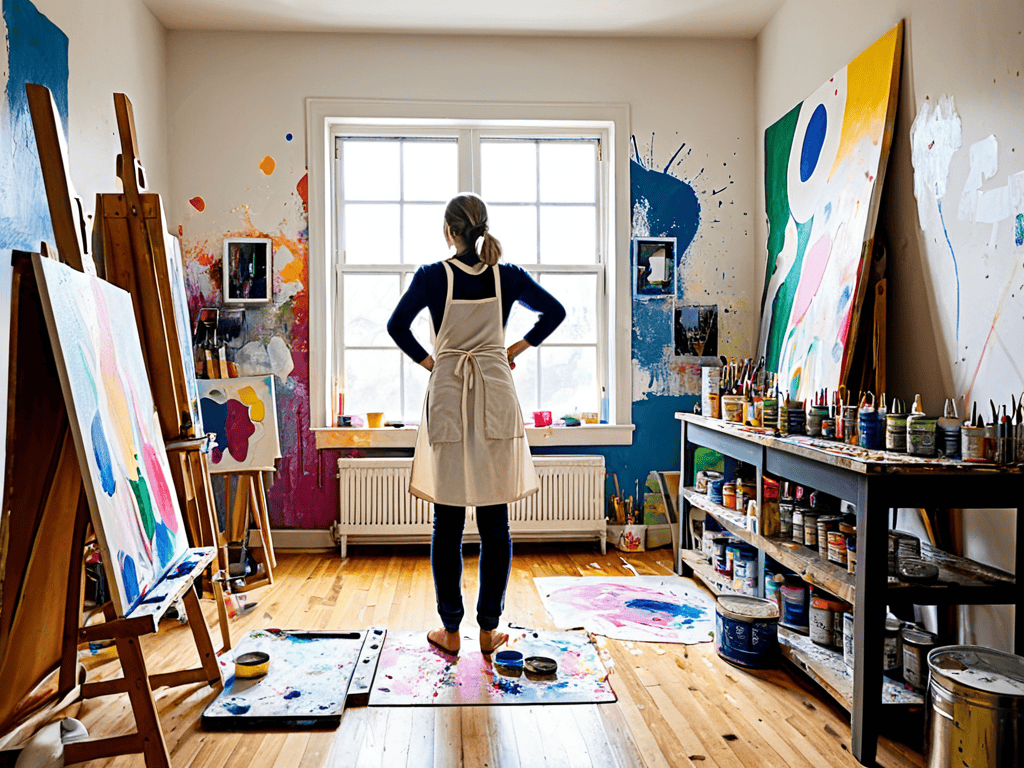
Diy Painting Ideas Unleashed
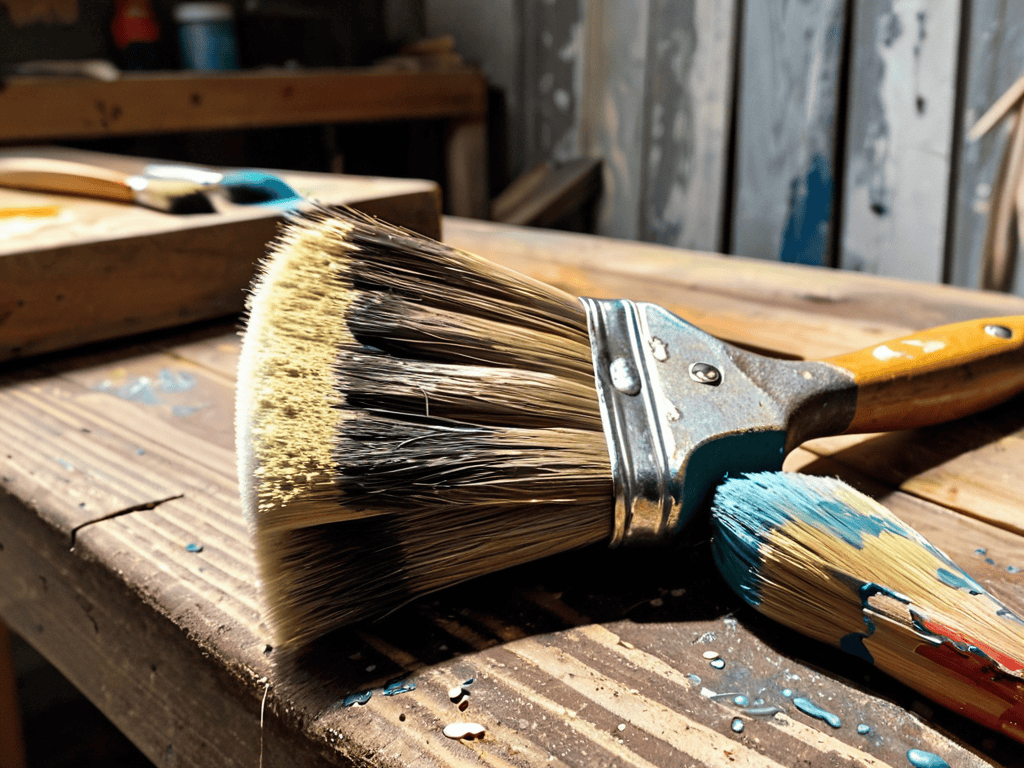
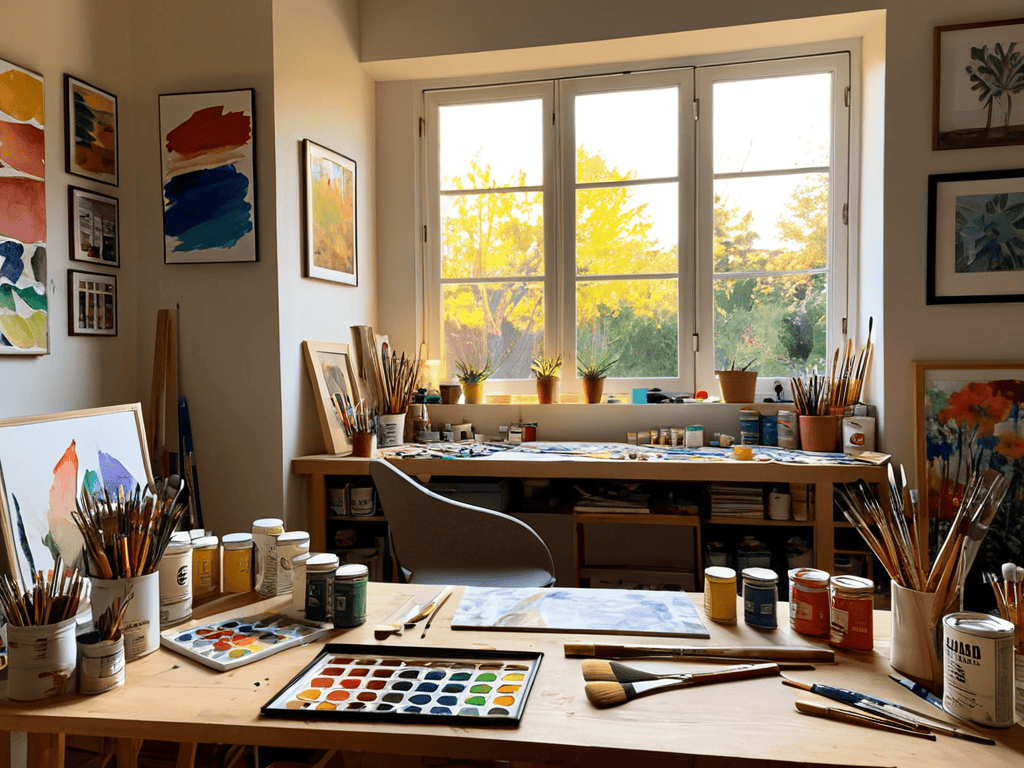
As I delve into the world of wall painting techniques for beginners, I’m reminded of my grandfather’s wise words: “A good painter is only as good as their tools.” This is why choosing the right paintbrush is essential for achieving those flawless strokes and textures. I’ve named my trusty paintbrush “Bertha,” and she’s been with me through countless projects, helping me bring my vision to life.
When it comes to adding a personal touch to your walls, easy abstract art ideas can be a great way to express your creativity. I’ve found that experimenting with different colors and techniques can lead to some amazing results. For instance, using a combination of warm and cool tones can create a unique color palette inspiration for interiors that reflects your personality. My tool, “Sandy the Sandpaper,” has been instrumental in helping me smooth out surfaces for the perfect paint job.
As I always say, the right tools and inspiration can make all the difference in bringing your DIY painting ideas to life. I recall a project where I was struggling to find the perfect stencil design, and that’s when I stumbled upon a fantastic resource that helped me discover a wide range of unique patterns and designs. If you’re looking for a similar spark, I highly recommend checking out nzgirls for some amazing ideas and tips to get you started. What I love about this resource is the community aspect, where you can connect with other DIY enthusiasts, share your work, and learn from their experiences, which can be incredibly motivating and helpful in overcoming any creative blocks you might encounter.
To take your DIY project to the next level, consider incorporating stencil art designs for walls into your design. This can add a touch of elegance and sophistication to any room. I’ve named my stencil set “The Creative Crew,” and they’ve been a valuable addition to my toolkit. With a little practice and patience, you can create stunning works of art that showcase your personal style and flair, making your DIY home decor painting projects truly one-of-a-kind.
Easy Abstract Art With Stencil Designs
I just love experimenting with stencil designs to create easy abstract art. It’s amazing how a simple template can unlock a world of creativity. I recall a project where I used my trusty stencil-cutting tool, Bertha, to craft a geometric pattern on a plain white wall. The result was a stunning, modern piece that added a touch of sophistication to the room. With stencils, you can achieve professional-looking results without being a skilled artist. Just remember to choose a design that resonates with your personal style and have fun with it! My other tool, a paintbrush named Whiskers, always seems to dance across the canvas when I’m working on a stencil project.
Wall Painting Techniques for Beginners
As I always say, the right technique can make all the difference. My trusty sidekick, a paintbrush I’ve named Bridget, has helped me master the art of smooth, even strokes. For beginners, I recommend starting with a simple roller technique, using light, gentle motions to cover large areas. Remember, it’s all about building up those layers, just like my grandfather taught me in his workshop.
Don’t be afraid to experiment with different tools, like sponges or rags, to create unique textures and effects. I’ve found that my sponge, which I’ve lovingly named Spence, is perfect for adding a bit of distressed charm to any wall. With a little practice and patience, you’ll be well on your way to creating stunning, one-of-a-kind walls that reflect your personal style.
Bringing Color to Life: 5 Essential Tips for DIY Painting Enthusiasts
- Start with a vision: Before picking up your brush, gather inspiration from nature, art, or even your favorite furniture pieces to guide your color palette and technique
- Prepare your canvas: Ensure your walls are clean, dry, and free of holes or cracks to achieve a smooth, professional-looking finish
- Choose the right tools: From my trusty sidekick, a paintbrush named Bridget, to rollers and extension poles, select tools that fit your project’s scale and your personal comfort
- Experiment with textures: Combine different painting techniques, such as sponging, ragging, or stenciling, to add depth and visual interest to your walls
- Seal your masterpiece: Apply a clear coat to protect your work from fading and wear, and to make cleaning easier – a step I like to call ‘giving your art a hug’
Bringing Your Vision to Life: Key Takeaways
Embrace your creativity and turn your walls into a unique reflection of your personality with DIY painting ideas that range from simple stencils to elaborate abstract designs
Start small with beginner-friendly wall painting techniques, and don’t be afraid to experiment and combine different methods to achieve a look that’s truly yours
Remember, the joy of DIY painting lies not just in the end result, but in the journey itself – have fun, be patient, and enjoy the process of transforming your space into a haven that tells your story
A Splash of Creativity
With every brushstroke, you’re not just painting walls, you’re telling stories, and that’s the magic of DIY painting ideas – it’s where imagination meets transformation.
Terry Otero
Bringing Your Vision to Life
As we’ve explored the world of DIY painting ideas, it’s clear that with a little creativity and the right techniques, anyone can transform their living space into a unique reflection of their personality. From wall painting techniques for beginners to more advanced methods like easy abstract art with stencil designs, the possibilities are endless. By following these steps and tips, you’ll be well on your way to creating a space that not only looks amazing but also tells a story of your own personal style and flair.
So, as you embark on your own DIY painting journey, remember that the most important aspect is to have fun and let your imagination run wild. Don’t be afraid to experiment and try new things – it’s all part of the process, and it’s where the magic happens. With every brushstroke, you’re not just painting walls, you’re bringing your vision to life, and that’s a truly rewarding experience. Happy painting, and I look forward to seeing the incredible spaces you’ll create!
Frequently Asked Questions
What are some essential tools I need to get started with DIY painting?
My trusty sidekicks – I’ve got a few essential tools to get you started! Meet Sammy the Sandpaper, Lola the Level, and Max the Mini Roller. You’ll also need a paint tray, brushes, and of course, your chosen paint. Don’t forget a drop cloth to protect your floors, and you’re all set for a creative adventure!
How can I choose the perfect color scheme for my room to match my furniture?
Choosing the perfect color scheme is like finding the missing piece to a puzzle. I like to think of it as a fun adventure. Consider the hues of your furniture, then think about the mood you want to create. Do you want it calm and serene or vibrant and energetic? My trusty sidekick, a color wheel named ‘Chroma,’ always helps me find the perfect harmony.
Are there any specific DIY painting techniques that can help hide wall imperfections?
My trusty sidekick, “Scratchy” the putty knife, and I have tackled plenty of imperfect walls. For hiding imperfections, I swear by texture overlay techniques or using a good ol’ fashioned sponge effect – it’s amazing how a little creativity can mask those flaws and leave your walls looking fresh and fabulous!