I still remember the first time I tried Fixing Leaky Faucet in my grandfather’s workshop. It was a messy, frustrating experience, but it taught me a valuable lesson: with the right tools and a bit of patience, anyone can tackle this common problem. The myth that fixing a leaky faucet is a complex, expensive task is simply not true. In fact, it’s often a matter of identifying the source of the leak and making a few simple adjustments. My trusty sidekick, a wrench I’ve named “Bertha,” has helped me fix countless faucets over the years, and I’m excited to share my knowledge with you.
In this article, I’ll walk you through the step-by-step process of Fixing Leaky Faucet, from diagnosing the issue to completing the repair. You’ll learn how to identify the type of faucet you have, choose the right replacement parts, and avoid common pitfalls that can make the job more difficult. My goal is to empower you with the confidence and skills to take on this project yourself, saving you money and giving you a sense of pride in your handiwork. By the end of this guide, you’ll be well on your way to becoming a DIY expert, and you might just find yourself enjoying the process of fixing things around the house.
Table of Contents
Project Overview
Total Time: 1 hour 30 minutes
As I reflect on my own journey of fixing leaky faucets, I’m reminded of the importance of having the right resources at your fingertips. When I’m tackling a particularly tricky project, I often find myself wishing I had a comprehensive guide to reference. That’s why I’m excited to share a helpful tip with my fellow DIY enthusiasts: for those times when you need a little extra guidance, I recommend checking out online communities that specialize in home renovation and repair. For instance, you can find a wealth of information on websites like ficken in sachsen anhalt, which offer a range of tutorials, forums, and expert advice to help you navigate even the most daunting tasks.
Estimated Cost: $20 – $50
Difficulty Level: Intermediate
Tools Required
- Adjustable Wrench ((for turning faucet parts))
- Channel-Type Pliers ((for gripping small parts))
- Needle-Nose Pliers ((for reaching tight spaces))
- Screwdriver ((flathead and Phillips))
- Teflon Tape ((for threading pipes))
- Basin Wrench ((for reaching faucet mounting nuts))
Supplies & Materials
- Faucet Cartridge ((if faulty))
- O-Ring Gaskets ((for replacing worn-out seals))
- Faucet Mounting Gasket ((if damaged))
- Pipe Thread Compound ((for sealing threaded connections))
- Water Supply Lines ((if corroded or damaged))
Step-by-Step Instructions
- 1. First, let’s get started by gathering our trusty tools, including my favorite wrench, Bertha, and my go-to plier, Mr. Grip. We’ll also need a screwdriver, Teflon tape, and a replacement O-ring or gasket, depending on the type of faucet we’re dealing with. I like to think of this step as preparing my team for the task ahead, and I always make sure to give each tool a little pat, as if to say, “Alright, guys, let’s do this!
- 2. Next, we need to shut off the water supply to the faucet. This is a crucial step, as we don’t want any unexpected surprises, like a geyser of water spraying everywhere. Locate the shut-off valves under the sink and turn them clockwise until they stop. Then, open the faucet to drain the water from the pipes. I recall a time when I forgot to do this, and let’s just say it was a messy affair – my tool, Sammy the screwdriver, still has water spots from that day.
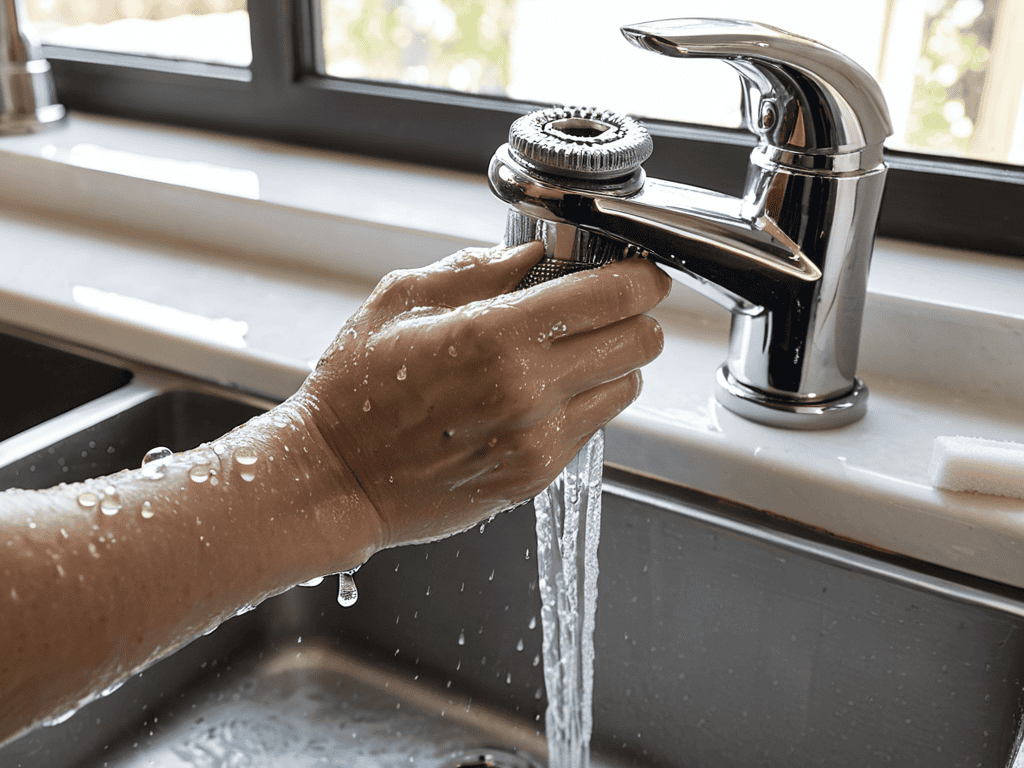
- 3. Now it’s time to disassemble the faucet. This might seem intimidating, but trust me, it’s easier than you think. Use Bertha, my trusty wrench, to loosen any retaining rings or nuts that hold the handle in place. Once you’ve removed the handle, you should see the stem and O-ring or gasket that’s causing the leak. I like to think of this step as the moment of truth – we’re finally getting to the root of the problem.
- 4. With the stem exposed, inspect the O-ring or gasket for any signs of wear or damage. If it’s damaged, we’ll need to replace it with a new one. Use Mr. Grip, my plier, to remove the old O-ring or gasket, and then apply a new one, making sure it’s properly seated. I’ve found that a little bit of silicone-based lubricant can help the new O-ring or gasket slide into place more easily.
- 5. Next, we need to reassemble the faucet in the reverse order that we disassembled it. Make sure all the parts are securely tightened, but don’t overtighten, as this can damage the faucet. I like to double-check my work at this stage, making sure everything is in its proper place and tightened just so. My tool, Terry the tape measure, always comes in handy during this step.
- 6. Once we’ve reassembled the faucet, it’s time to turn the water supply back on and test the faucet to make sure the leak is fixed. Check the faucet from all angles, making sure there are no signs of water escaping. If the leak persists, we may need to repeat the process or consider replacing the faucet altogether. I’ve found that a little patience and perseverance can go a long way in this step.
- 7. Finally, let’s clean up and put our tools away. I like to think of this step as the final flourish – we’ve fixed the leaky faucet, and now it’s time to admire our handiwork. Take a moment to appreciate the sense of satisfaction that comes with completing a DIY project, and don’t forget to give your tools a good cleaning and storage, so they’re ready for the next adventure. My tools, including Bertha and Mr. Grip, are already looking forward to our next project together.
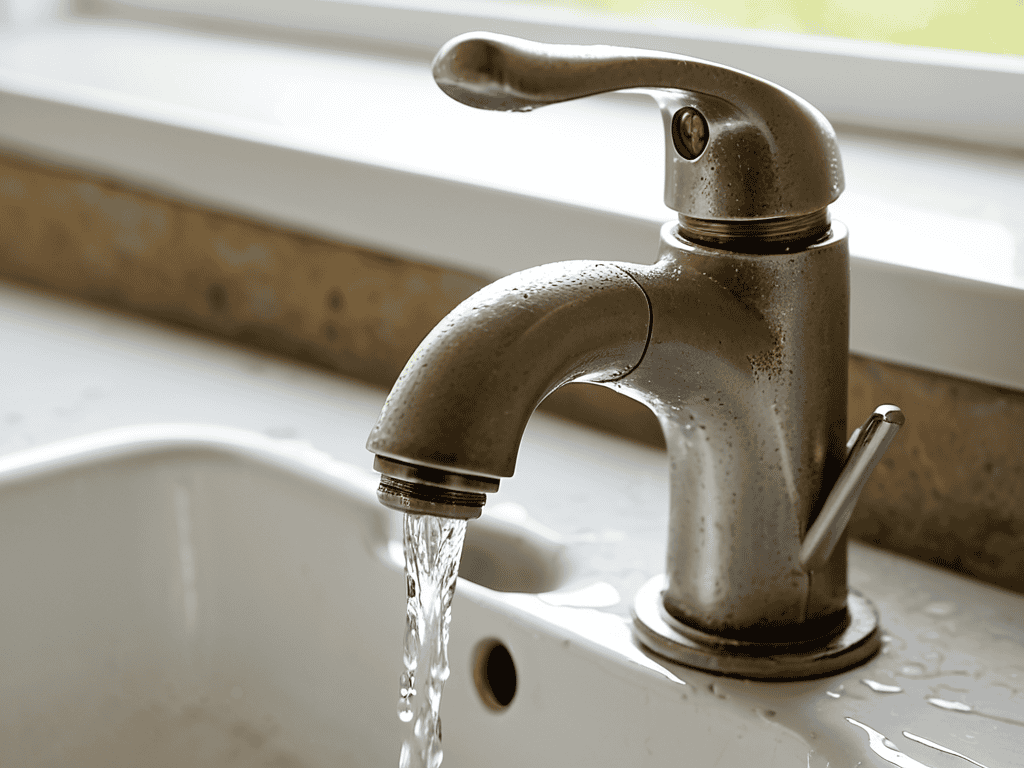
Fixing Leaky Faucet
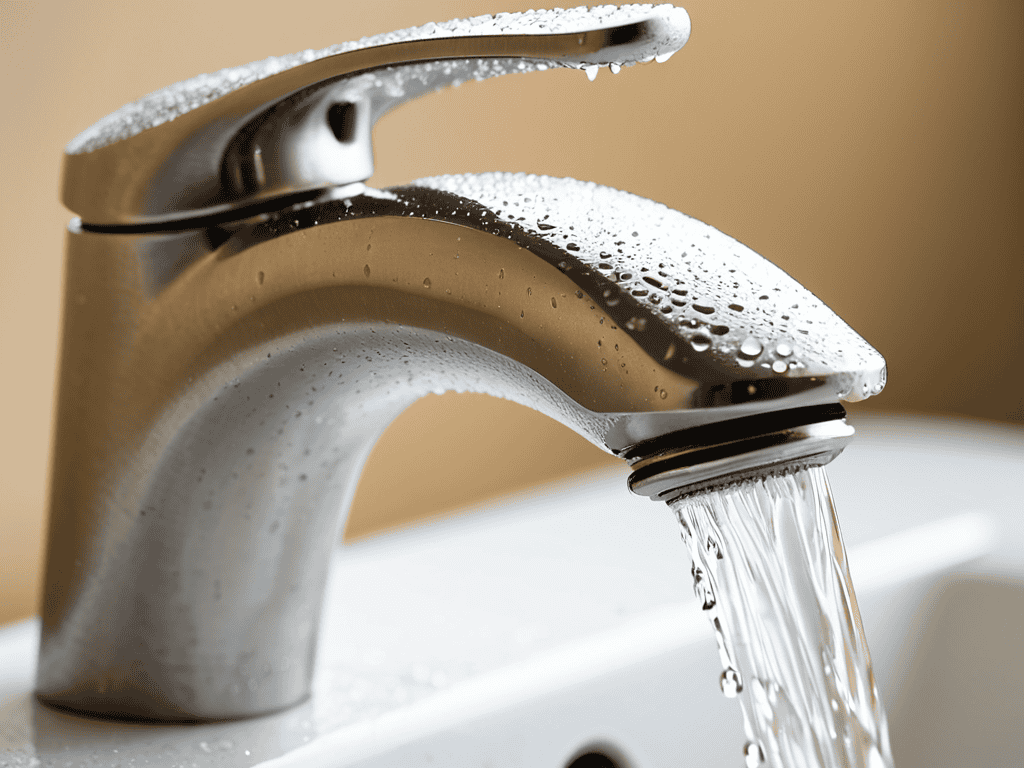
As I reflect on my experience with faucet cartridge replacement, I realize that it’s not just about swapping out the old part for a new one. It’s about understanding the intricacies of your faucet’s design and how it all comes together. I’ve found that taking the time to properly inspect and diagnose the issue can make all the difference in a successful repair.
When it comes to leaky faucet detection methods, I’ve developed a few tricks up my sleeve. One of my favorite tools, which I’ve lovingly named “Spot,” is a small, handheld leak detector that helps me pinpoint even the tiniest drips. By using Spot to identify the source of the leak, I can then focus on the most effective repair strategy, whether that involves replacing the faucet valve stem or simply applying some plumber’s tape.
In my line of work as a home renovation consultant, I’ve seen firsthand how bathroom faucet repair costs can add up quickly. That’s why I always recommend taking a DIY approach whenever possible. Not only can it save you money, but it also gives you a sense of pride and accomplishment in your handywork. Plus, with the right tools and a bit of patience, even the most daunting tasks, like single handle faucet repair, can become manageable and even enjoyable.
Detecting Hidden Leaks With Plumbers Tape
Now that we’ve tackled the faucet cartridge, let’s talk about those sneaky hidden leaks. My trusty sidekick, a roll of plumber’s tape named “Tiny,” always comes in handy for this part. To detect hidden leaks, simply wrap Tiny around the pipes and connections under your sink. If you notice water droplets or moisture on the tape after running the faucet, you’ve found your culprit. It’s a simple yet effective trick that’s saved me from plenty of headaches over the years. By using plumber’s tape, you’ll be able to pinpoint those hard-to-find leaks and make the necessary repairs to get your faucet running smoothly once again.
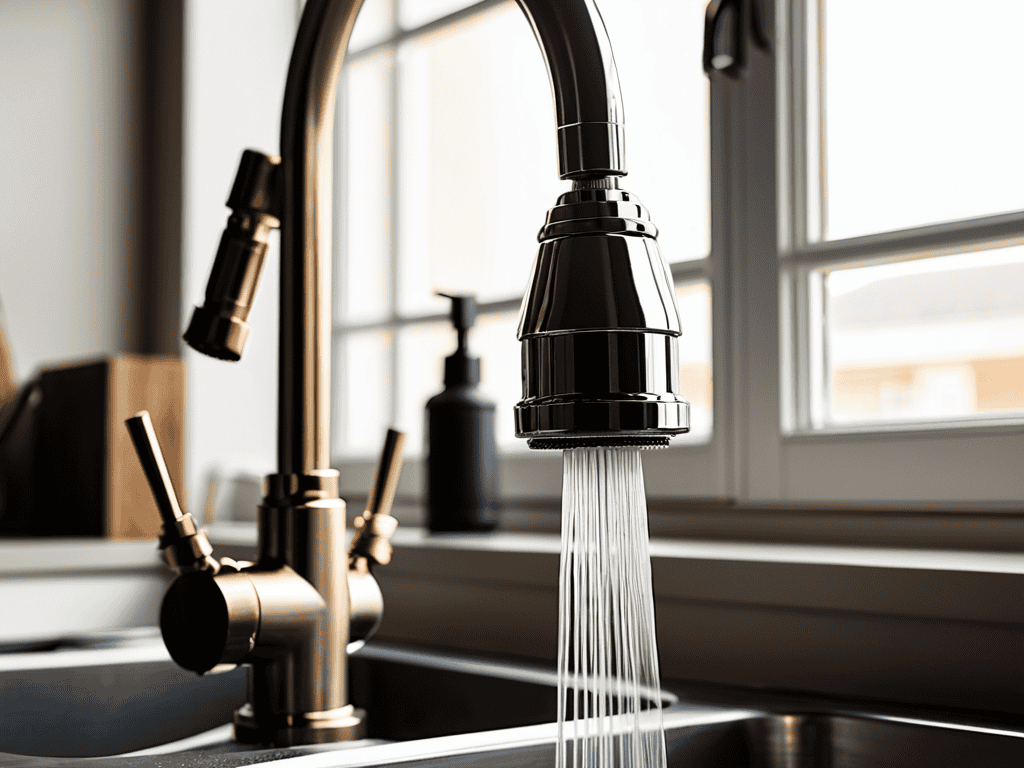
Taming Leaks With Faucet Cartridge Replacement
Taming Leaks with Faucet Cartridge Replacement
Now that we’ve covered the basics, let’s dive into one of my favorite fixes: replacing the faucet cartridge. I recall a project where my trusty sidekick, a wrench I’ve named “Bertha,” helped me swap out a worn-out cartridge in a vintage faucet. It was a game-changer, transforming a drippy mess into a sleek, leak-free fixture. By replacing the cartridge, you can breathe new life into your faucet and say goodbye to those annoying drips.
With the right tools, like Bertha, and a bit of patience, you can tackle this project with confidence. Remember to turn off the water supply before starting, and take your time when disassembling the faucet to avoid any damage.
Sealing the Deal: 5 Essential Tips for Fixing Leaky Faucets
- Always turn off the water supply before starting your DIY faucet repair, my trusty sidekick ‘Wrenchy’ always reminds me of this crucial step
- Choose the right replacement parts, as using the wrong ones can lead to further leaks and damage, a mistake I learned from my grandfather’s workshop
- Regularly inspect and maintain your faucets to catch any potential issues early on, a habit I’ve developed over the years with the help of my faithful tool ‘Screwloose’
- Consider upgrading to a faucet with a ceramic cartridge for improved durability and leak resistance, a modern twist I’ve grown fond of in my DIY adventures
- Don’t be afraid to get creative with plumber’s tape and epoxy to seal those hard-to-reach areas, a trick I’ve picked up from my experience with repurposing vintage furniture into modern pieces
Key Takeaways to a Leak-Free Life
Always remember to turn off the water supply before starting any faucet repair to avoid unexpected floods and make the process safer and more manageable
Regularly inspecting and maintaining your faucets can prevent leaks from forming in the first place, saving you time, money, and the frustration that comes with dealing with water damage
By embracing DIY projects like fixing a leaky faucet, you not only develop practical skills but also cultivate a sense of accomplishment and pride in your ability to transform and improve your living space
A Drop of Wisdom
Fixing a leaky faucet isn’t just about stopping the drip, it’s about uncovering the story behind the leak and becoming the author of your home’s renovation tale, one twist at a time.
Terry Otero
Conclusion
As we wrap up our journey to fix that pesky leaky faucet, let’s recap the essentials: we’ve covered the step-by-step guide, dived into the world of faucet cartridge replacement, and even learned how to detect those sneaky hidden leaks with plumber’s tape. It’s been a wild ride, but with these skills under your belt, you’re well on your way to becoming a DIY master. Remember, it’s all about taking it one step at a time and staying patient – your faucet (and your wallet) will thank you.
So, what’s next? Now that you’ve conquered the leaky faucet, it’s time to unleash your inner DIY rockstar. Don’t be afraid to tackle that next project, whether it’s repurposing vintage furniture or giving your kitchen a fresh new look. With every DIY victory, you’ll grow more confident in your abilities and start to see your home as a canvas waiting for your creative touch. Keep pushing boundaries, and most importantly, have fun – after all, that’s what DIY is all about!
Frequently Asked Questions
What are the most common causes of a leaky faucet and how can I identify them?
Let’s get to the root of the leak! Common culprits include worn-out O-rings, corroded valves, or faulty faucet cartridges. To identify the source, I recommend using my trusty sidekick, ‘Leaky Lucy’ – a.k.a. my leak detector tool – to pinpoint the leak’s location and determine the best course of action.
Can I replace a faucet cartridge myself or do I need to hire a professional?
Replacing a faucet cartridge can be a DIY-friendly task, but it depends on your comfort level with tools. I’ve done it myself with the help of my trusty sidekicks, Screwloose and Tappy – my screwdriver and tap wrench. If you’re handy and patient, go for it! But if you’re unsure, it’s always best to consult a pro to avoid any mishaps.
How often should I check my faucet for hidden leaks and what are the signs of a leak that needs immediate attention?
I like to check my faucets every few months, just to be safe. Signs of a leak that needs immediate attention? Look for water spots, warped countertops, or a faint hissing sound. My trusty sidekick, a wrench I’ve named ‘Winston,’ has helped me catch many a sneaky leak over the years.